
Hercus Model VBC Lathe

|
Hercus Model VBC Lathe |
|
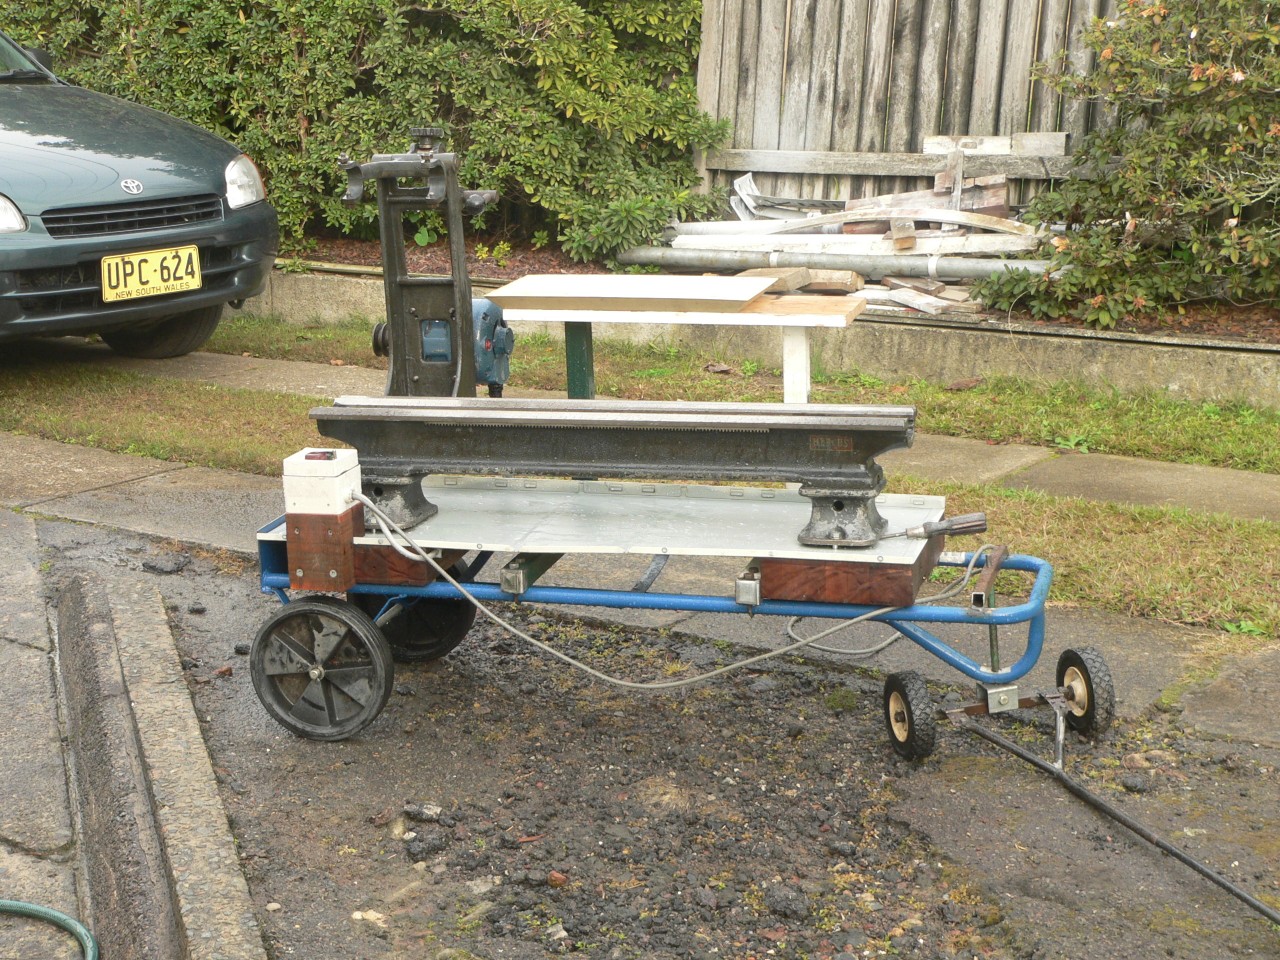
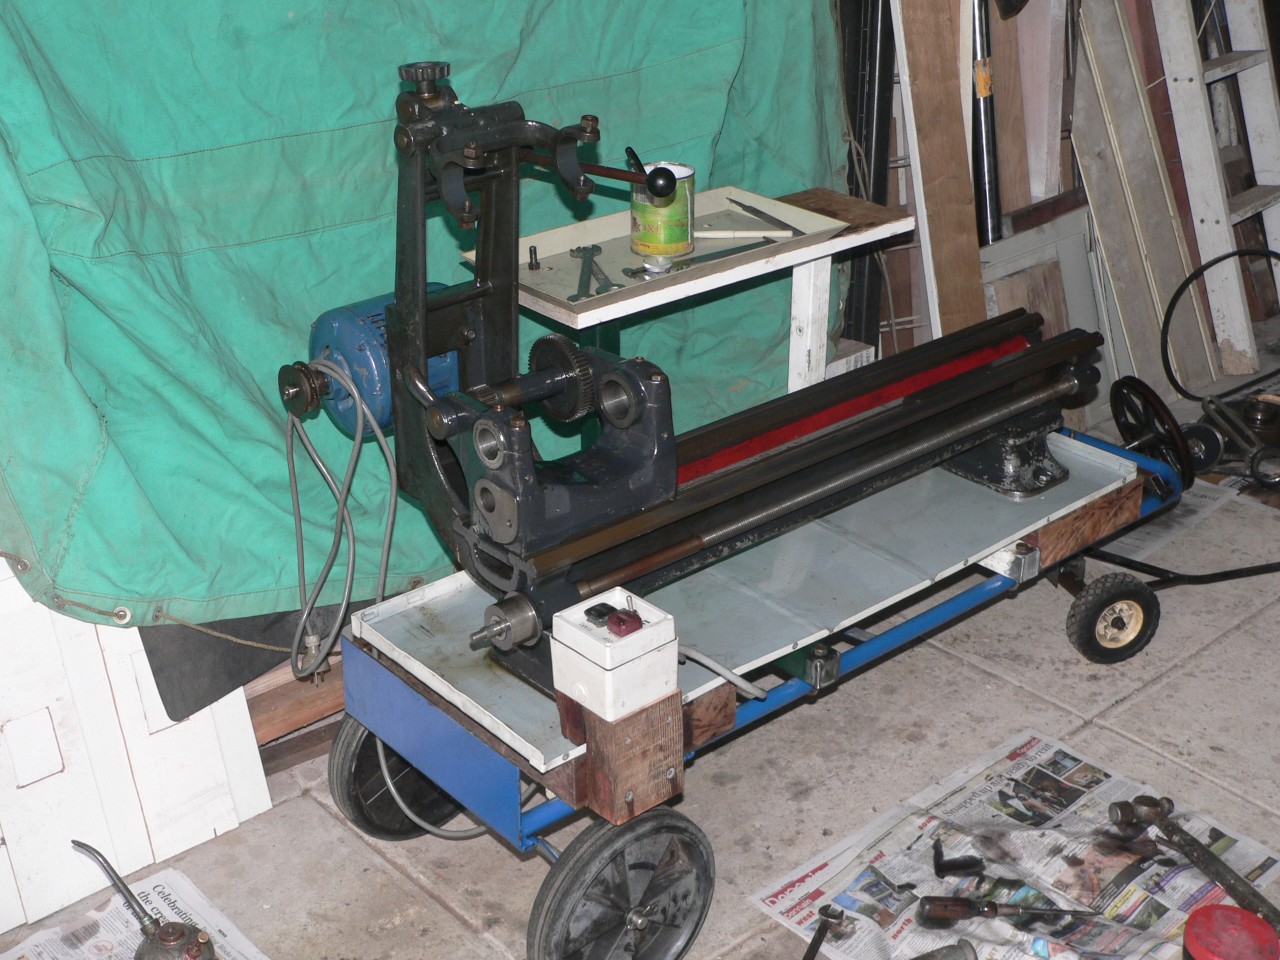
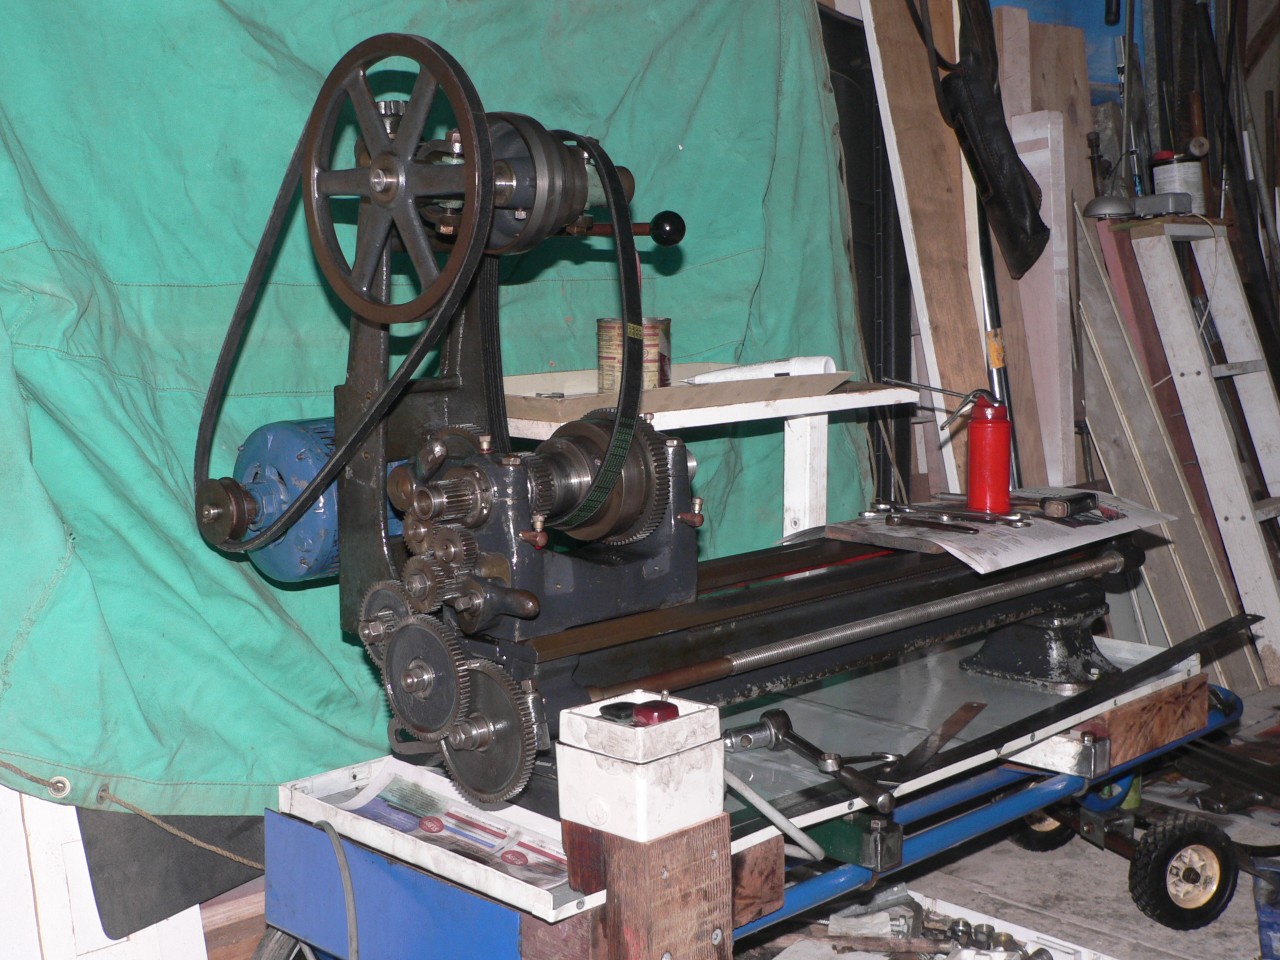
All parts have been removed and I'm just about to break my back getting the bed and H-frame off the trolley. This trolley was meant to be only for the original rebuild but I like operating the lathe at this height so it looks like I now have a portable lathe. If you see someone dragging a lathe on a trolley around it's probably me.
The switch block near the rear wheel contains stop and start buttons and a reversing switch. The buttons control a relay in the box. This is a good safety feature because the lathe will stay off after a power outage.
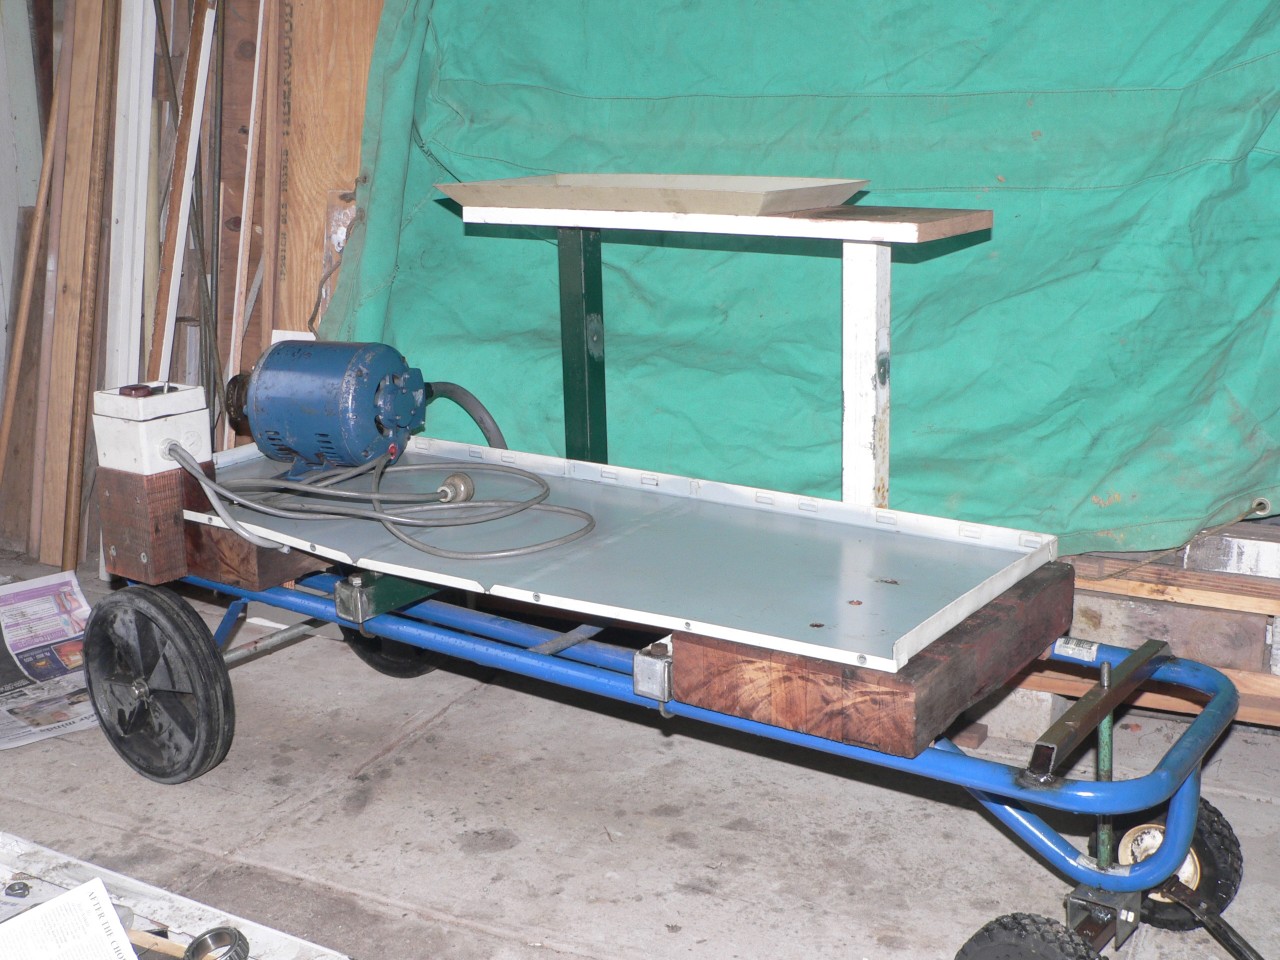
A clean slate here. Waiting for the bed to dry after its wash. The tool table behind the main tray is a recent addition. I've found it's not worthwhile fixing a table directly to a lathe because the vibration from the motor causes everything to rattle and destroy the peaceful ambience of metalworking. The main tray is the cover from a microwave oven. The trolley is a cheap Bunnings special with mods for the front axle. The wheels came from a garbage bin and a lawn sweeper. Talk about recycling.
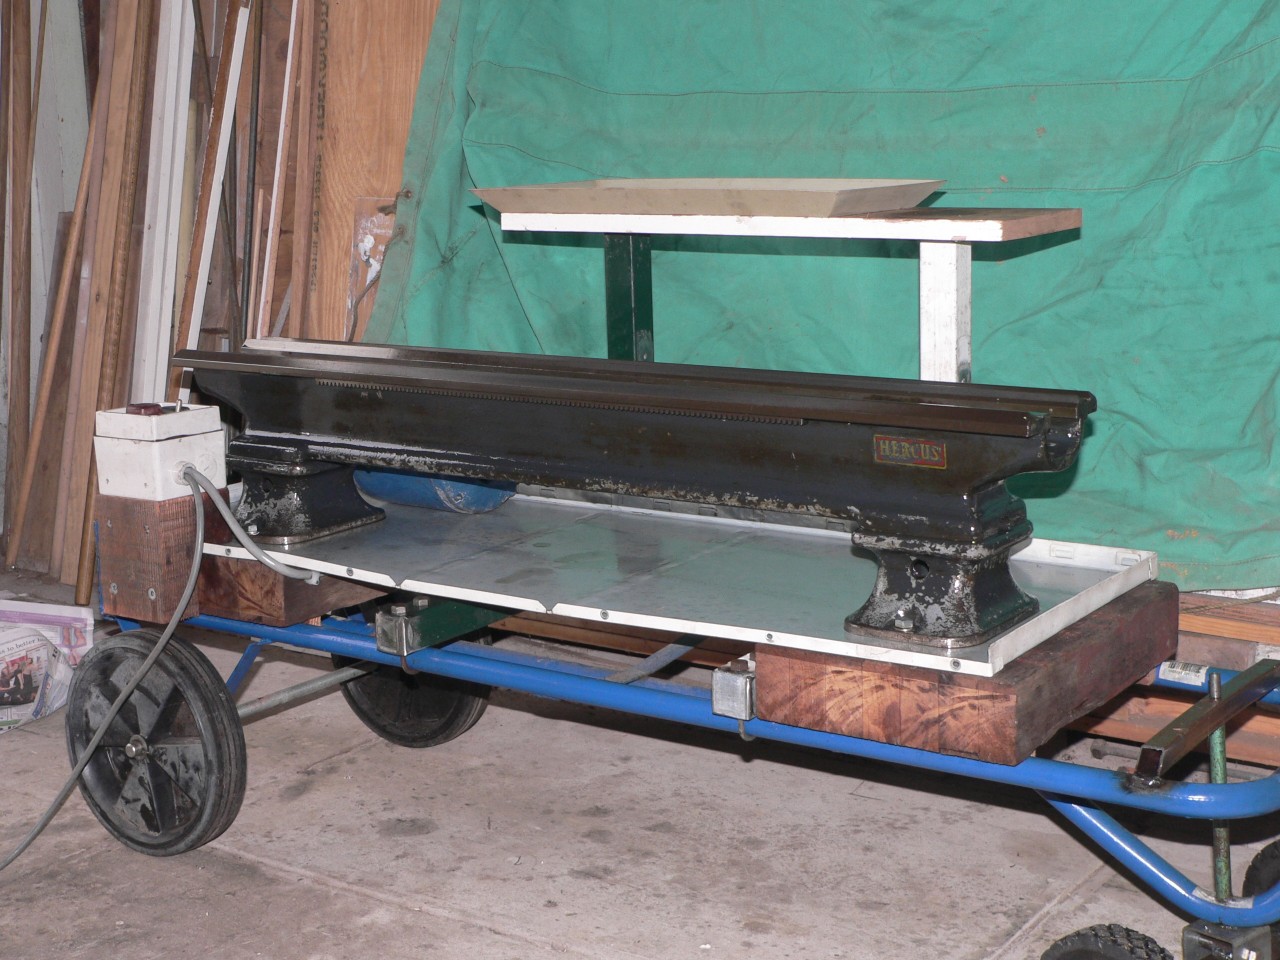
Good to get the heavy bed back on the trolley. Removing the H-frame (or having a second person to lift) certainly helps here.
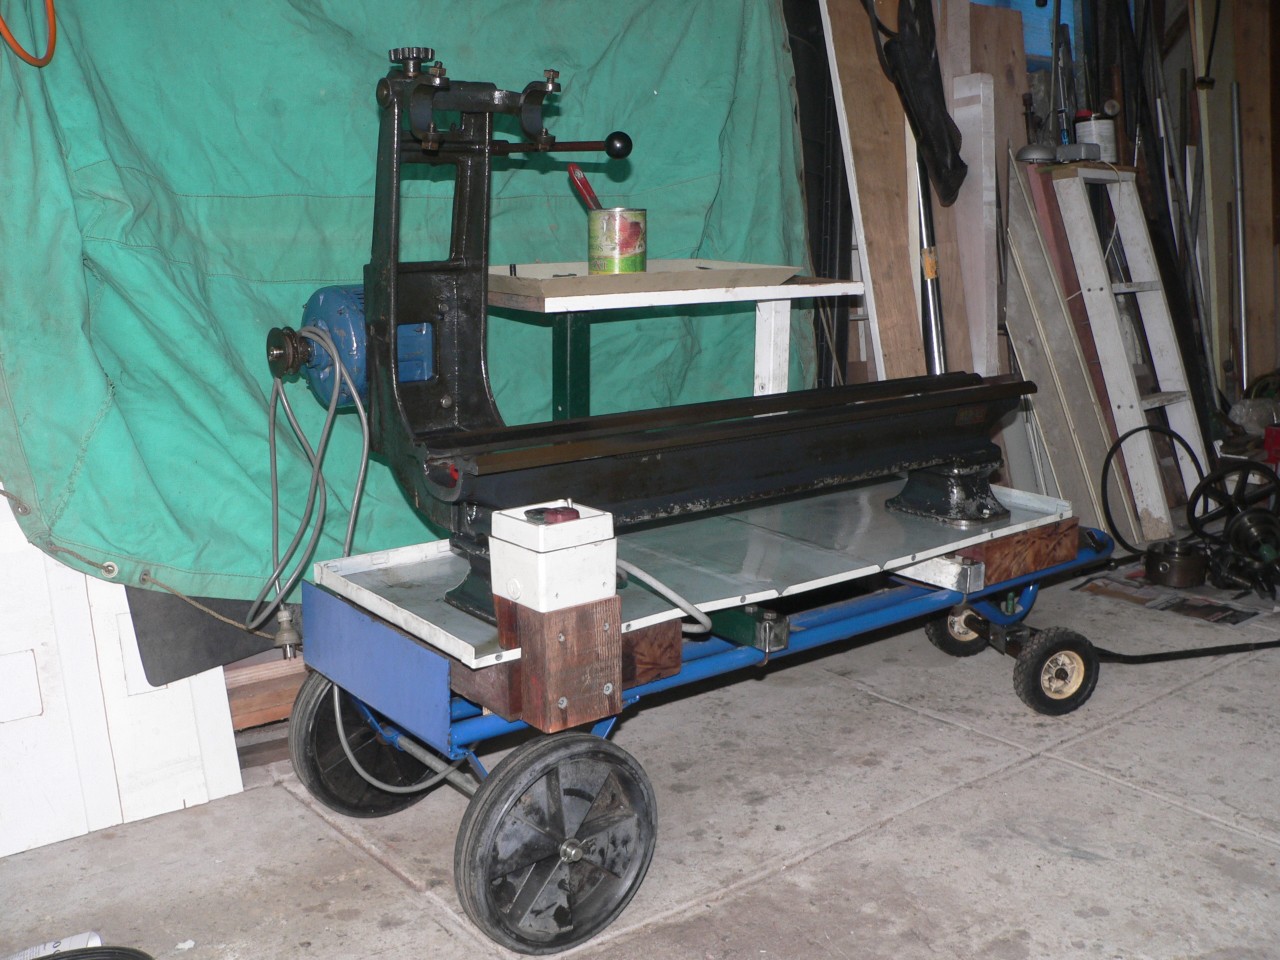
Add the H-frame and motor. The motor was fixed by four bolts. I've replaced these with four studs and nuts to make it a little easier to move the motor when adjusting the primary belt tension.
Add the headstock. Astute folk will notice the backgear is backwards. I didn't till I tried to fit the spindle. The leadscrew has been fitted as the screws at the headstock end are covered by the headstock.
Ready to fit the spindle. The backgear assembly has been fitted. I'm not sure about the cast iron bearings compared to the roller bearings used nowadays. However, there is minimal play so I can't complain. There are oil wells under the bearings and felts pushed up by springs. I've locked the felts down with wire through the front oil holes until the spindle is installed.
Spindle installed. Notice that I remembered the belt. Sometimes I don't. The plank and paper protect the bed in case I drop something.
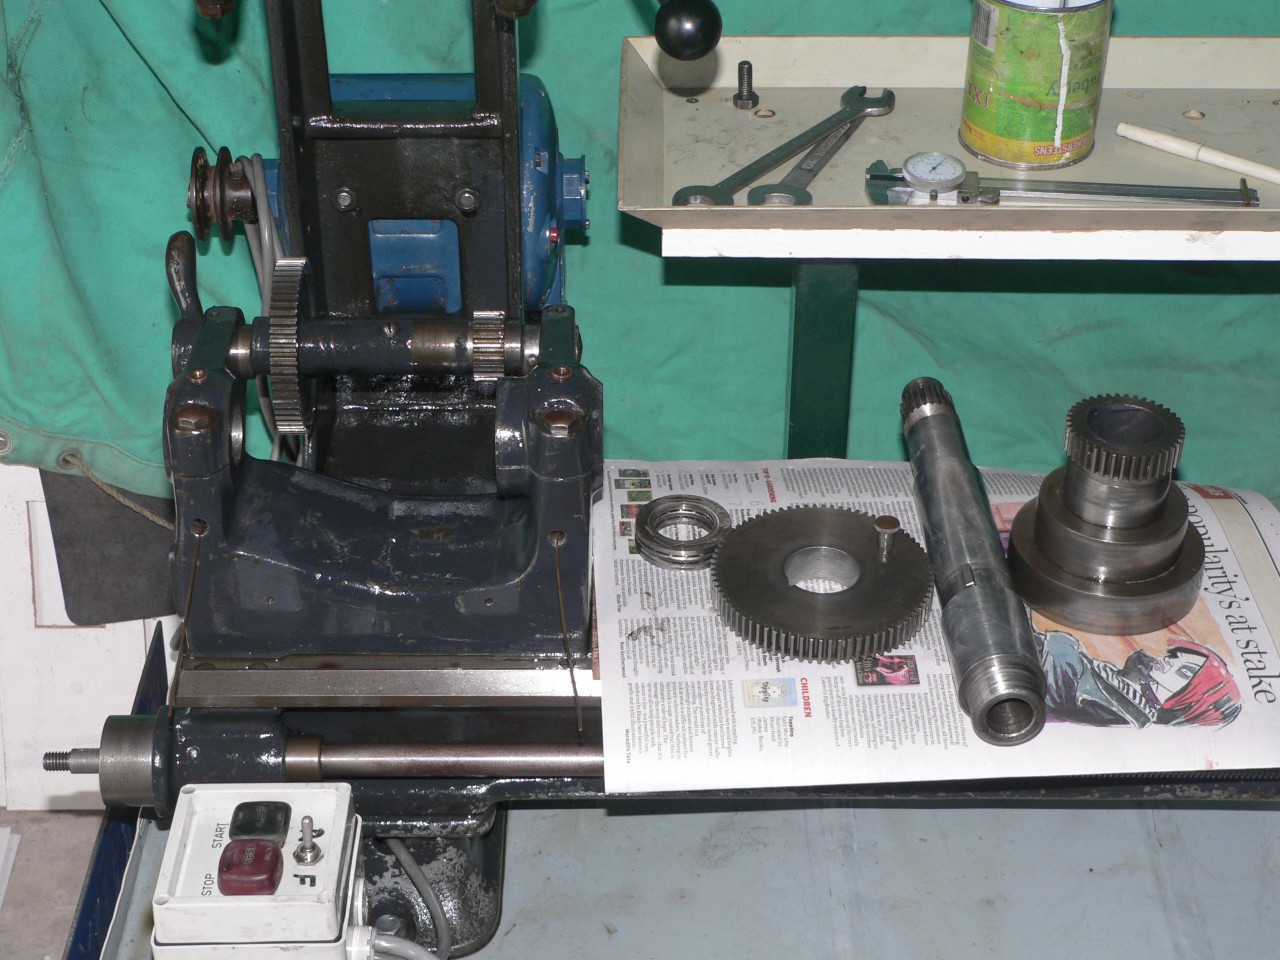
Countershaft and belts fitted. Testing all spins properly. The countershaft is a new piece of 3/4" S/S bar. The bearings have been changed since this photo. See the countershaft page for details of the change.
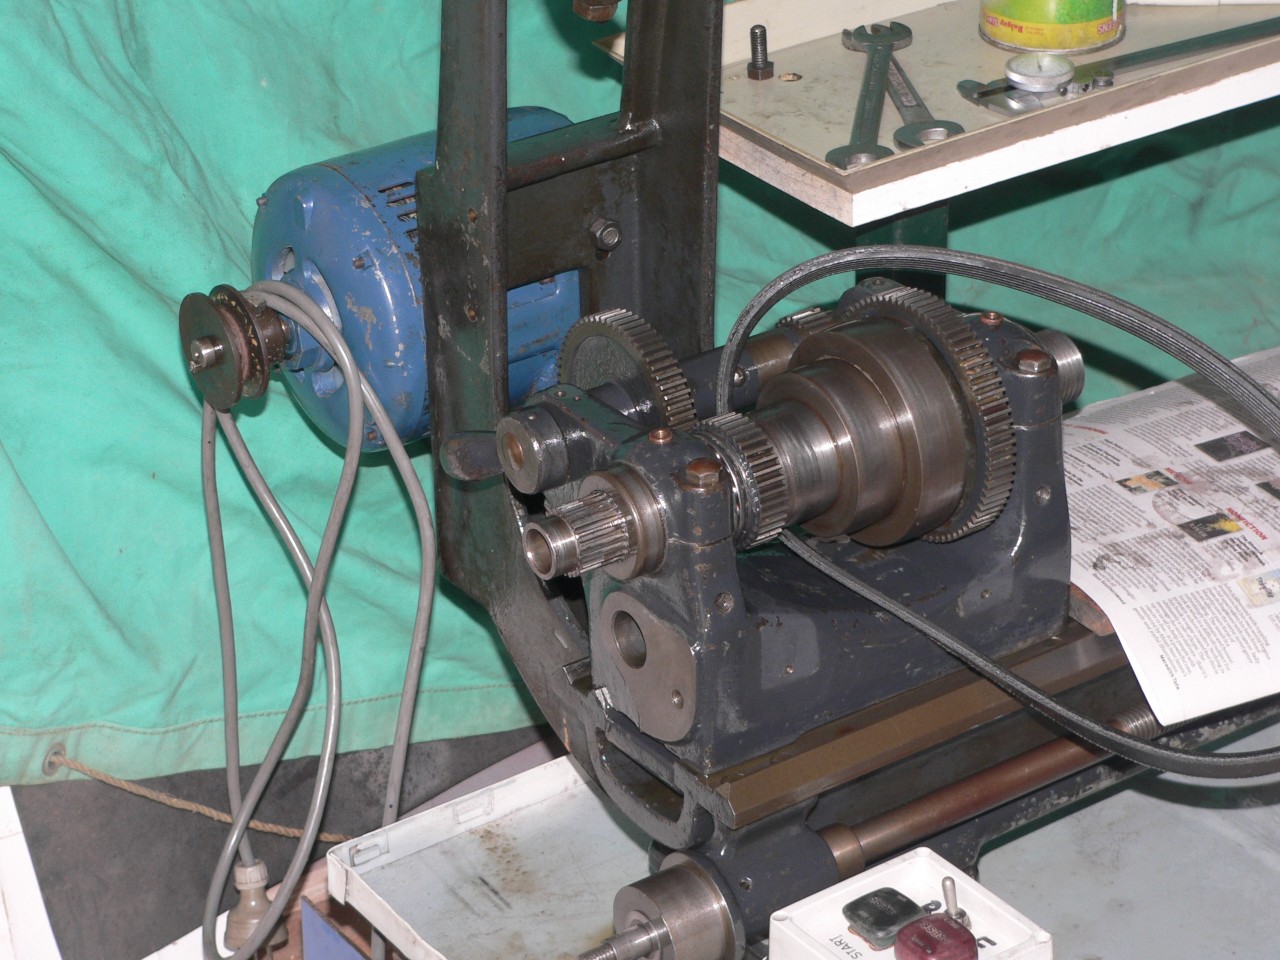
Gears installed. The gears are substantial and much better than those on my Chinese lathe. Once the gears are fitted I can position the headstock on the bed to get the best alignment. It ended up being about 1/4" from the end of the bed.

Carriage fitted. The belt is a serpentine belt (6PK0858) fitted with the grooves on the inside. I read that this provided better traction between the belt and the pulleys. If I had some spare pulleys I'd be tempted to machine grooves to match the belt ribs. Destroying original Hercus parts sounds like sacrilege to me so I'm leaving the pulleys alone for the moment.
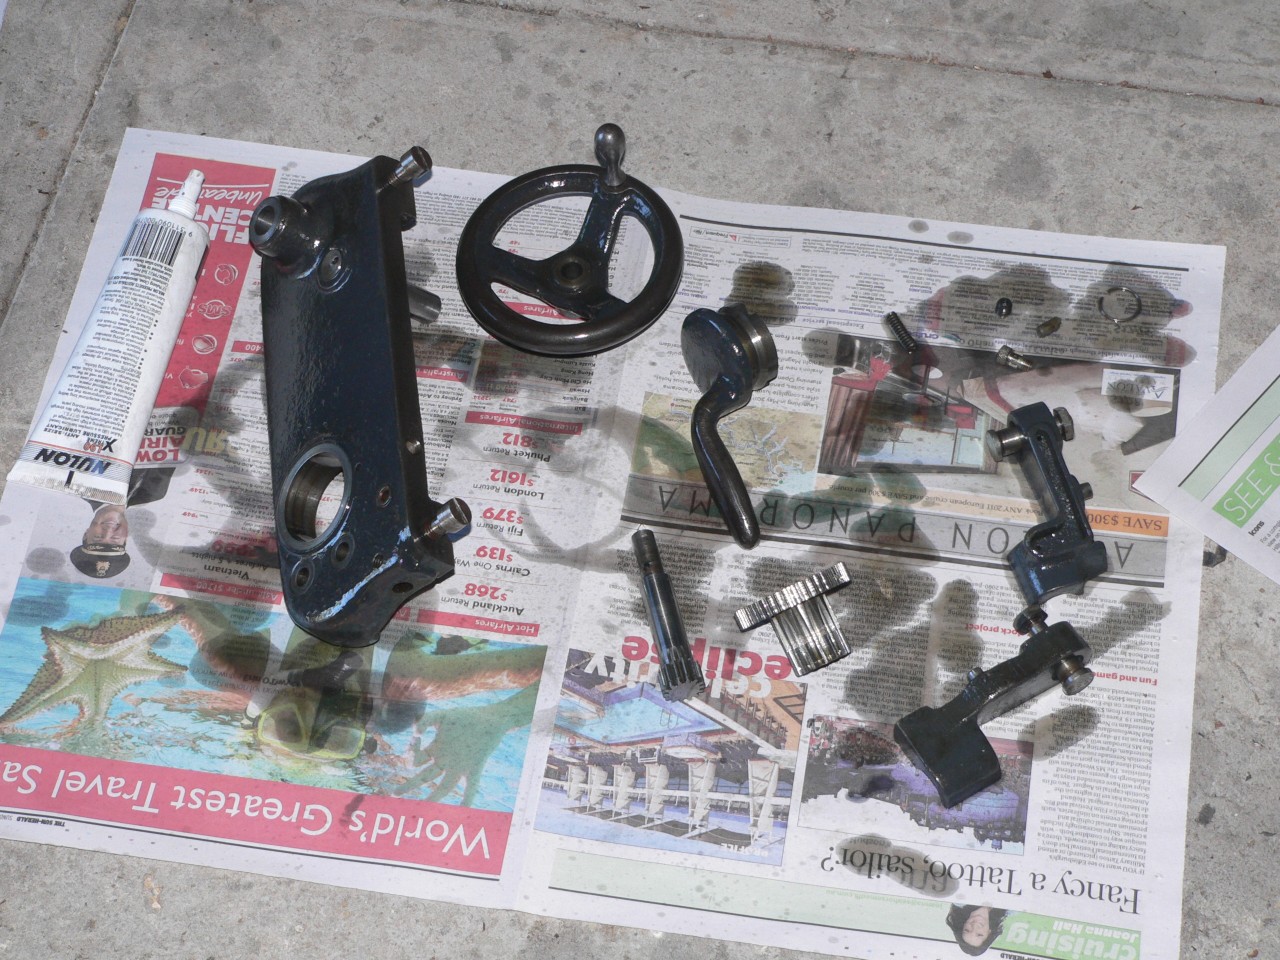
Apron components. I cleaned everything including the oilways which were full of crud. My South Bend Renovating Manual provided essential details to assist with this disassembly.
Apron and top slide fitted. One good thing about the simple Model C apron is that it can be removed/fitted with the leadscrew installed. The model A/B apron with power cross-feed would be good but I'd also need a matching leadscrew and cross-slide feedscrew.
Being safety conscious (and to stop oil flying everywhere) I've fitted the gear guards. The cover for the gear train will come later.

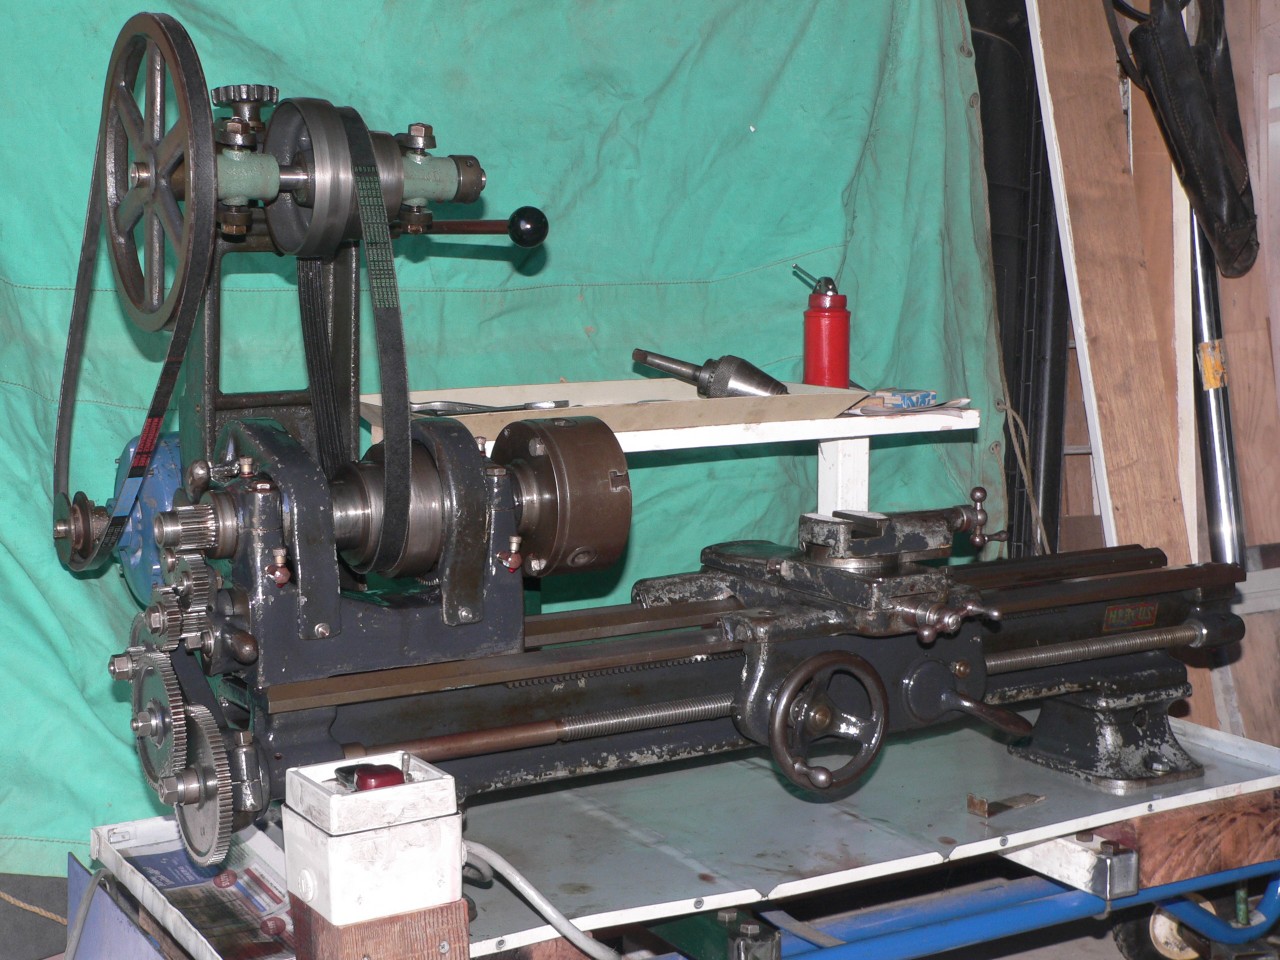
Tailstock fitted. The spanner that tightens the tailstock can foul the top slide. I wonder why they didn't provide back access. A camlock tailstock would be better as it has the lever behind the body.
Toolpost fitted. I'm using a spacer so the top of the tool is at centre height. Ready to cut some metal. The top slide is much more rigid than those on many Chinese lathes. The protractor is accurate which is also a welcome improvement over Chinese lathes. The dials are small and strain my eyesight. The superior quality is refreshing.
The lathe is rigid and handles heavy cutting well. I don't have a live centre for the tailstock yet so I've been using a dead centre. This works well and provides better support than some live centres I've used.
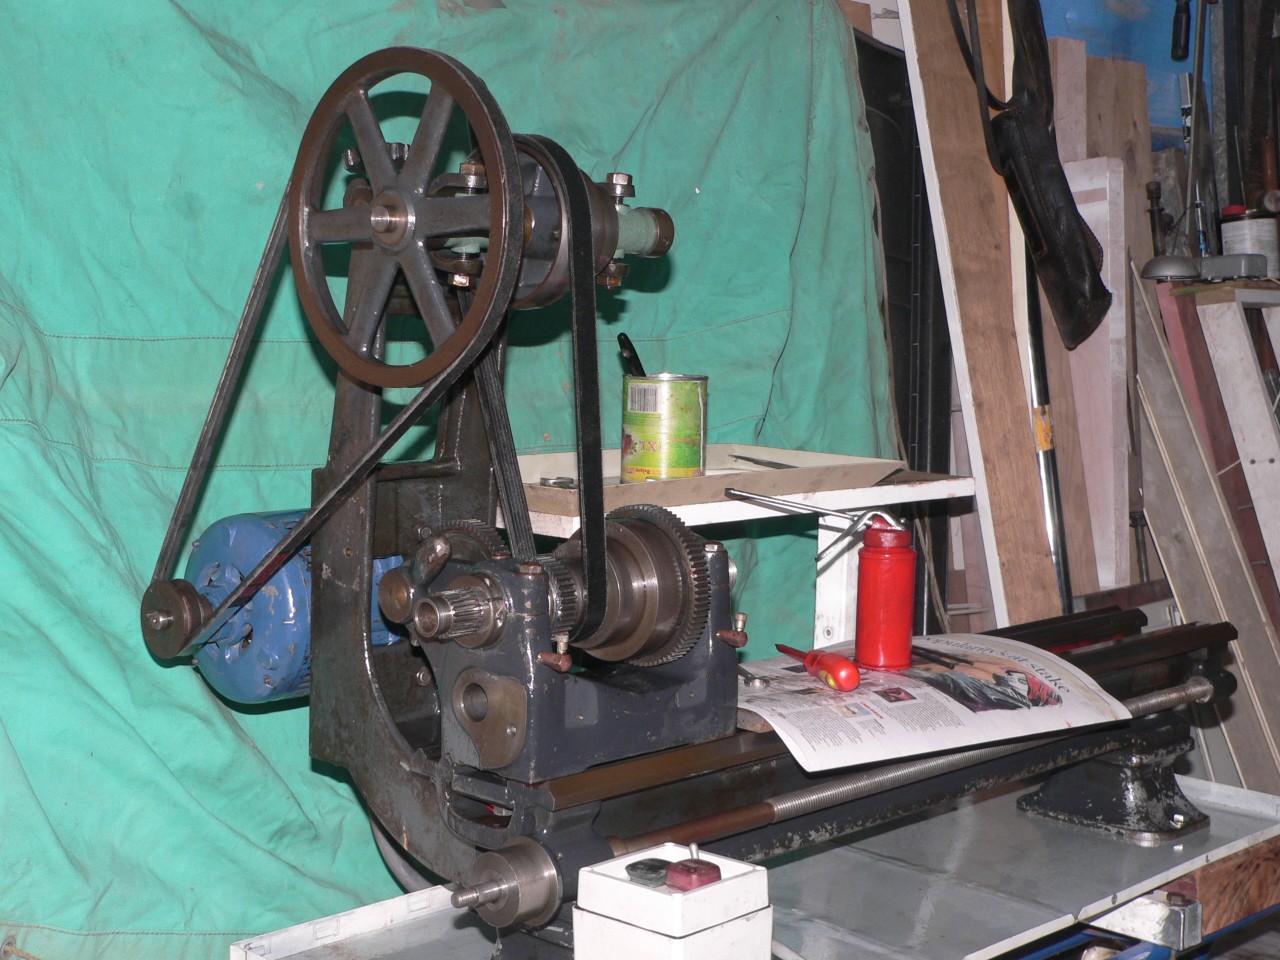
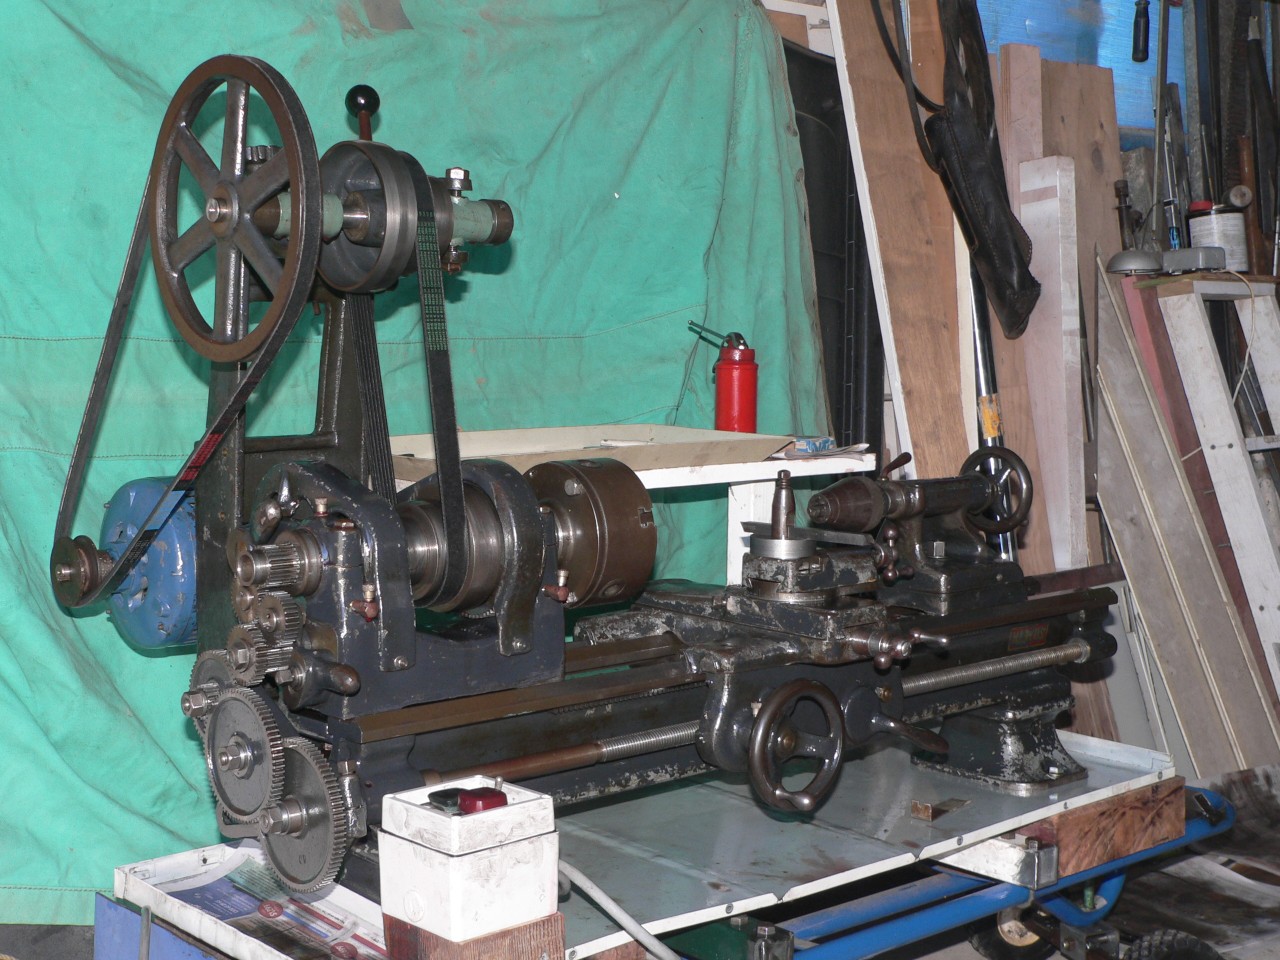
The flat belt slips far too easily and doesn't stay on the pulleys. More tension reduces both problems but the load on the bearings is far too high. The pulleys are oily which obviously doesn't help but I don't think it's possible to keep the belt and pulleys dry.
I turned the belt inside-out (not easy because it involves removing the spindle) and the traction was much better. Tracking is still unreliable and the belt never stays on when using the high-speed pulleys. Again, it looks like the belt is designed to run with much more tension.
The next idea is to try a V-belt or a toothed belt. The V-belt will stay on the pulleys (when I get the Hercus upgrade) and traction should be better. A toothed belt sounds even better if I can machine some suitable pulleys. These are available so I'm thinking about the best way to try this approach.
Soon after this rebuild I bought some V-belt pulleys (Hercus option) and there is a report here. The toothed belt idea is dead because the V-belt works so well.
Report pages :
Last modified 2010-07-17