Restoration of 1054
Beforehand
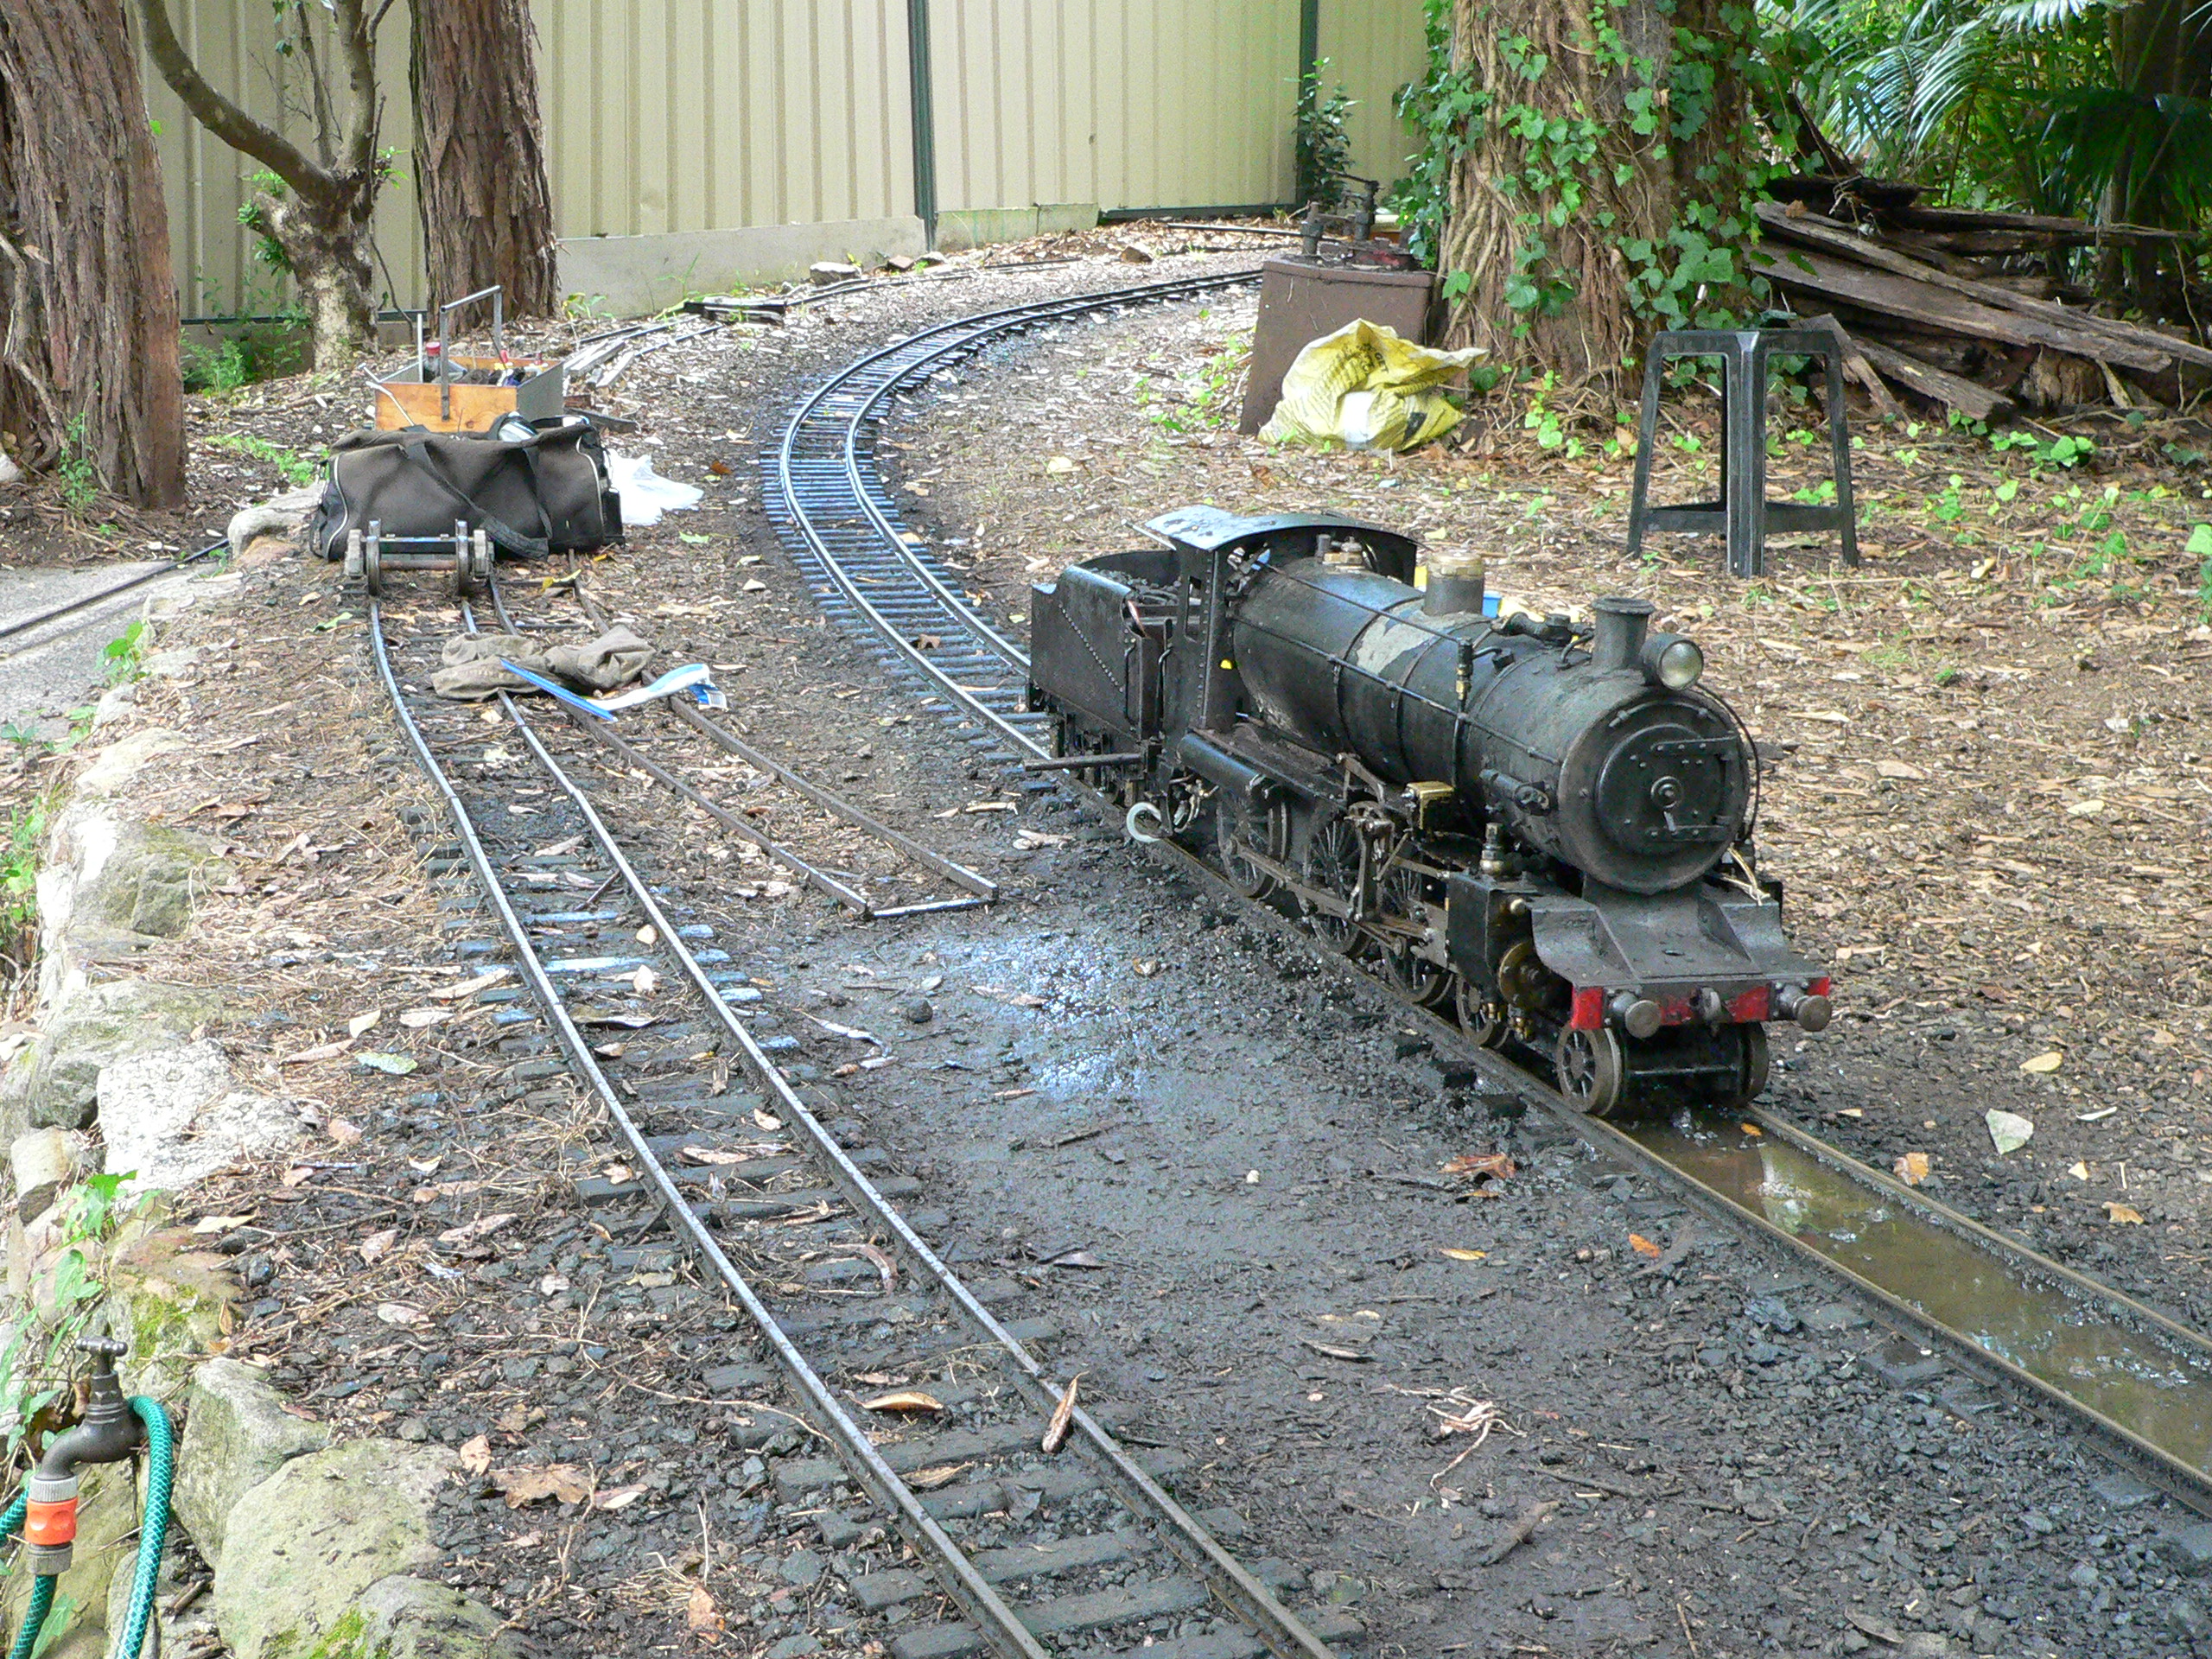
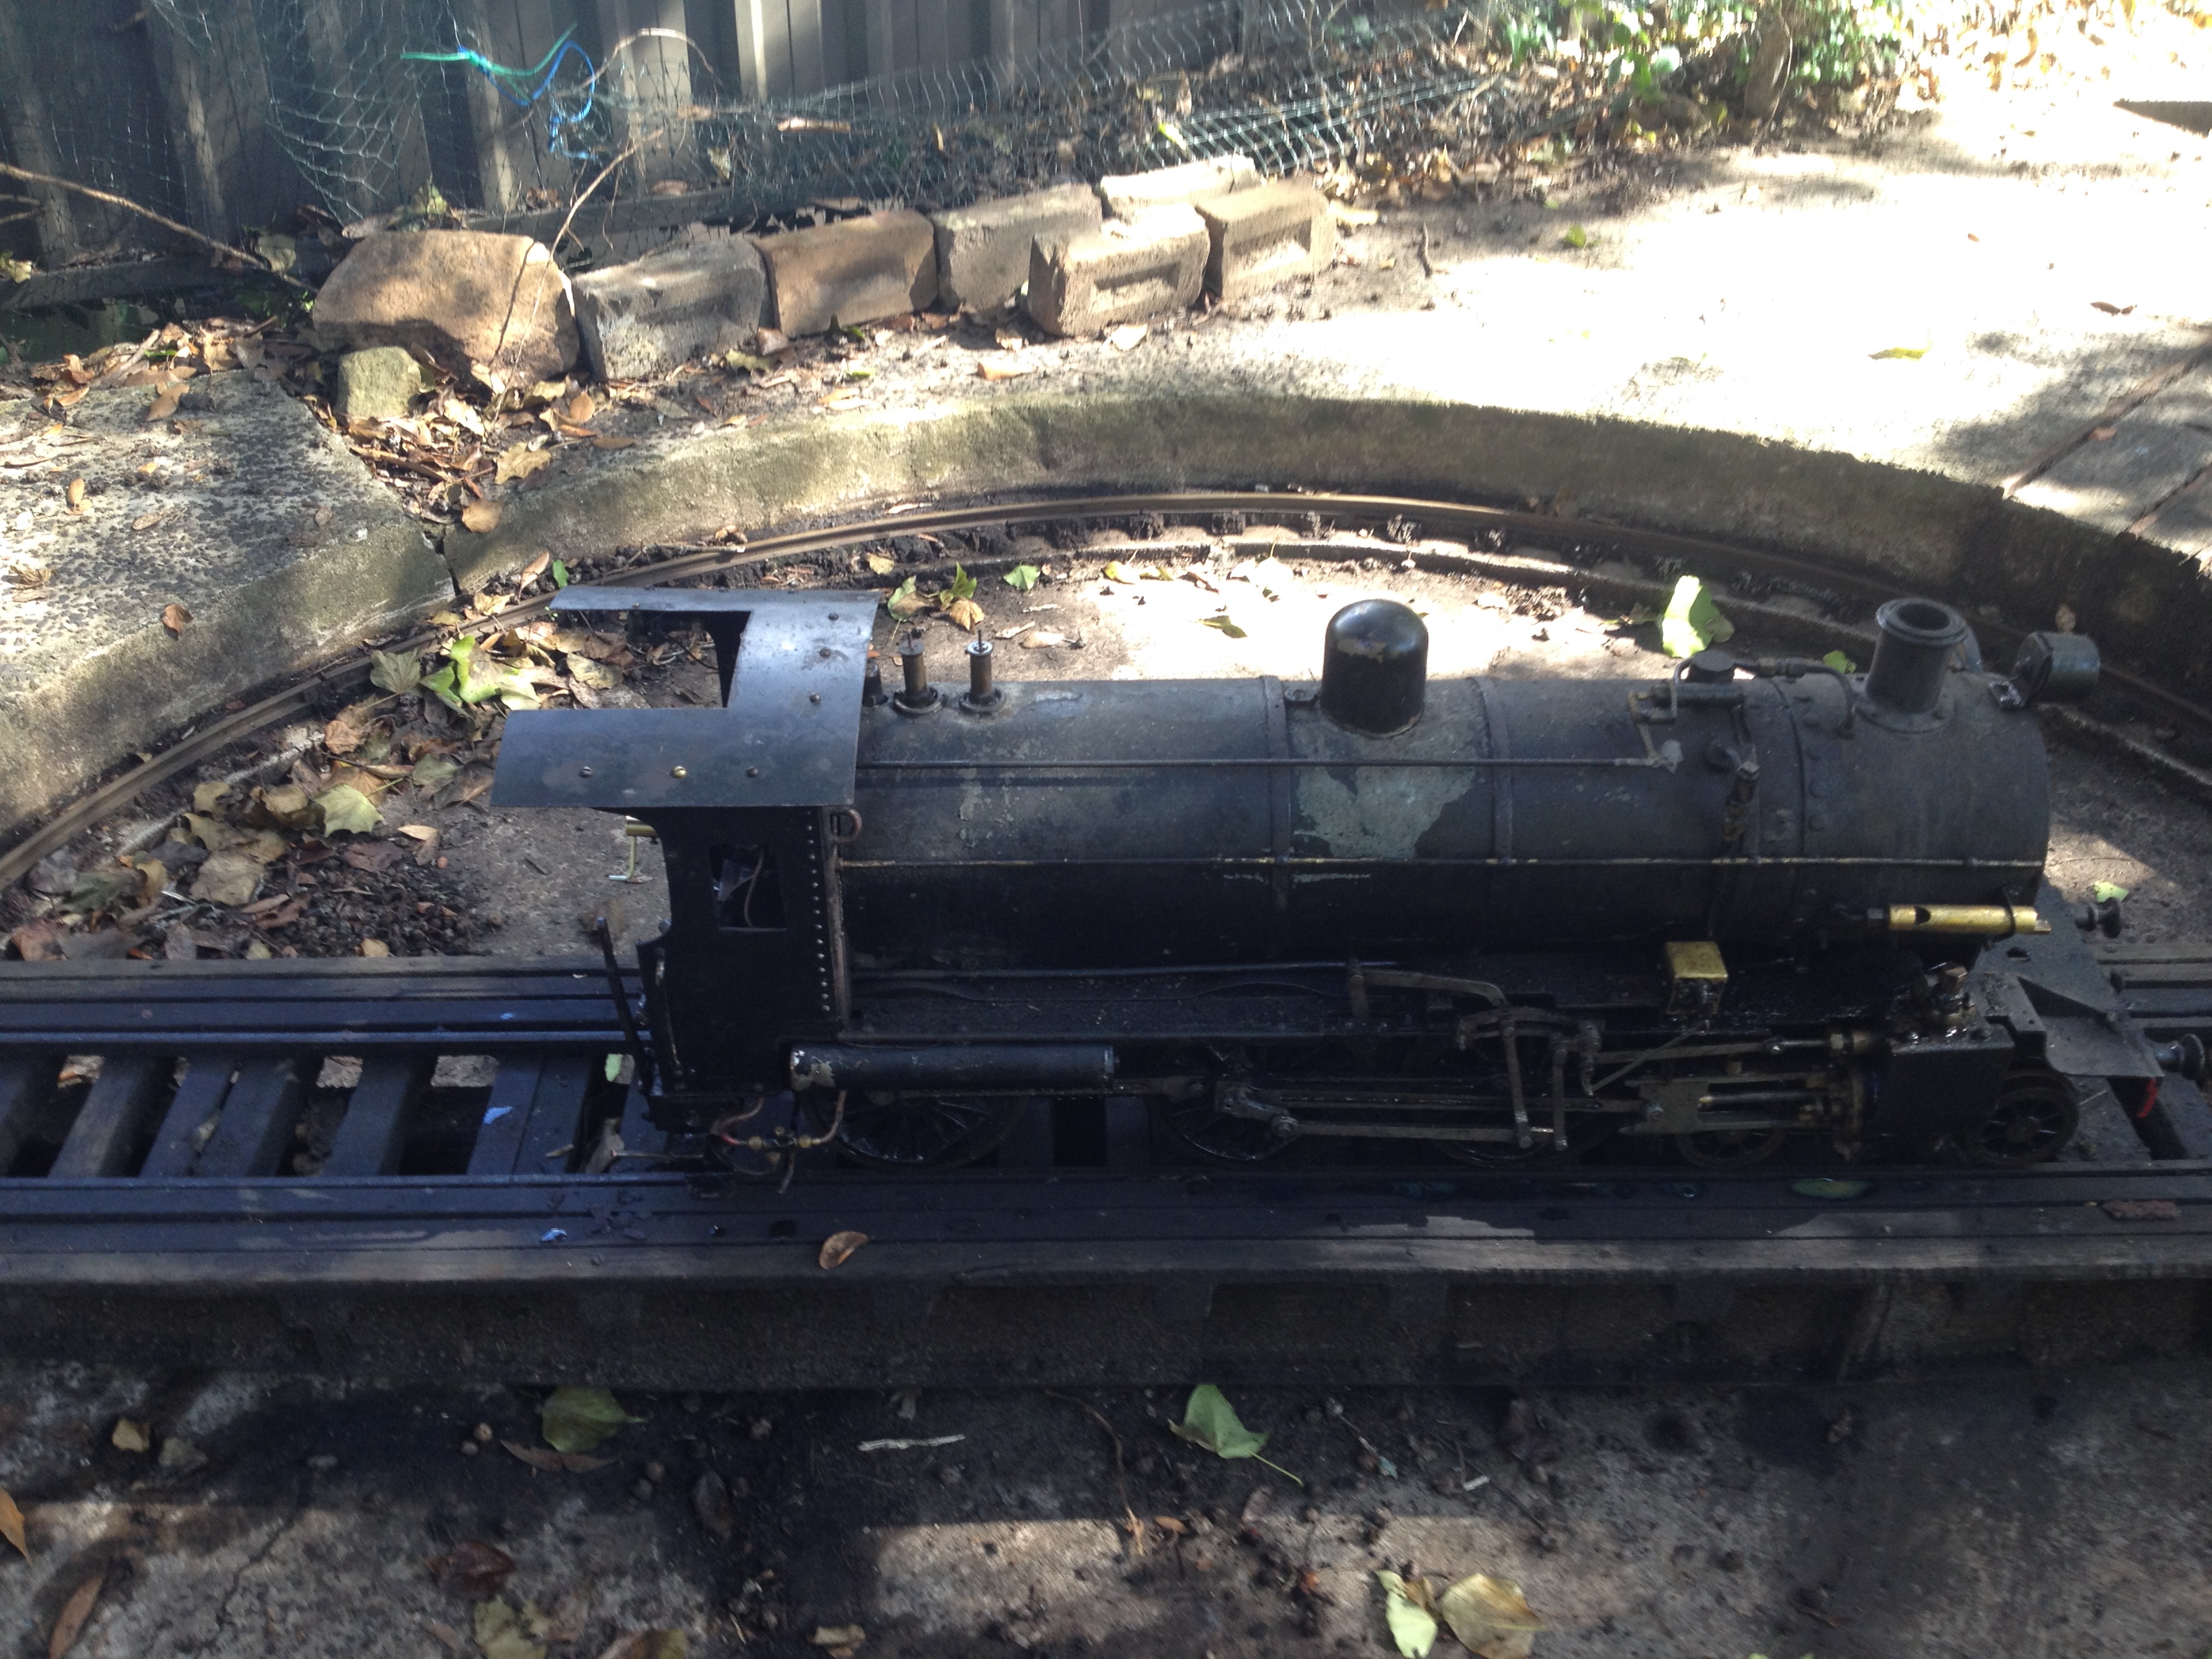
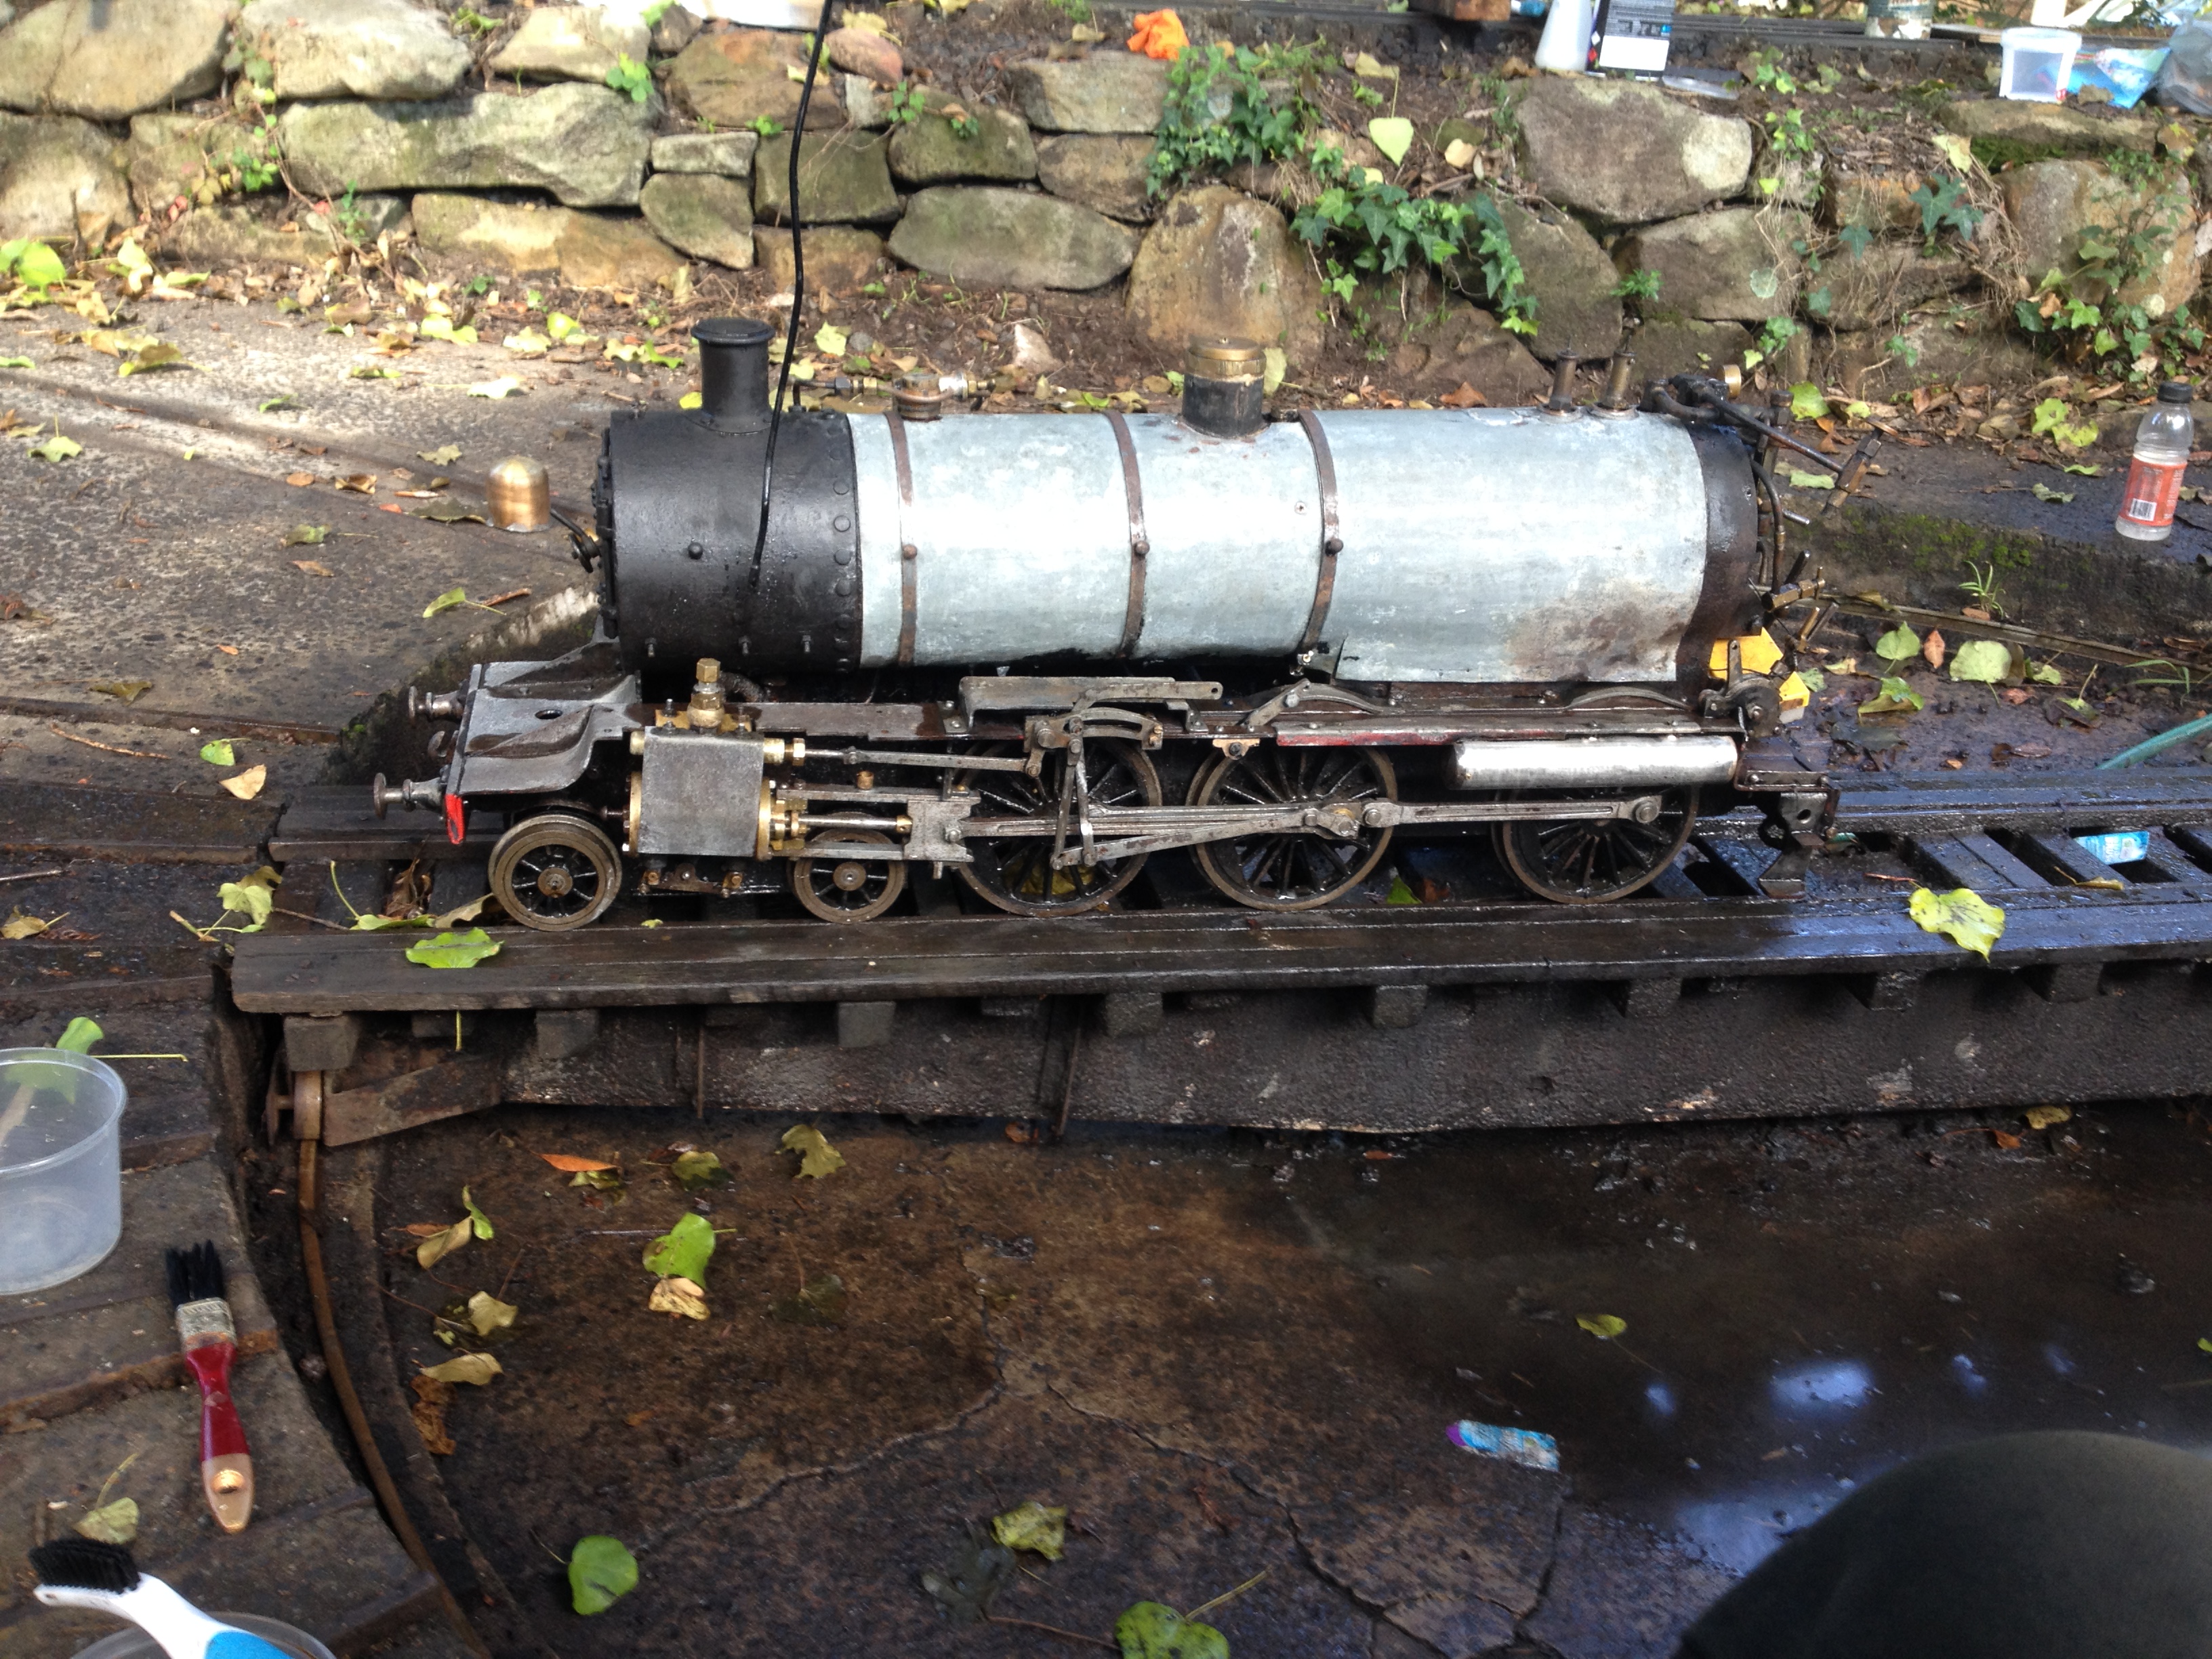
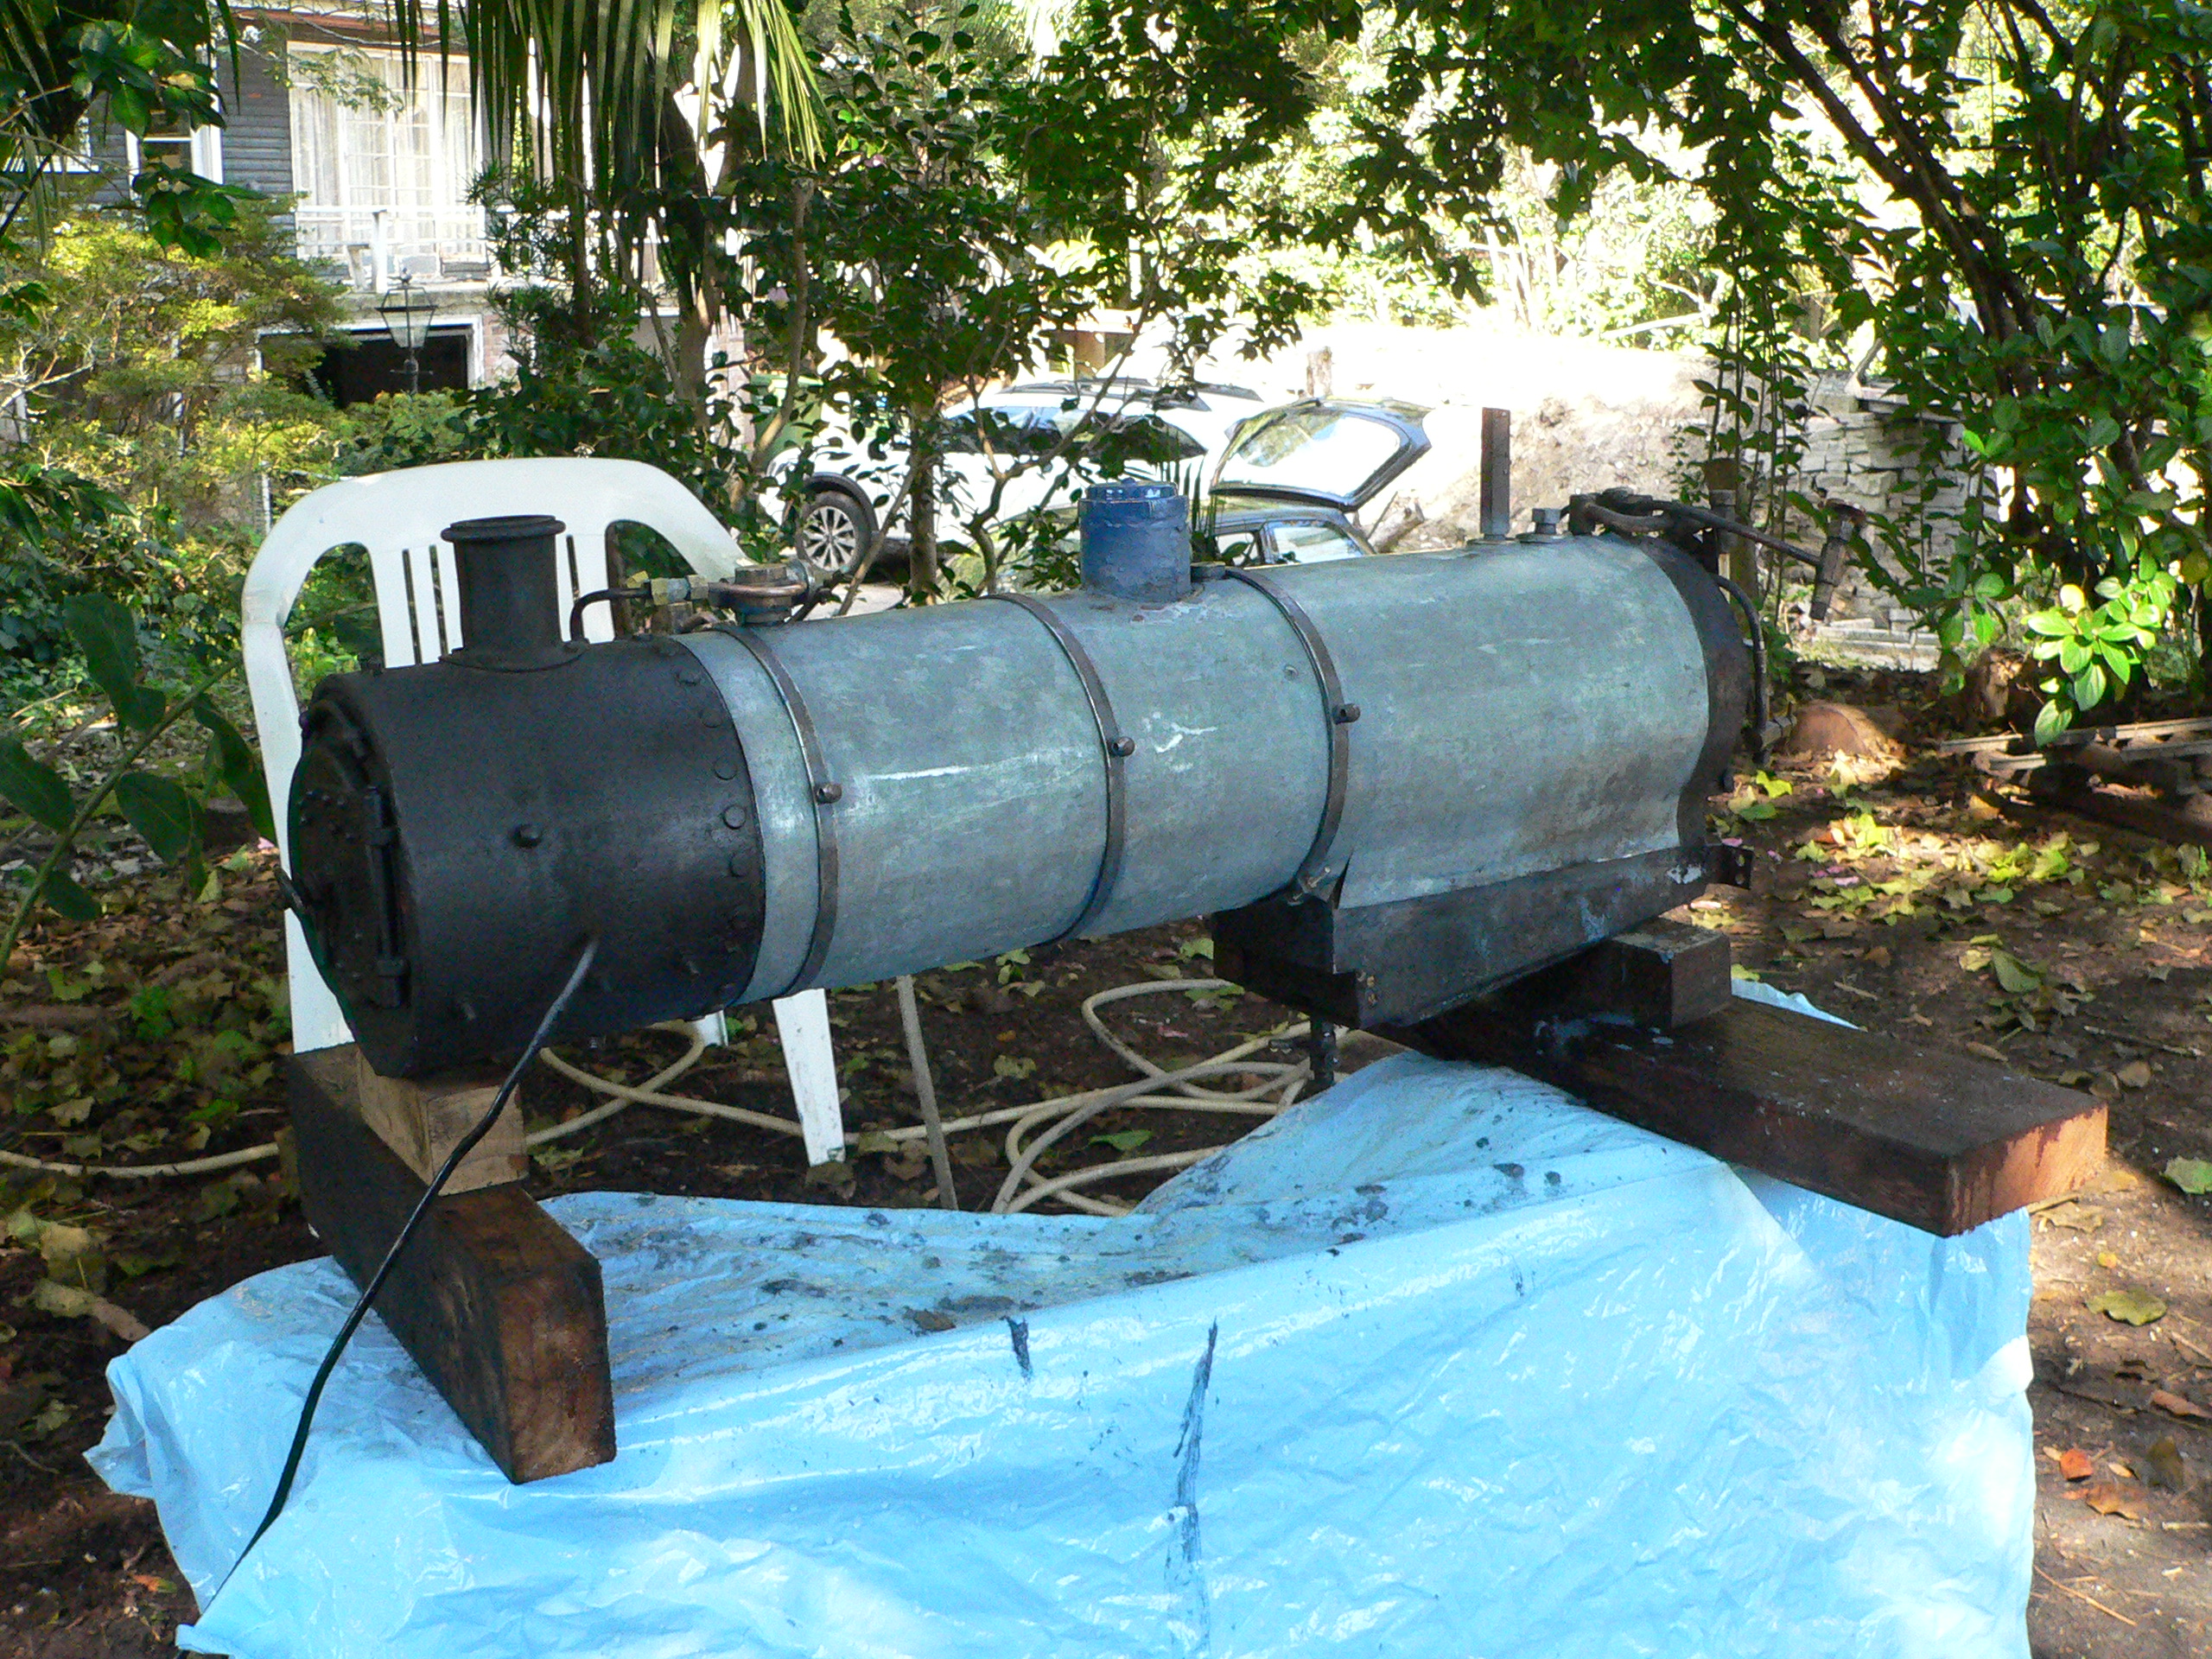
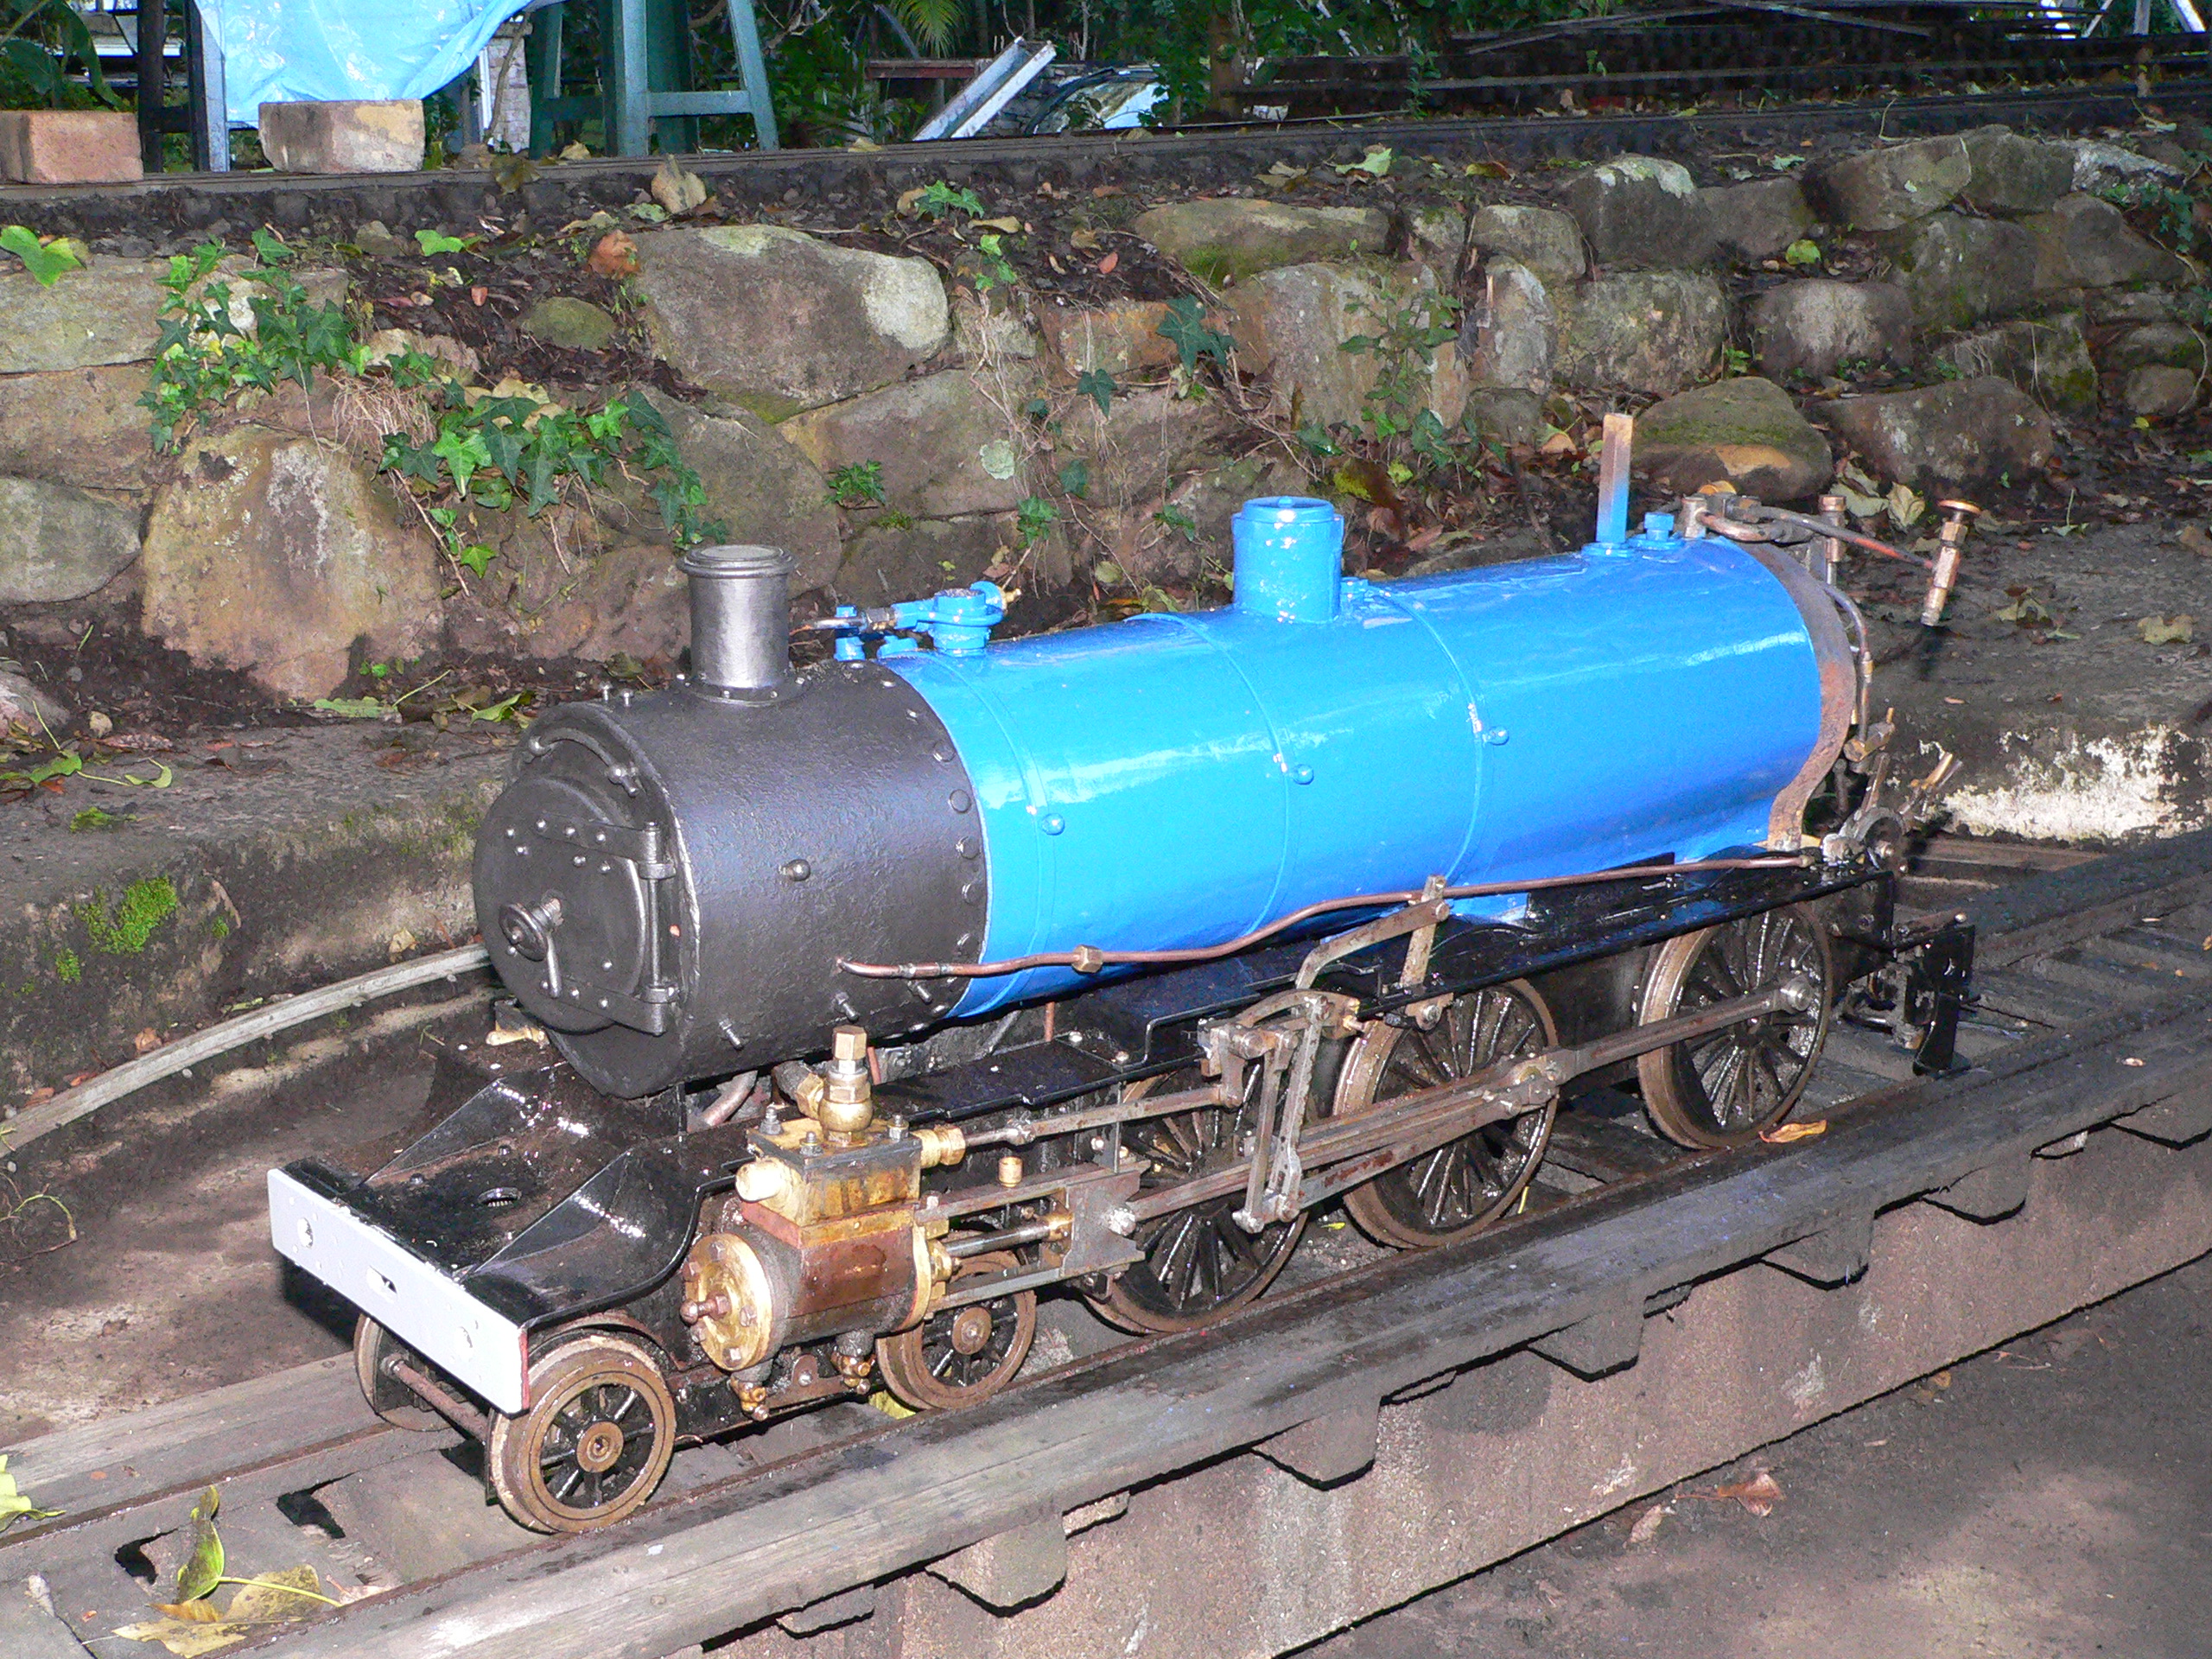
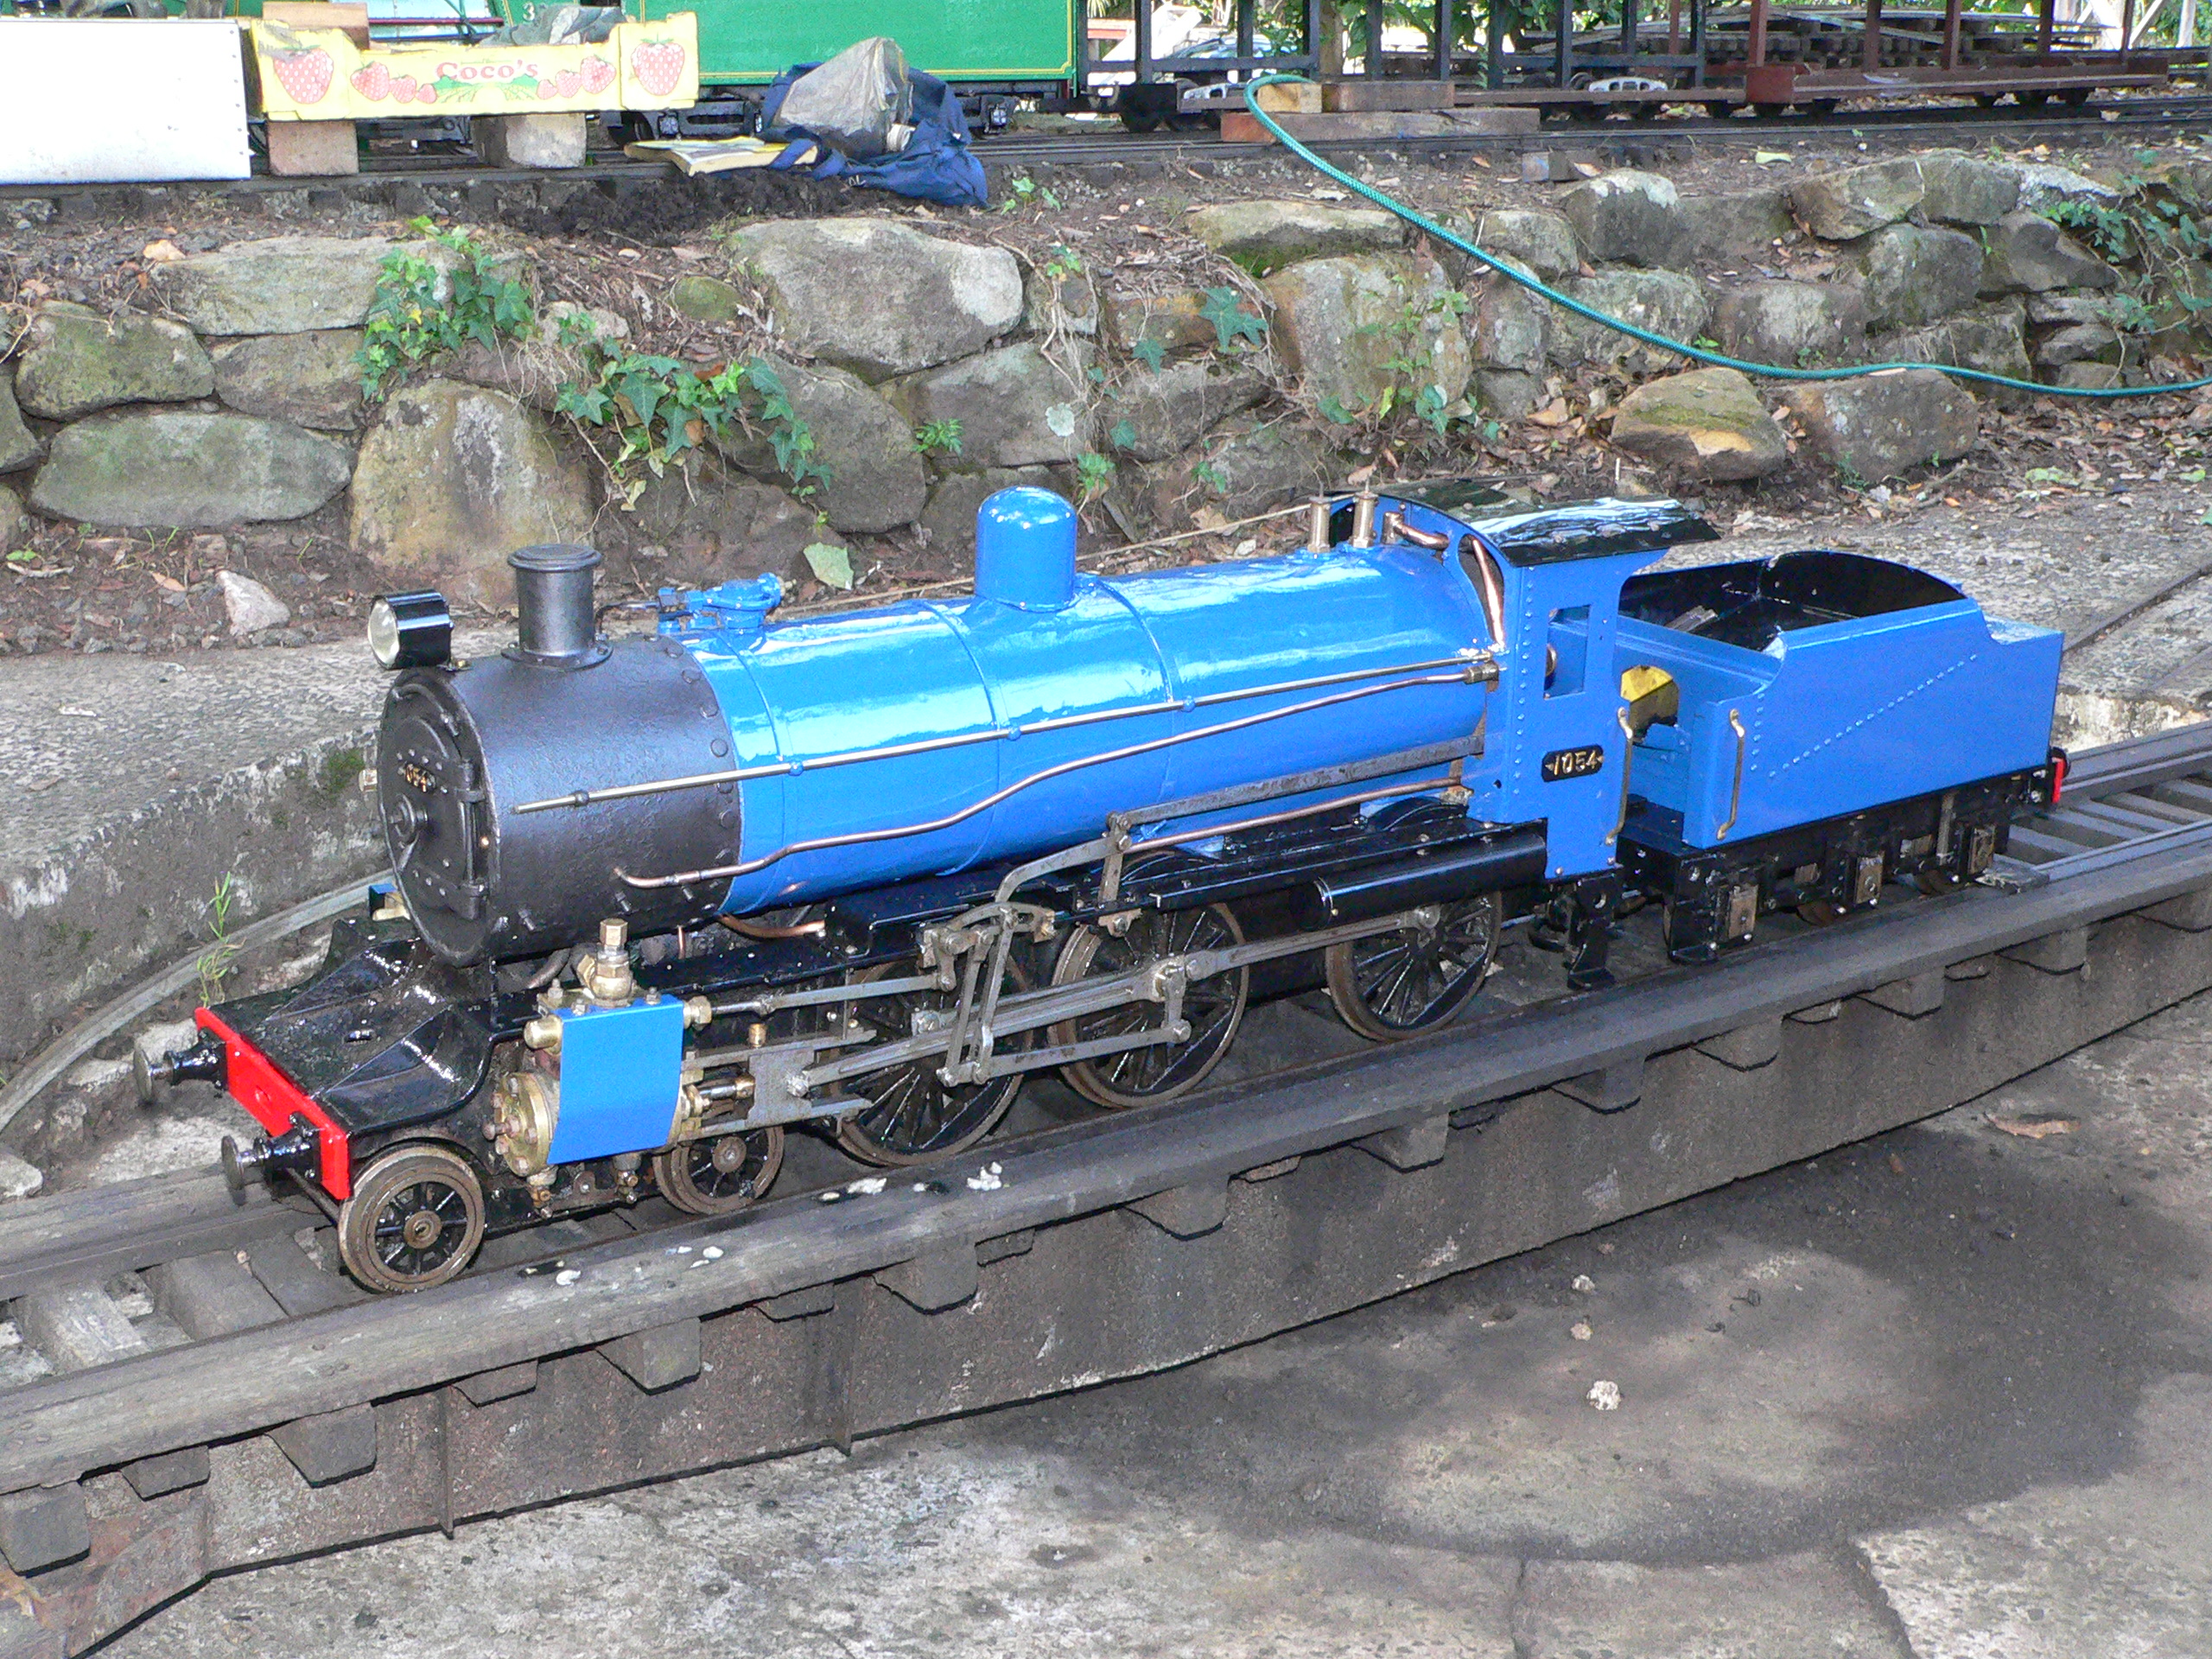
We tested the boiler and steamed this loco in February 2017 but it ran like a dog and couldn't keep steam and looked terrible because it was a mix of dull black and bare metal.
The regulator wouldn't close properly and much worse it jammed in the fully open position. After much investigation and guessing and many attempts we realised that the linkage was reversed and a spacer was missing and the regulator rod longitudinal alignment was incorrect. When these problems were fixed the regulator finally started working properly.
The blower and blast pipe made a hell of a racket but they just weren't pulling the fire properly. This was the case back in the '70s so it was not a new problem. I found that the blast pipe was far too low below the petticoat so I fitted an extension that raised the blast pipe and blower jets. The extension has smaller blower jets so the restriction is the jets rather than the blower pipe from the control valve. This extension changed the sound of the loco considerably and also fixed the draught problem. This loco has a very narrow grate and oversize firetubes meaning it still doesn't steam as well as hoped and also the fire needs more work than normal to keep it alive.
The loco has Southern valve gear and the bushes are worn resulting in less than full valve travel. An early attempt to re-position the slide valves did little to help the problem of uneven beats. A later effort increasing the eccentric crank circle radius did help and showed how much better the loco could run.
We discussed repairing and repainting the loco and in April 2017 my brother had two weeks holiday and ordered some paint.
Preparation


The original idea was to clean the loco and brush paint using KBS paints which flow well and hide most brush marks. Then we decided to dismantle the tender so I could clean and paint the rusty inside surfaces. Paint stripping went well because we used paint stripper in a spray bottle. Cleaning and phosphating and rinsing completed this stage.
Painting
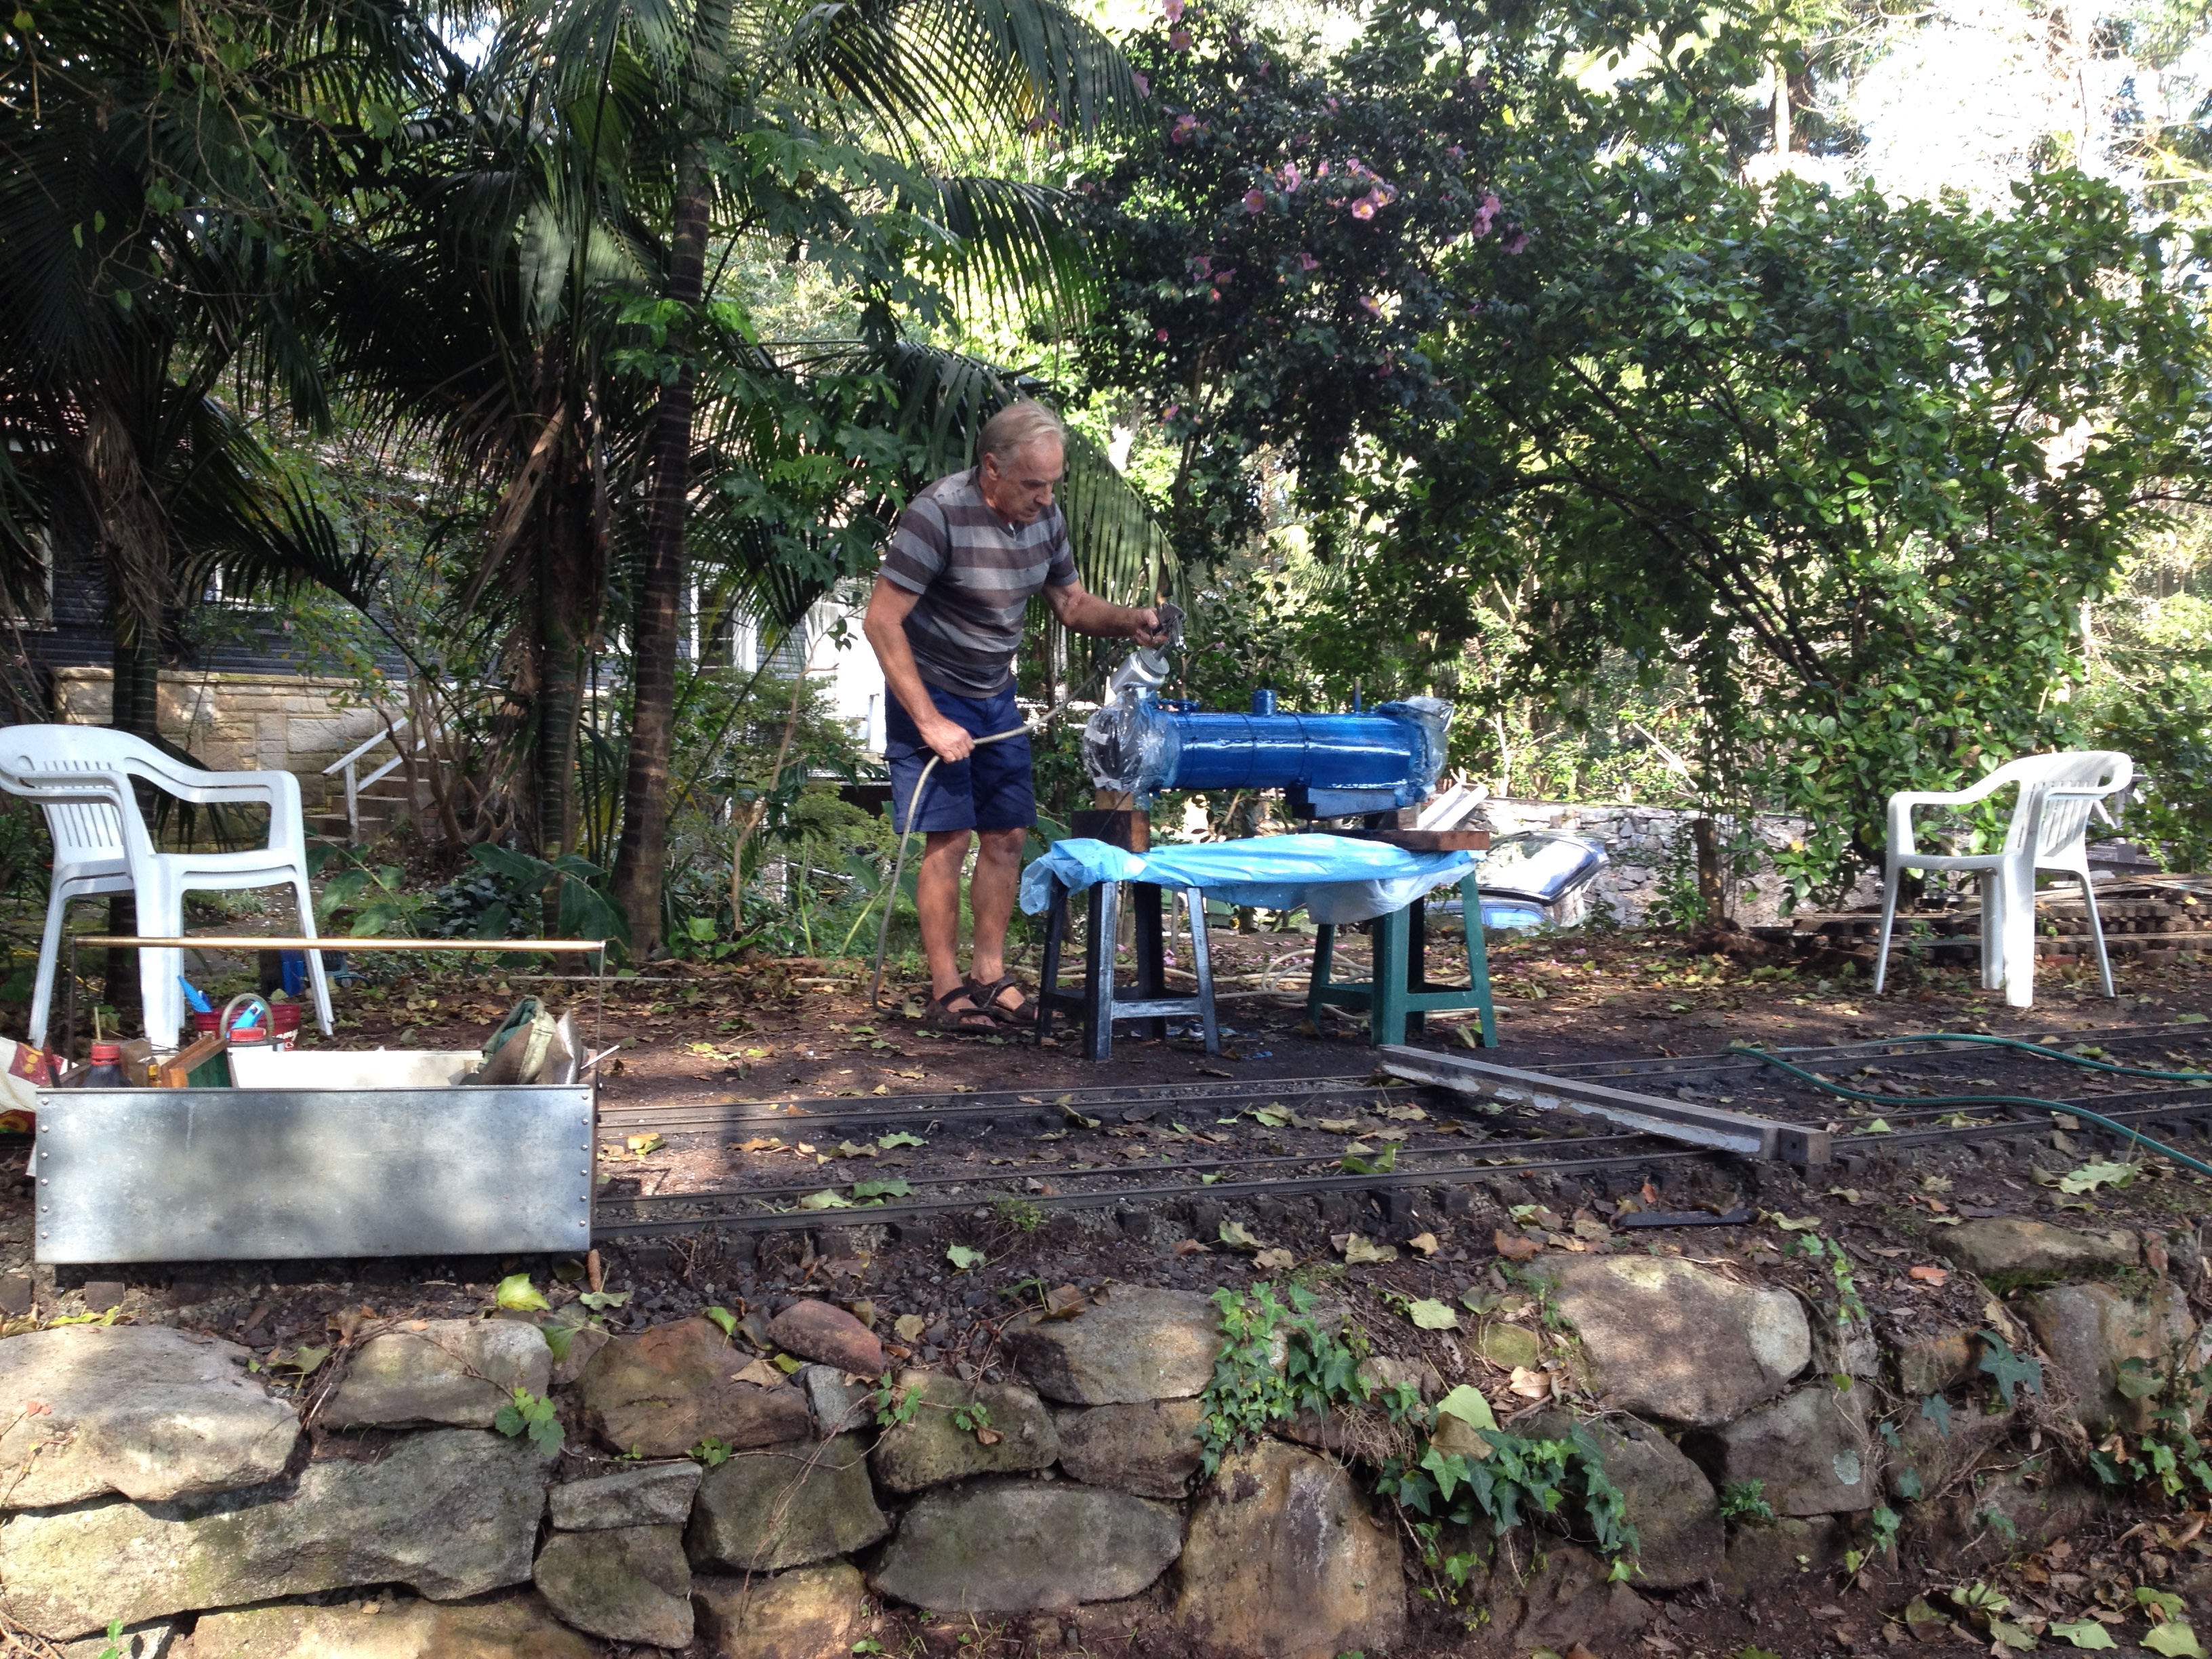
We used KBS Rustseal (brushed) as the undercoat and this went well. For the boiler cladding we used a spray can etch primer. For the cladding top coat we brush painted car engine enamel which turned out much worse than we hoped. The next day we sprayed other surfaces with this enamel and these turned out well so we decided to sand and spray the cladding. After sanding we sprayed some primer and unfortunately this crinkled the remaining top coat. So we stripped the cladding again and left painting for the next day.
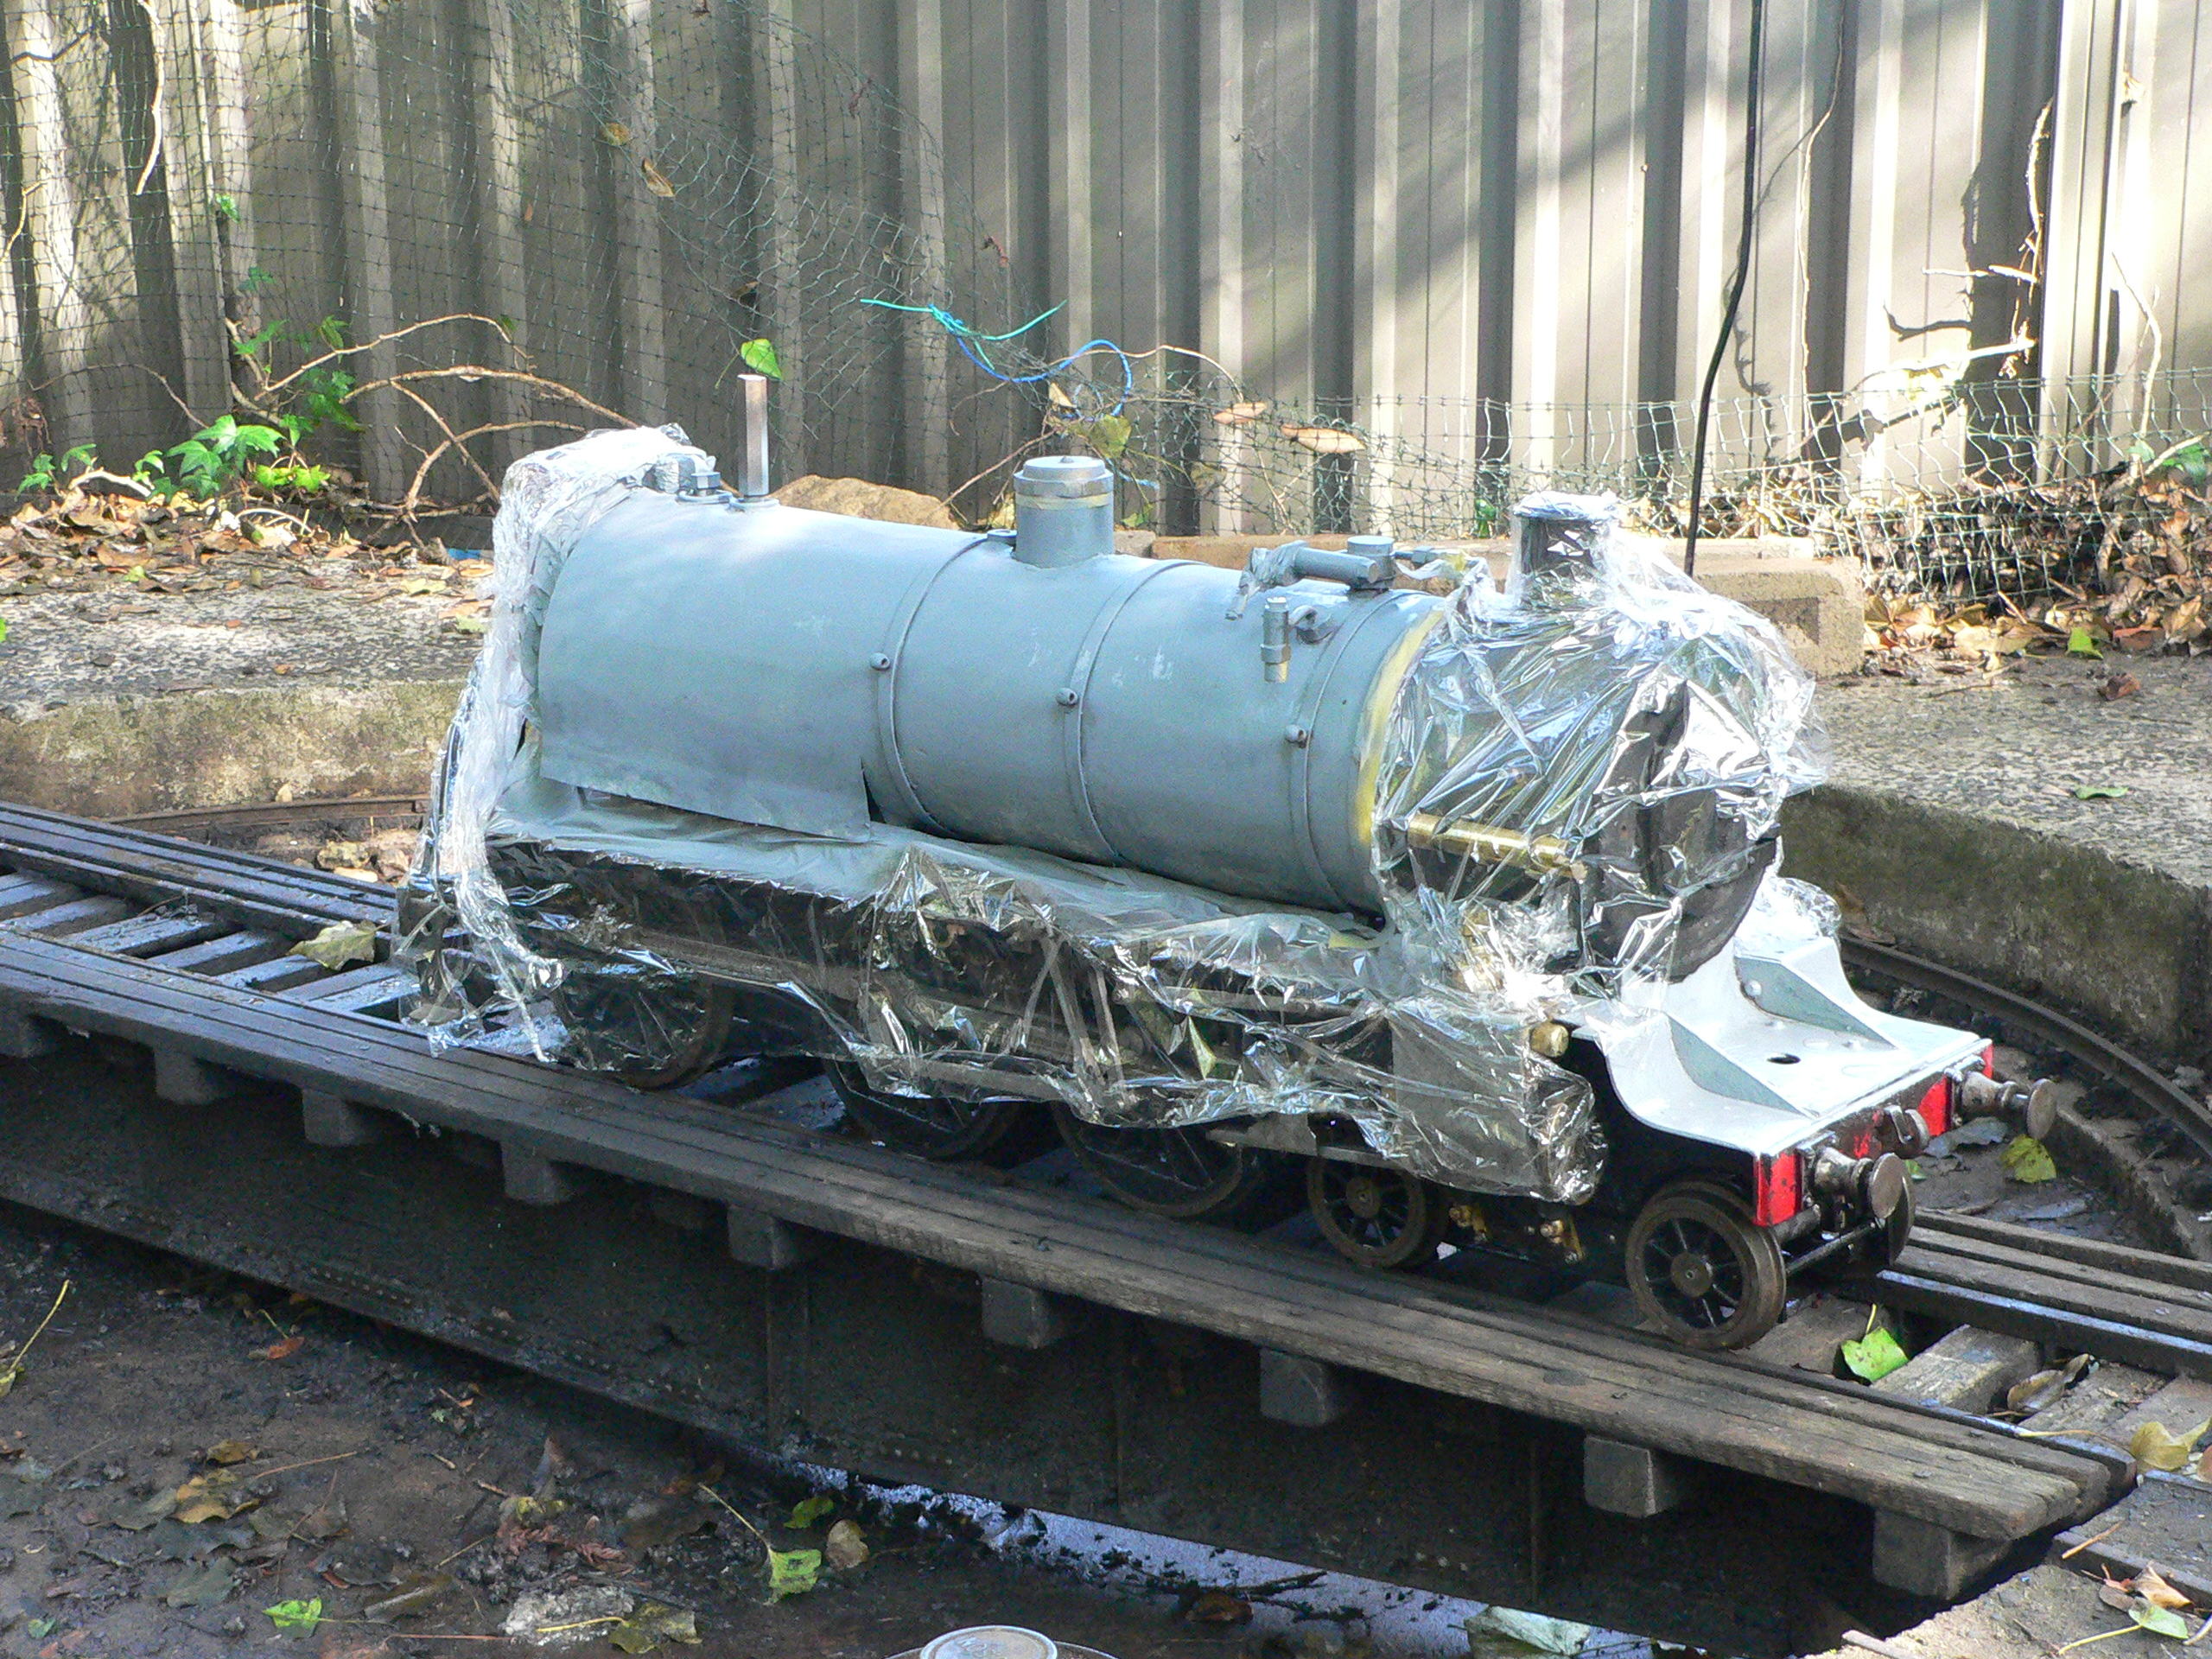
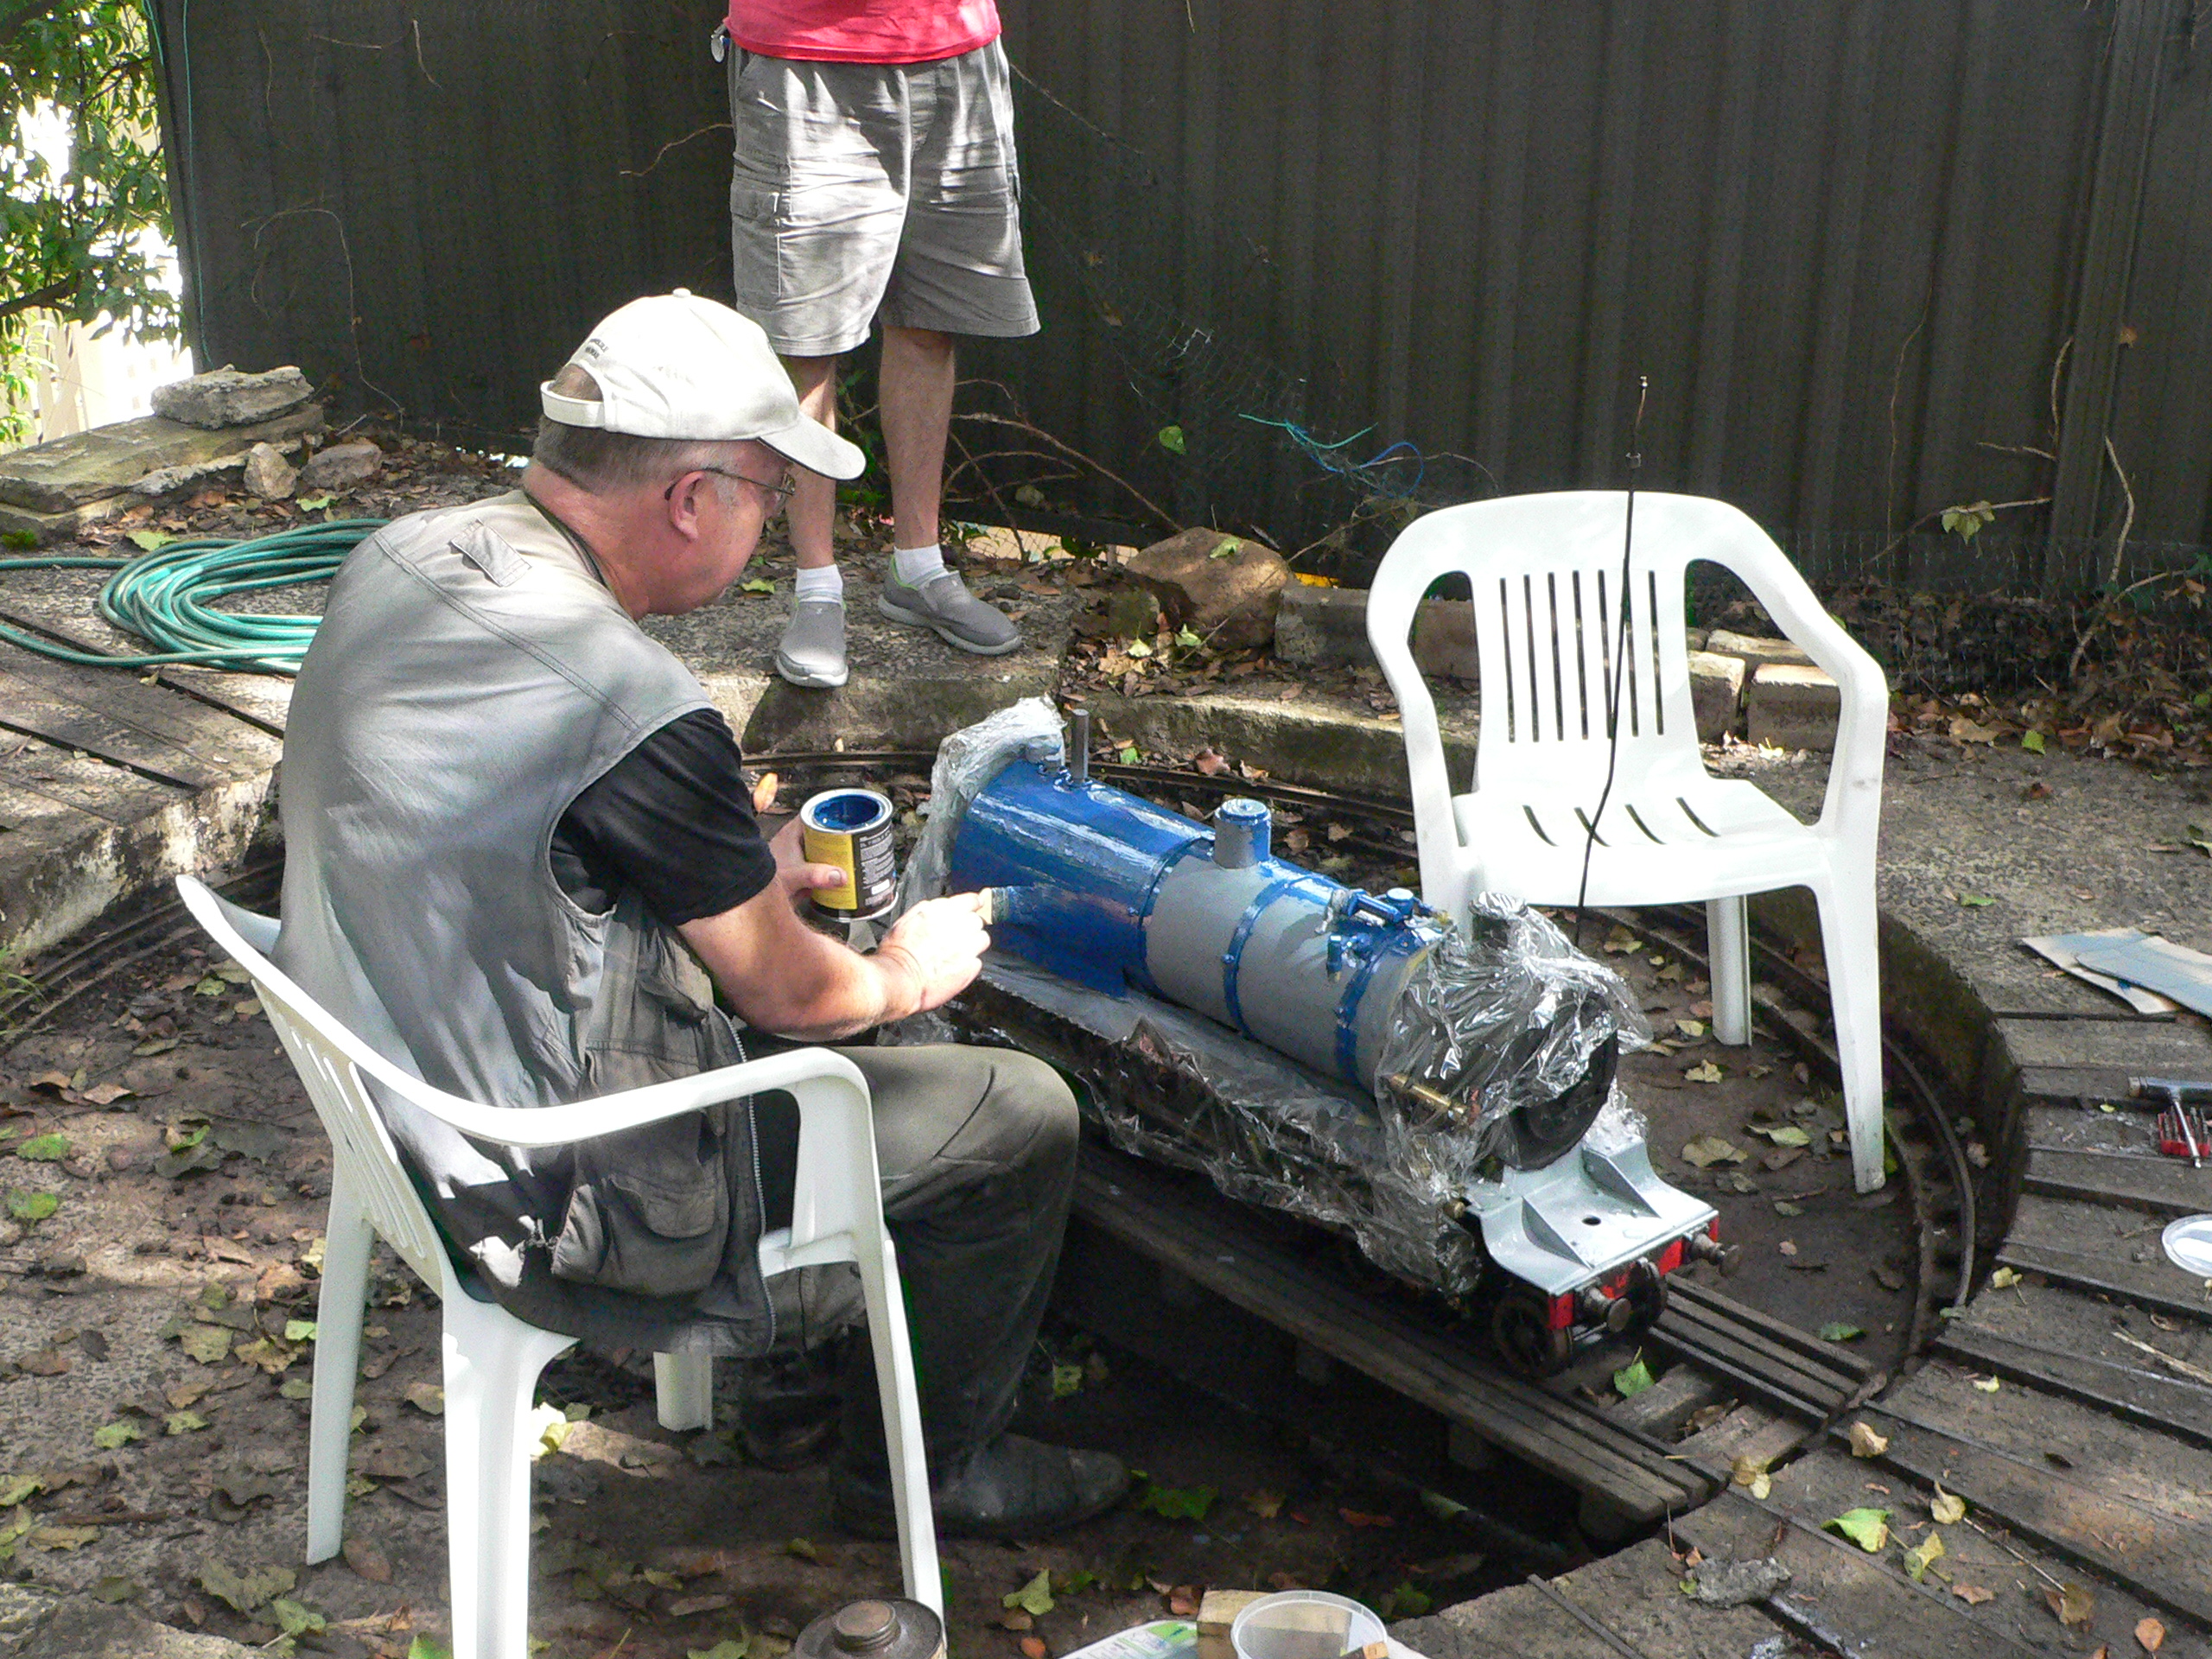
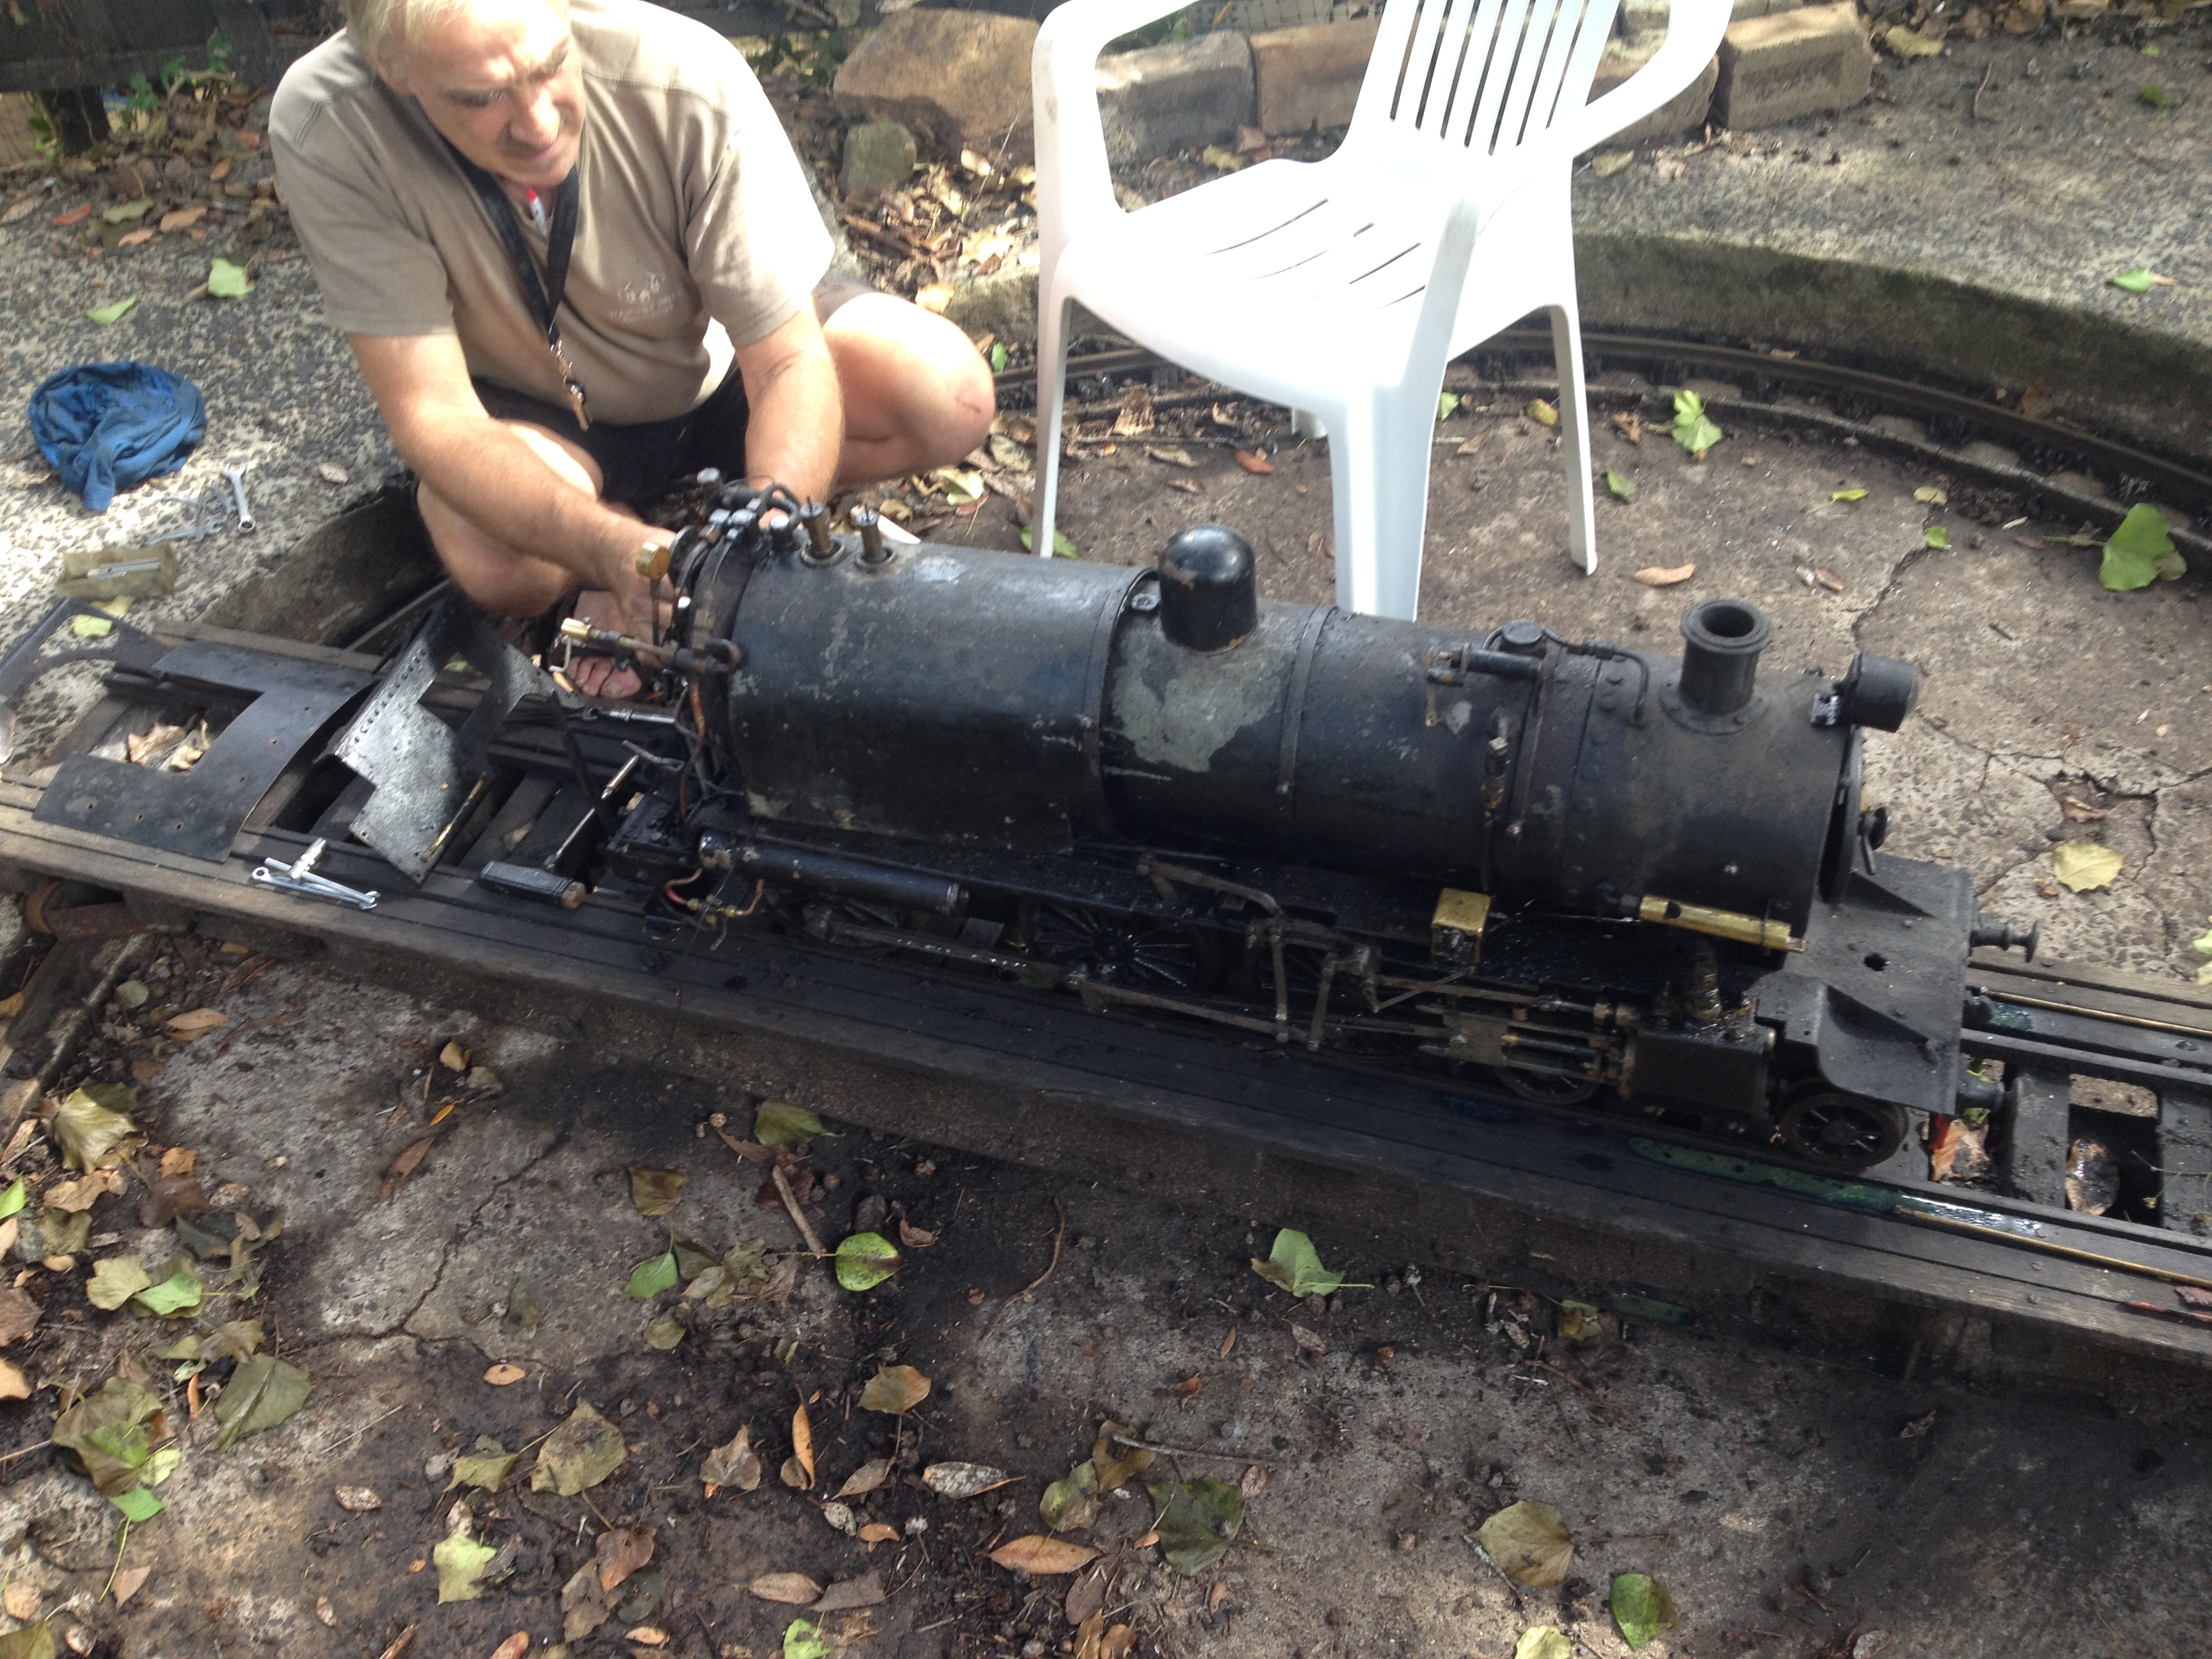
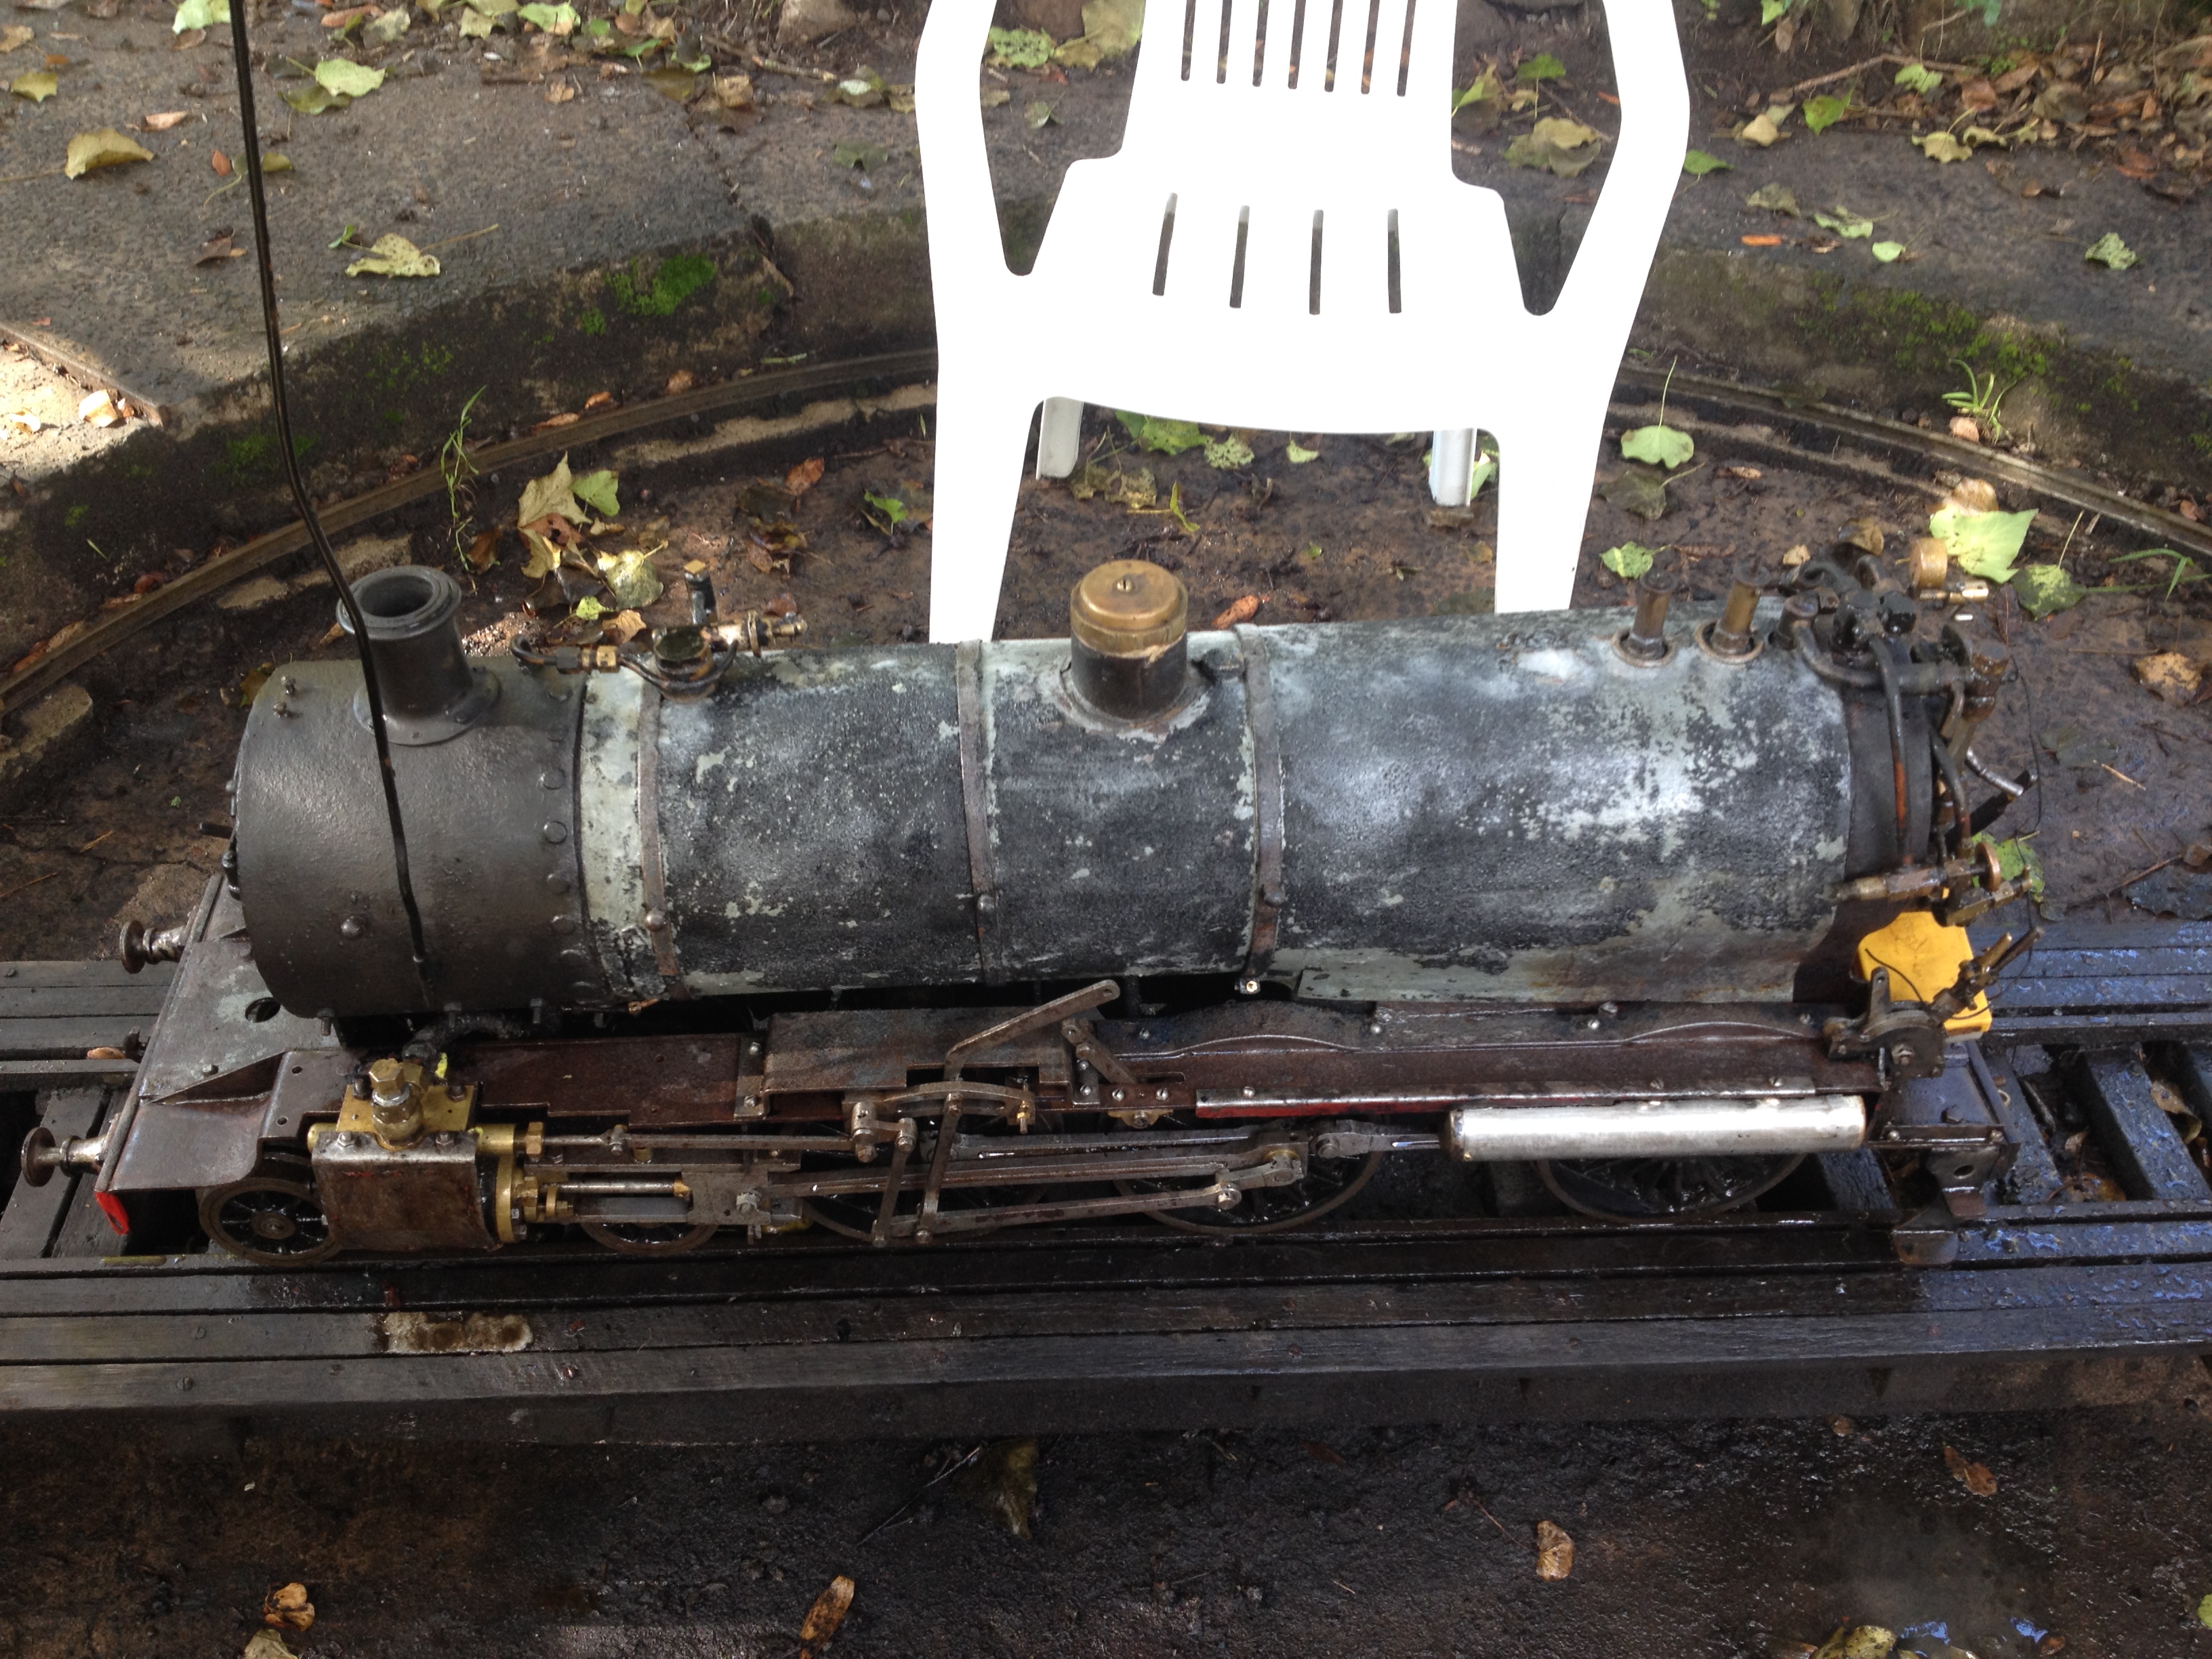
The next day we decided to remove the boiler from the frames to get better access to some of the cladding. This extra effort was definitely worthwhile and we sprayed primer and then top coat later in the day.

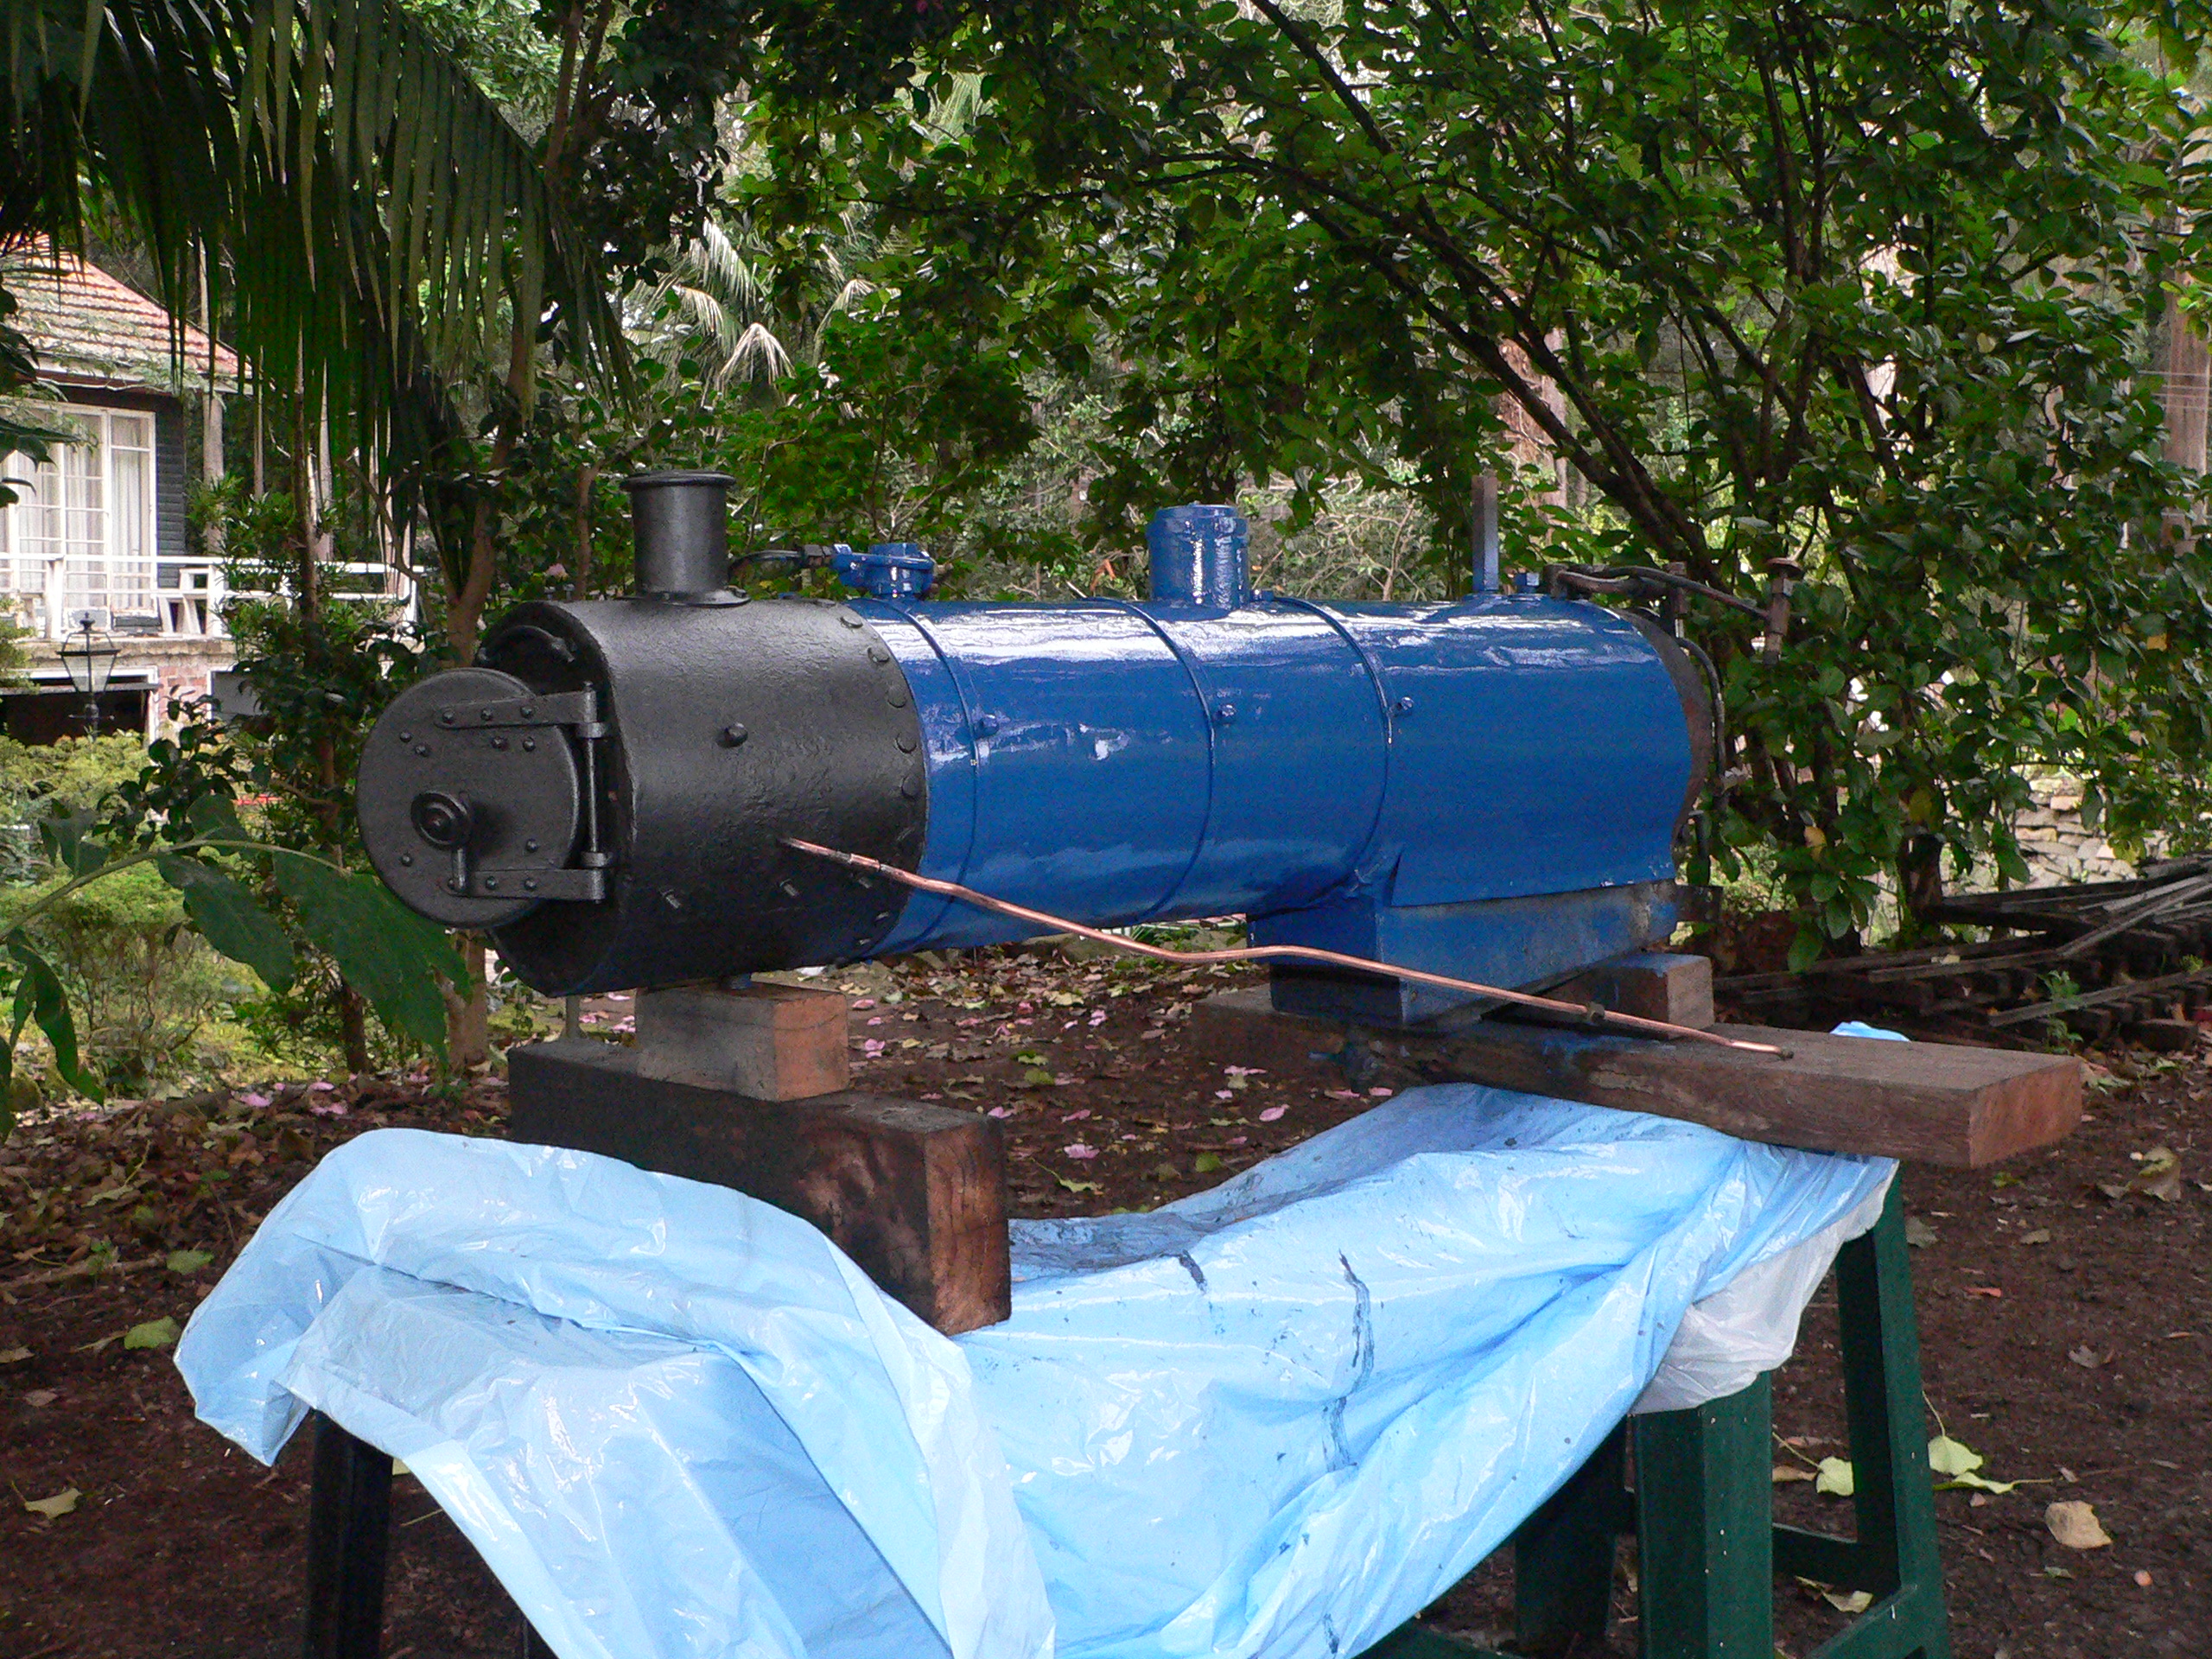

For the buffer beams we tried "Mail Red" in a small can but it was far too tangerine and lairy. Then we tried Norglass Fleet Red which is a far more suitable colour and much better paint.
Valve Timing
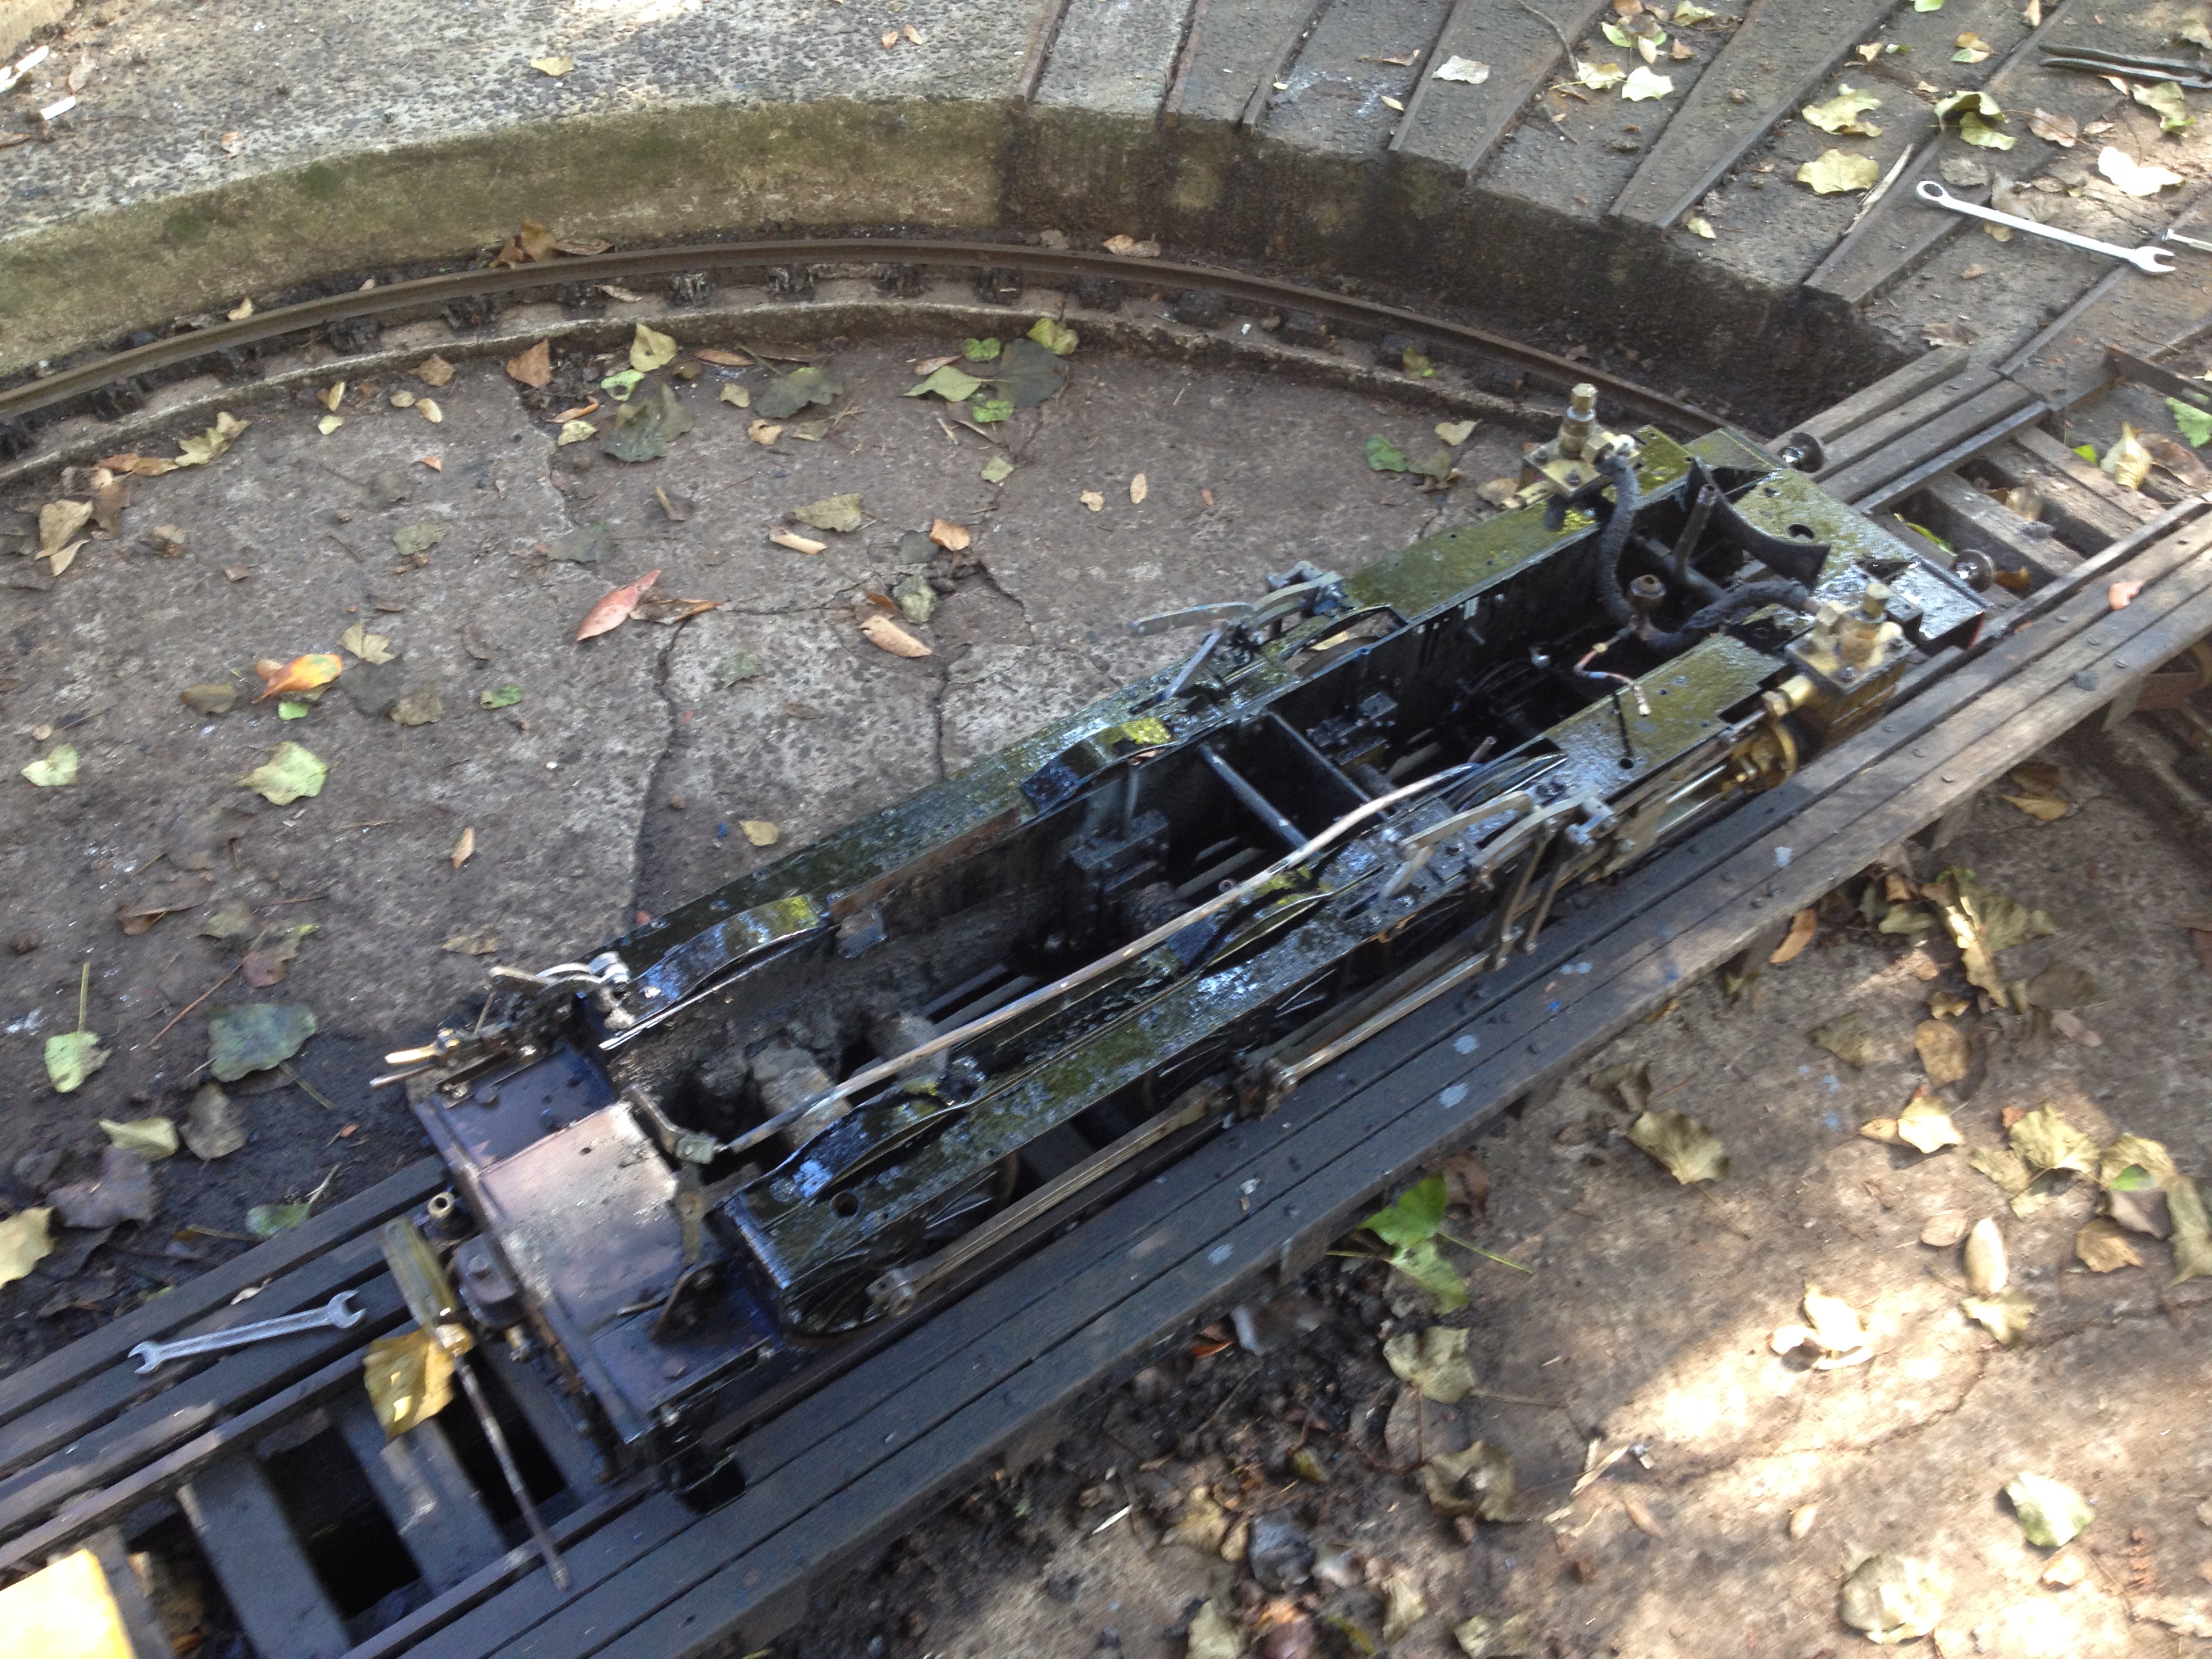
While the boiler was off I removed the valve chest covers and found the locknuts for one slide valve were loose and also the valve travel was insufficient due to wear in the motion linkages. The slide valve positioning was corrected and the eccentric cranks repositioned to increase the travel so the steam ports open fully. The amazing thing is that the loco ran at all with its previous errors here.
Re-assembly
This is never as easy as disassembly and most holes and threads had to be cleaned to remove paint. Also, we had to be careful not to damage the paint especially the enamel which was still soft. If only we could oven bake the parts then it would be much safer. Luckily we found brass screws to replace some of the unpainted steel screws.
Finally we spent days cleaning the unpainted surfaces such as copper and brass and the bare steel. The steel had rusted in some spots from all the cleaners and water used before painting.

Number plates
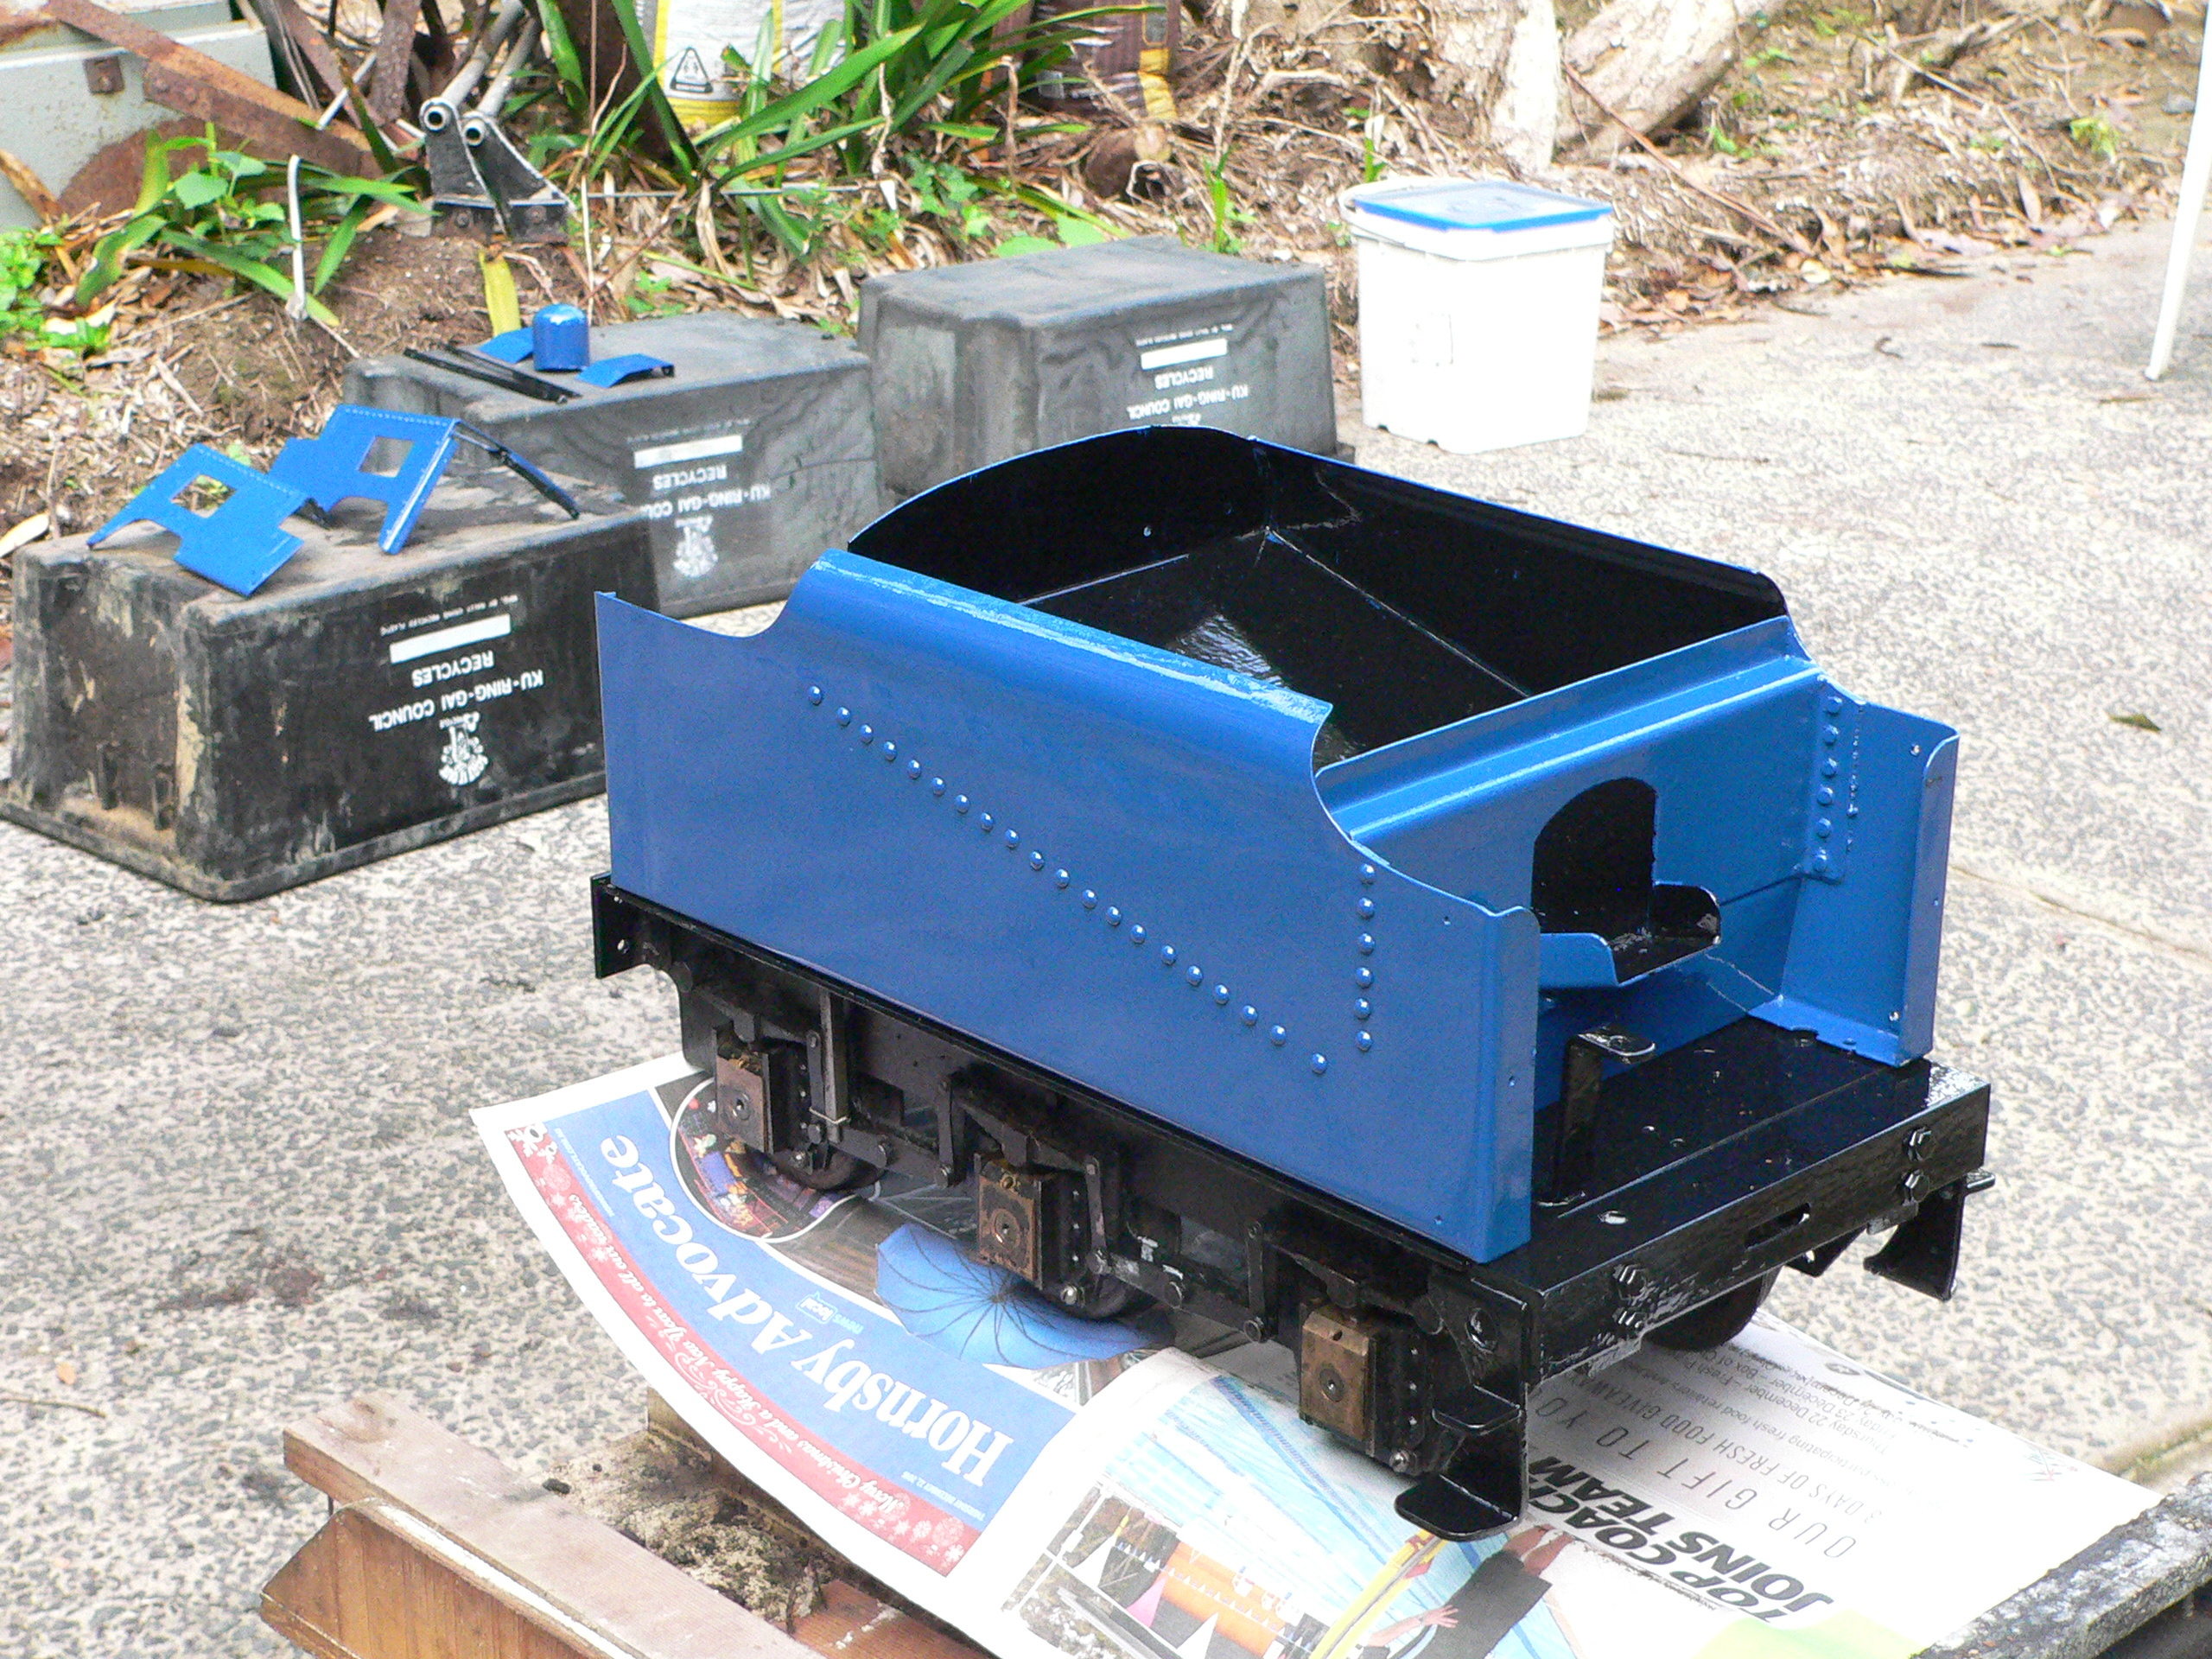
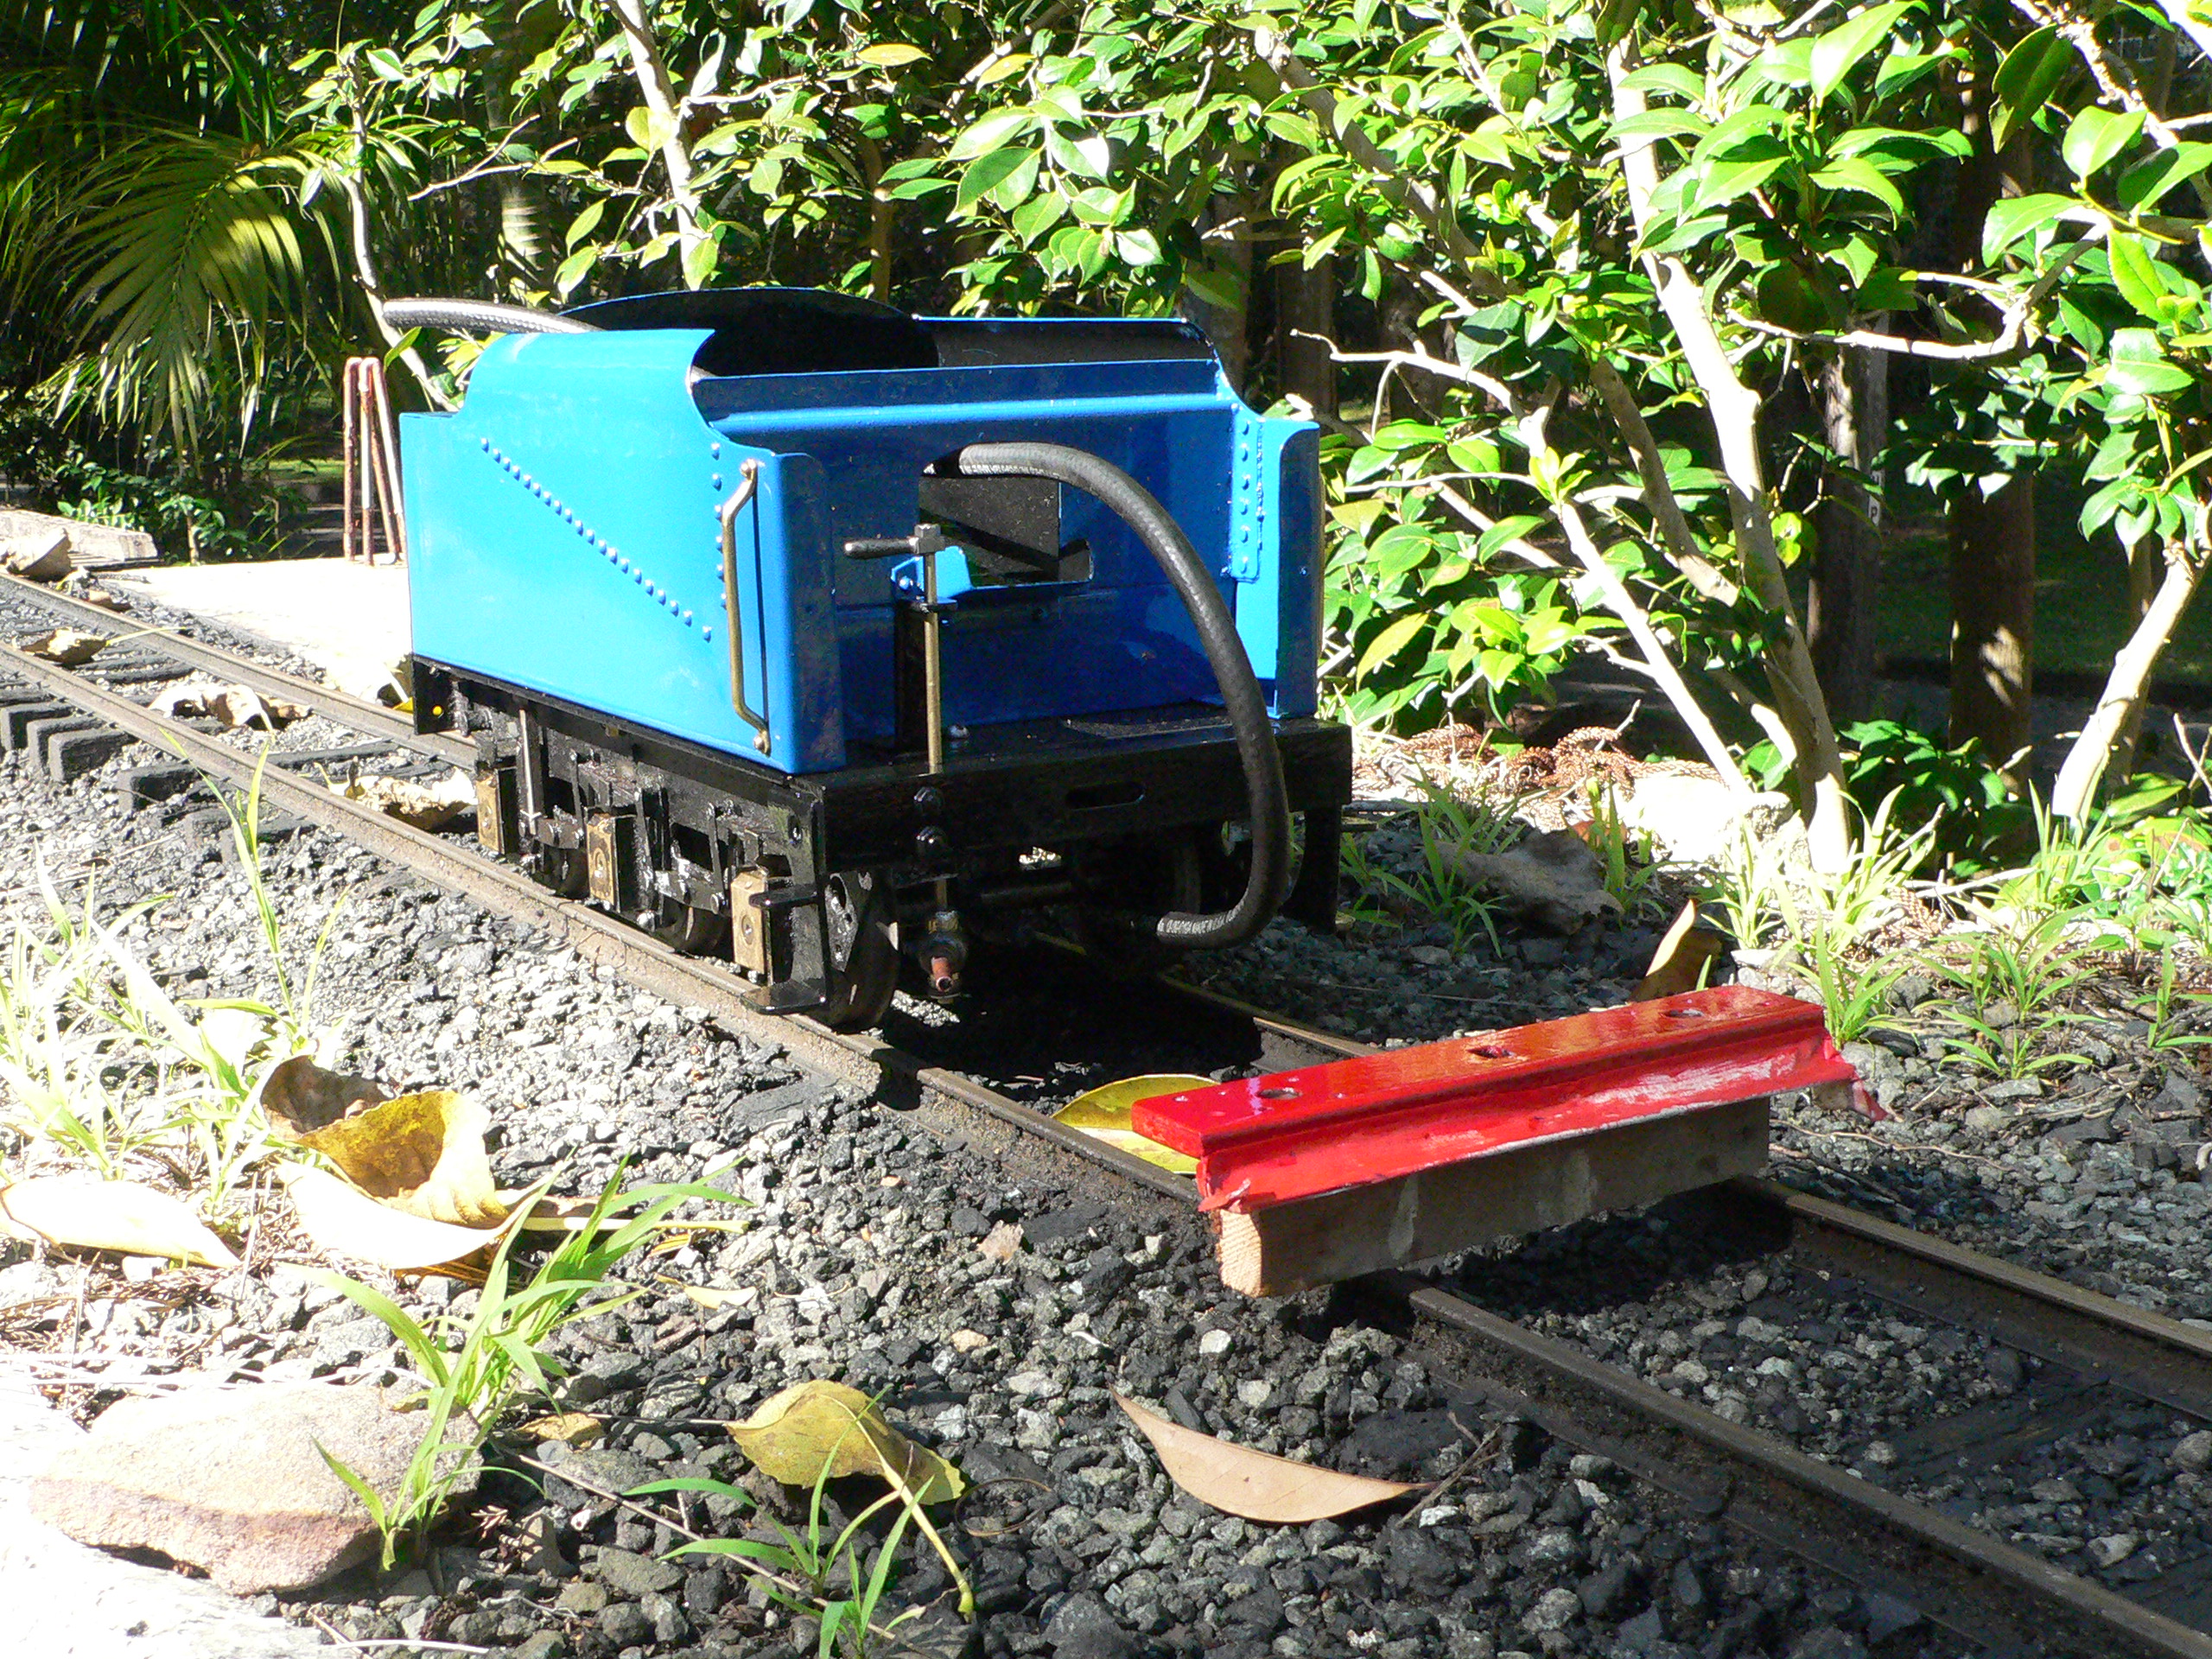
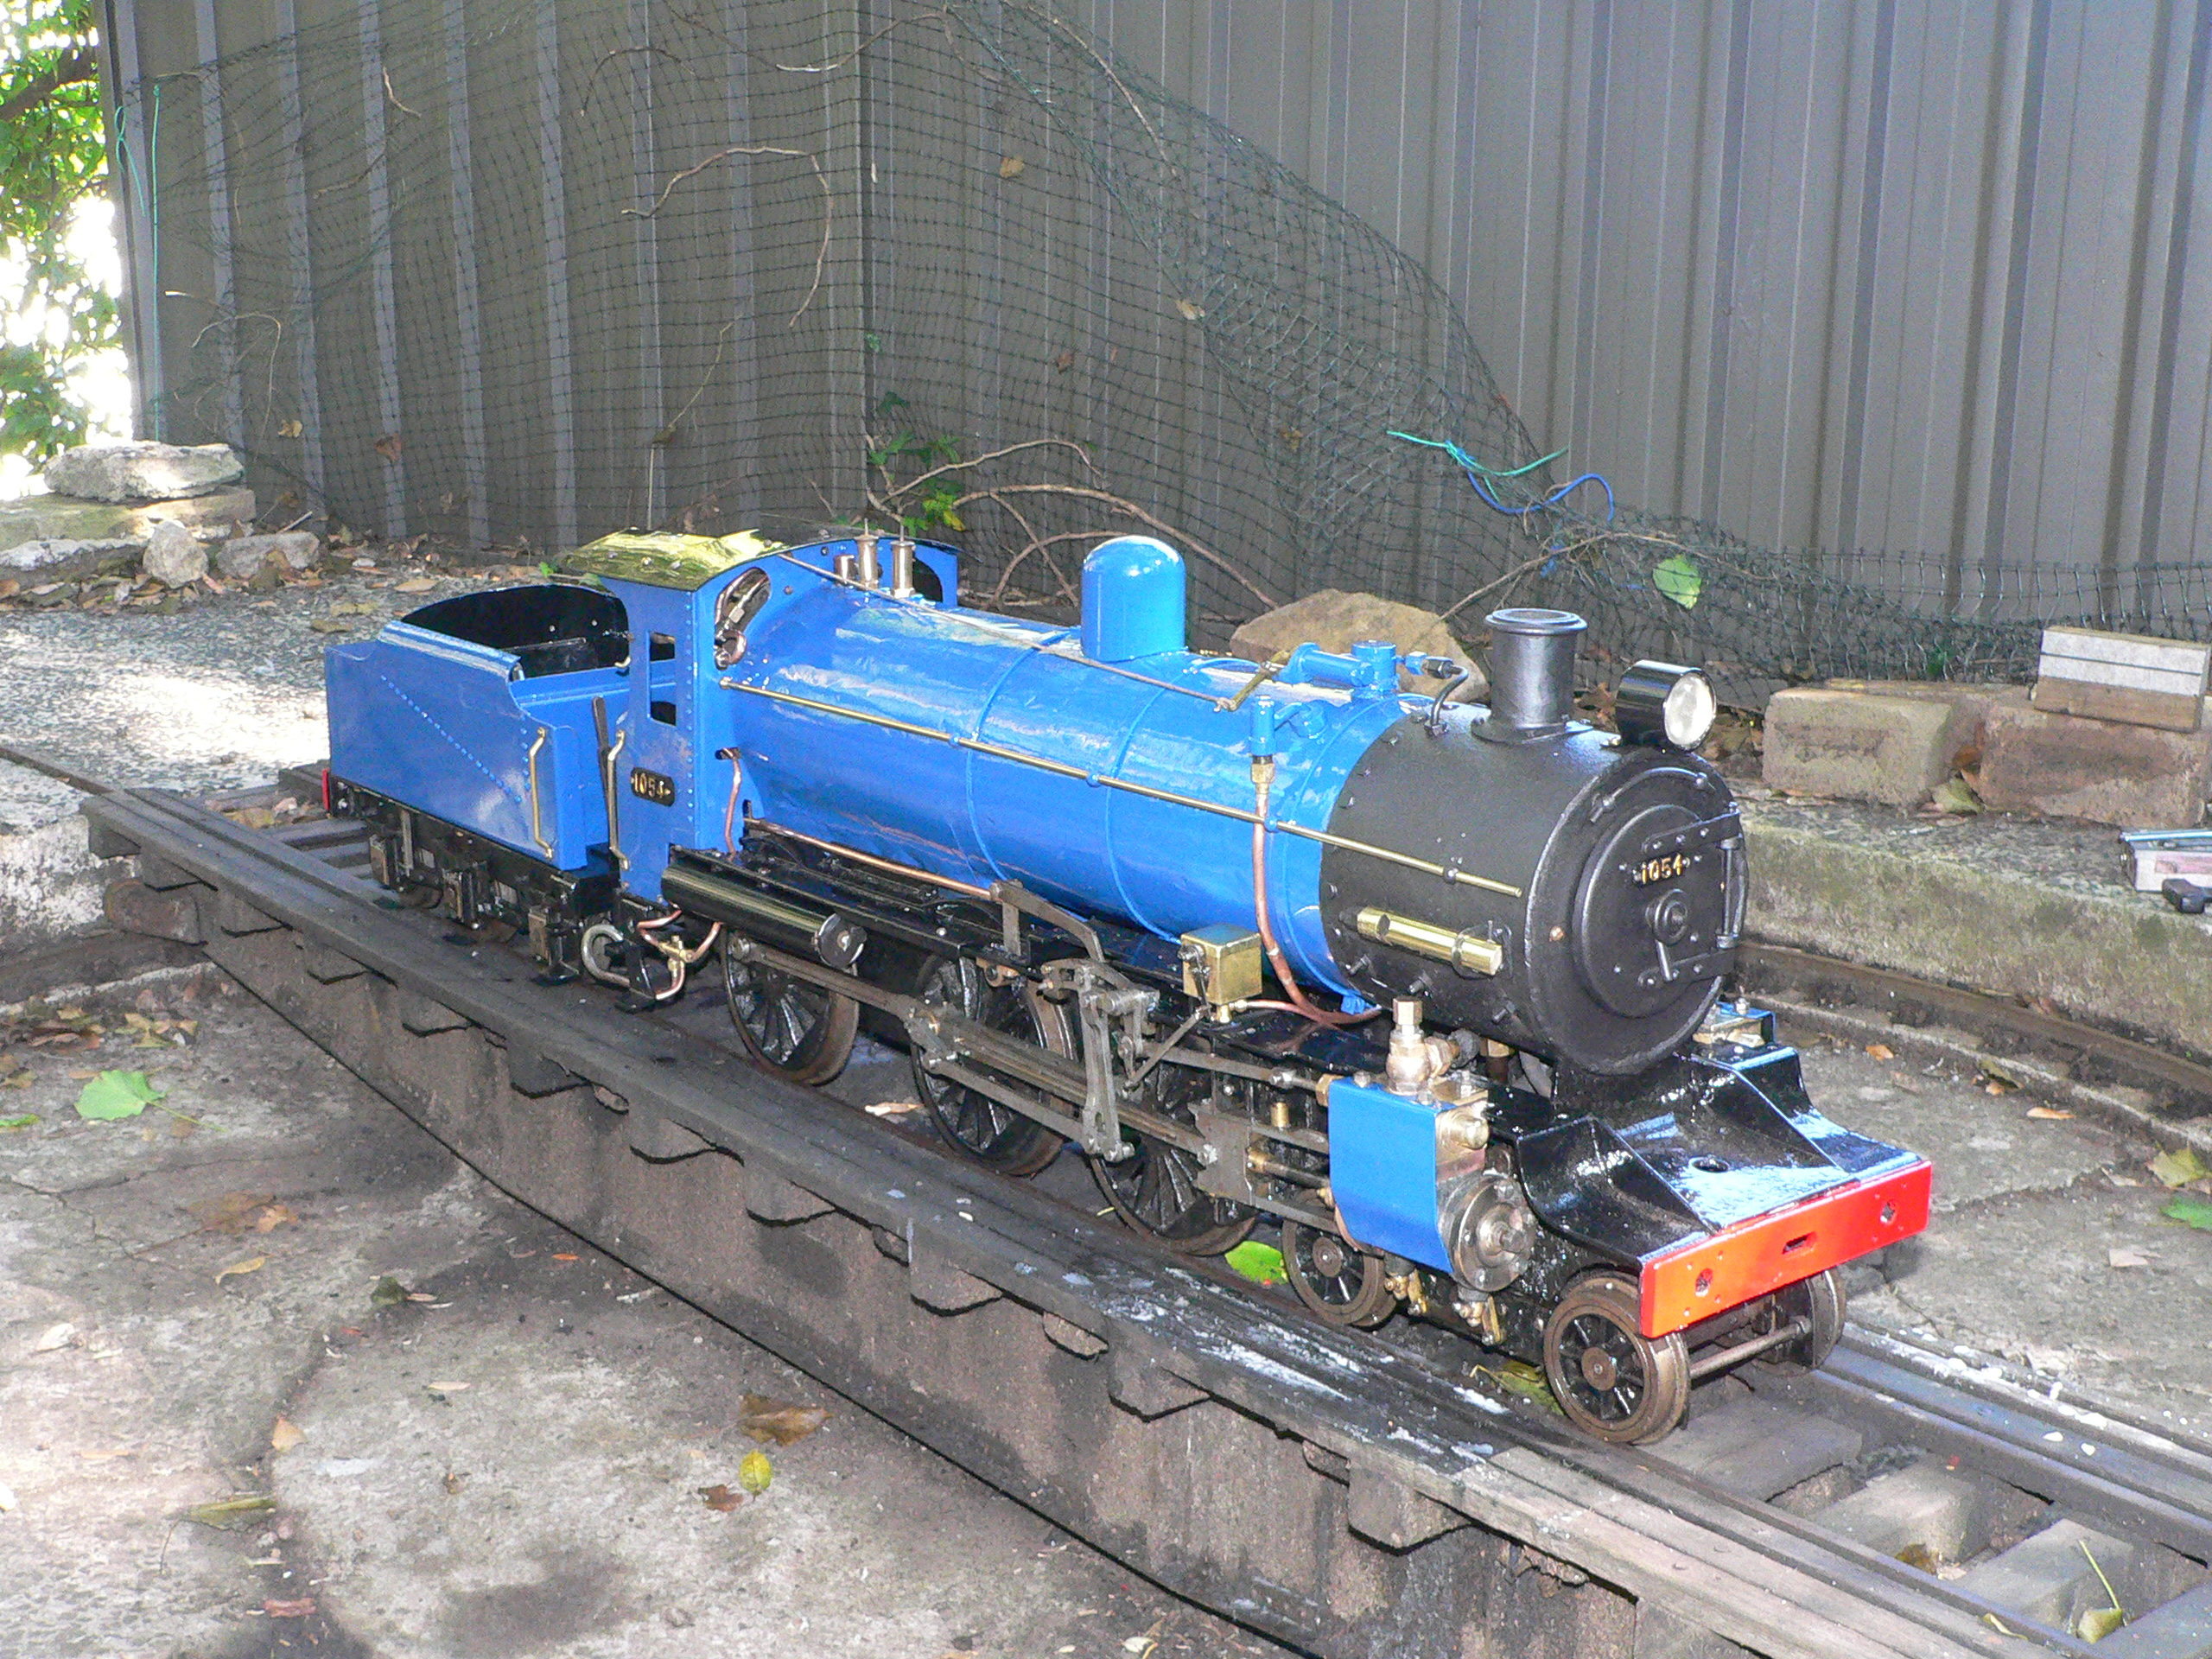
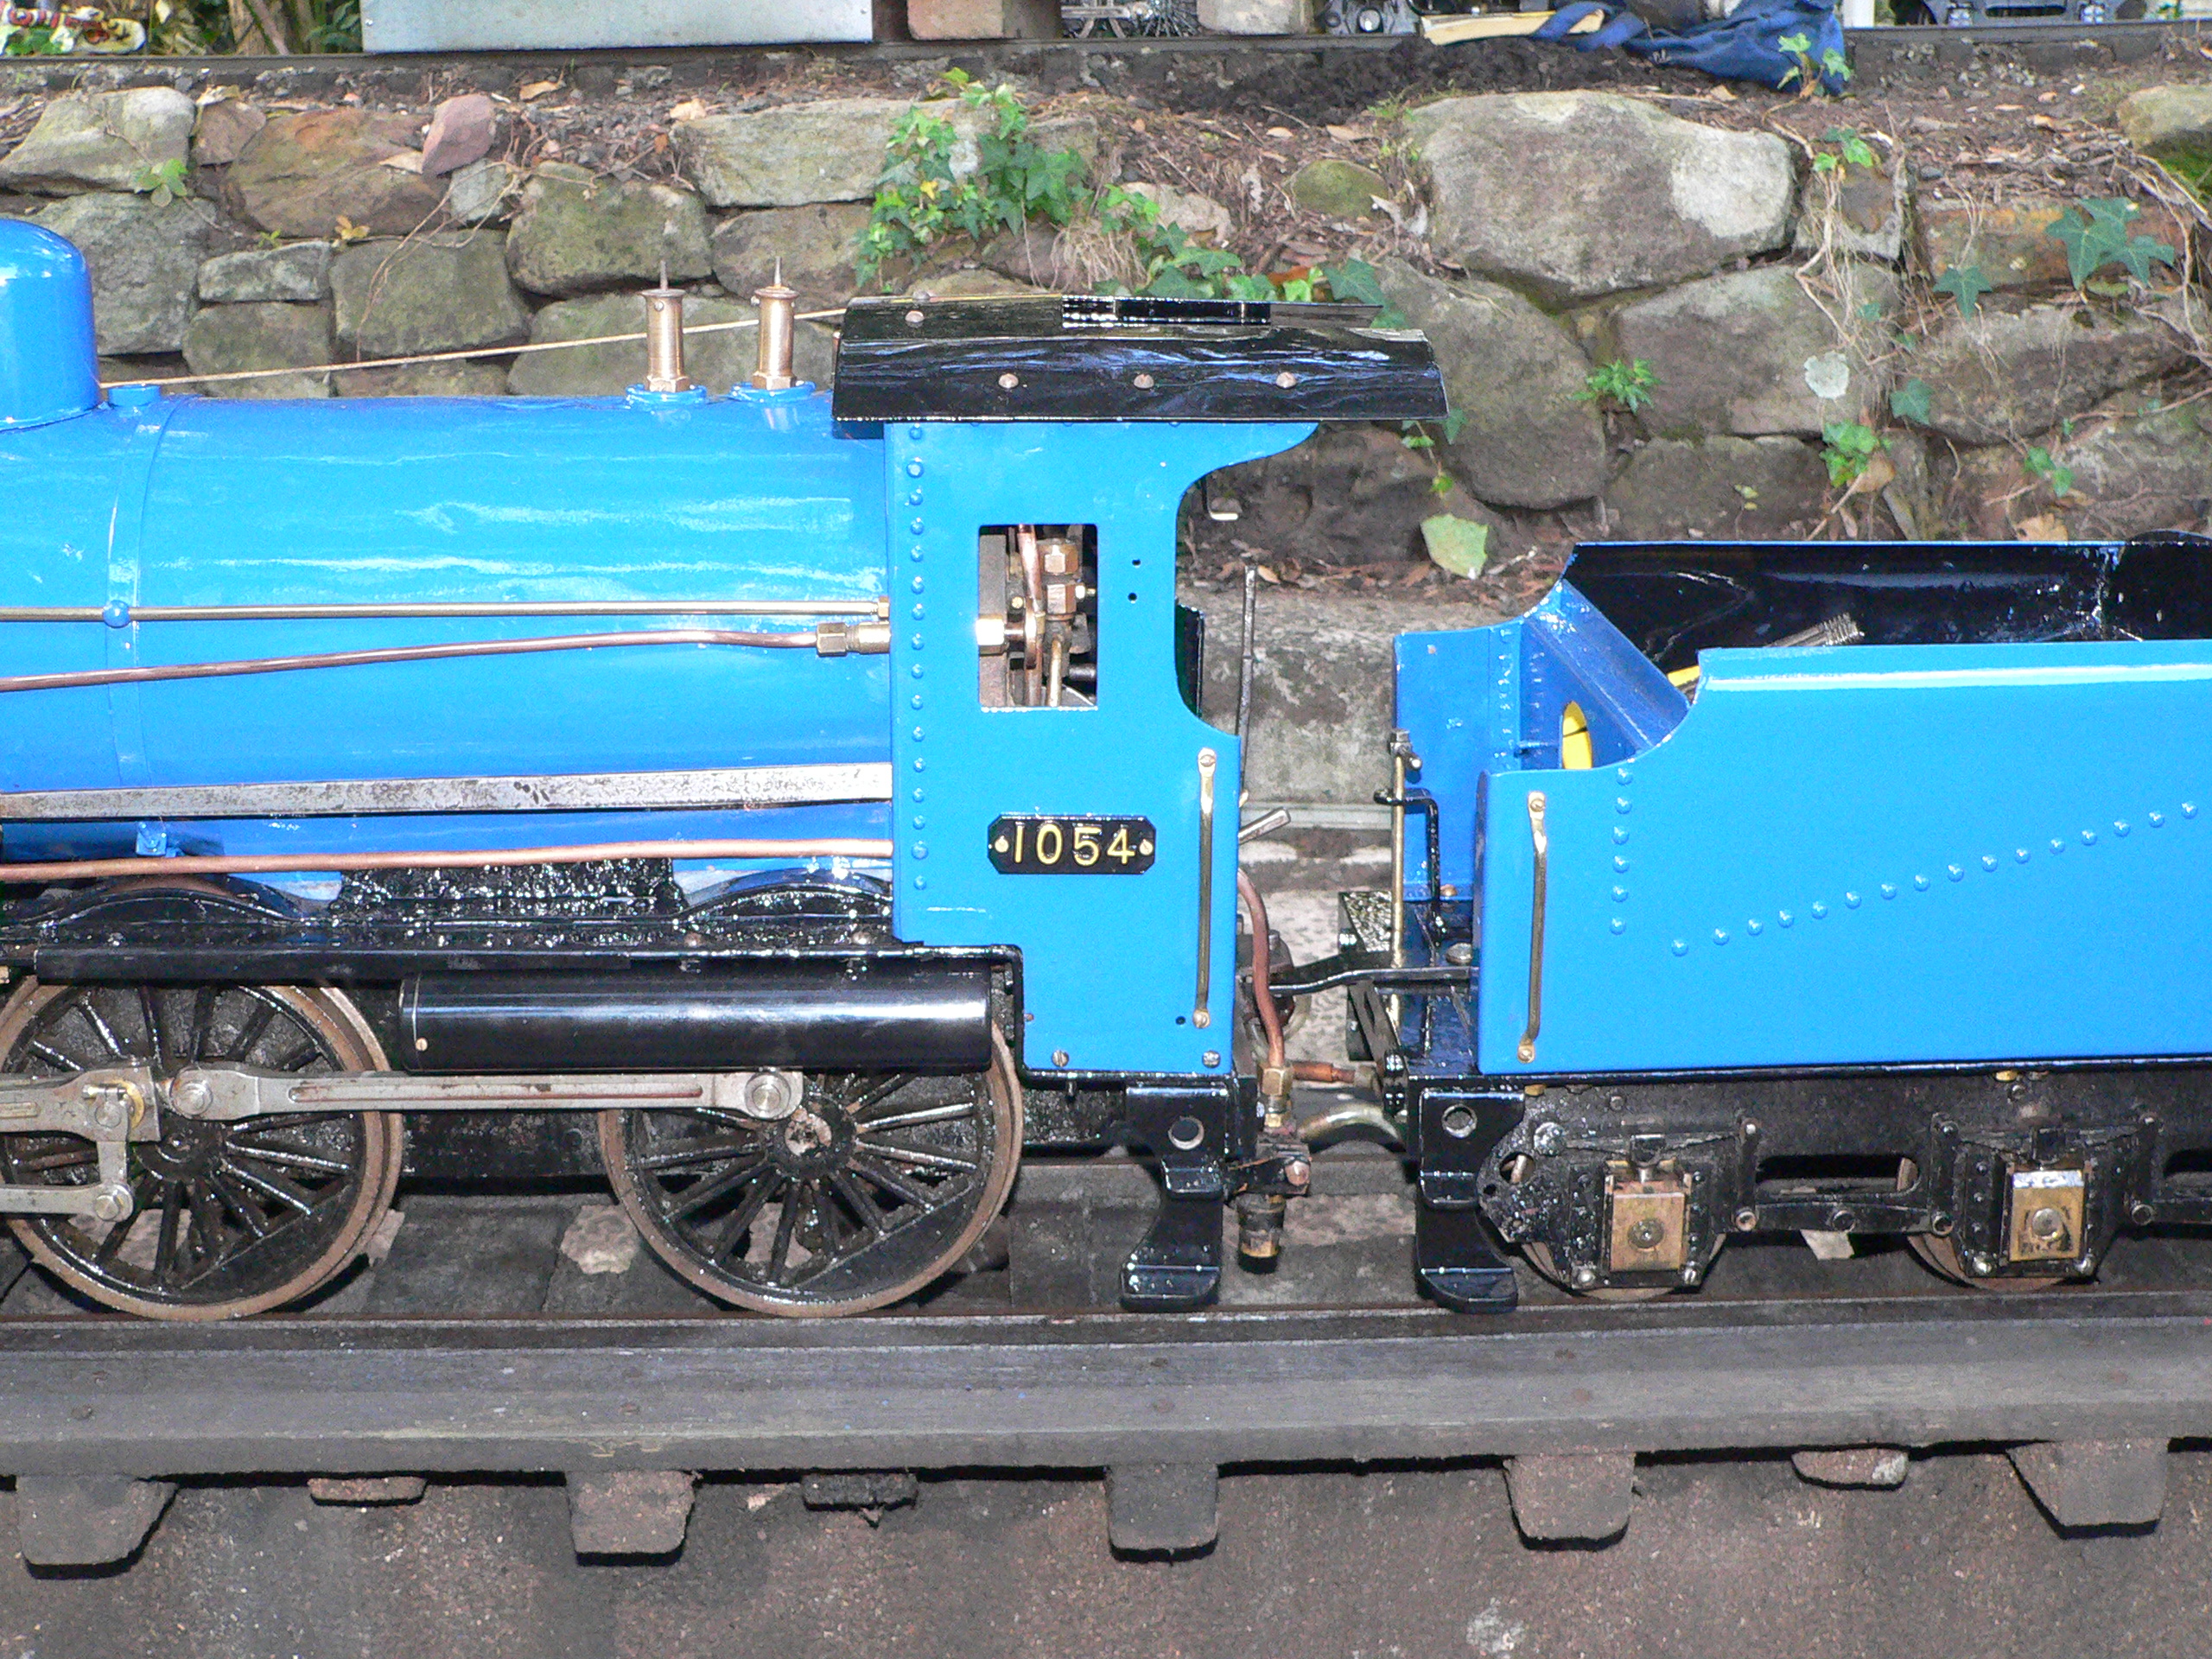
There were some small aluminium plates with "1054" on them and during this repaint we discovered that they had come from this loco. Presumably they were removed when the loco was purchased from the builder and then the loco was painted black and re-numbered "3701". We cleaned and painted these plates and re-fitted them to the loco. The loco is now blue colour (similar to the original colour) and has its original plates.


Trial run
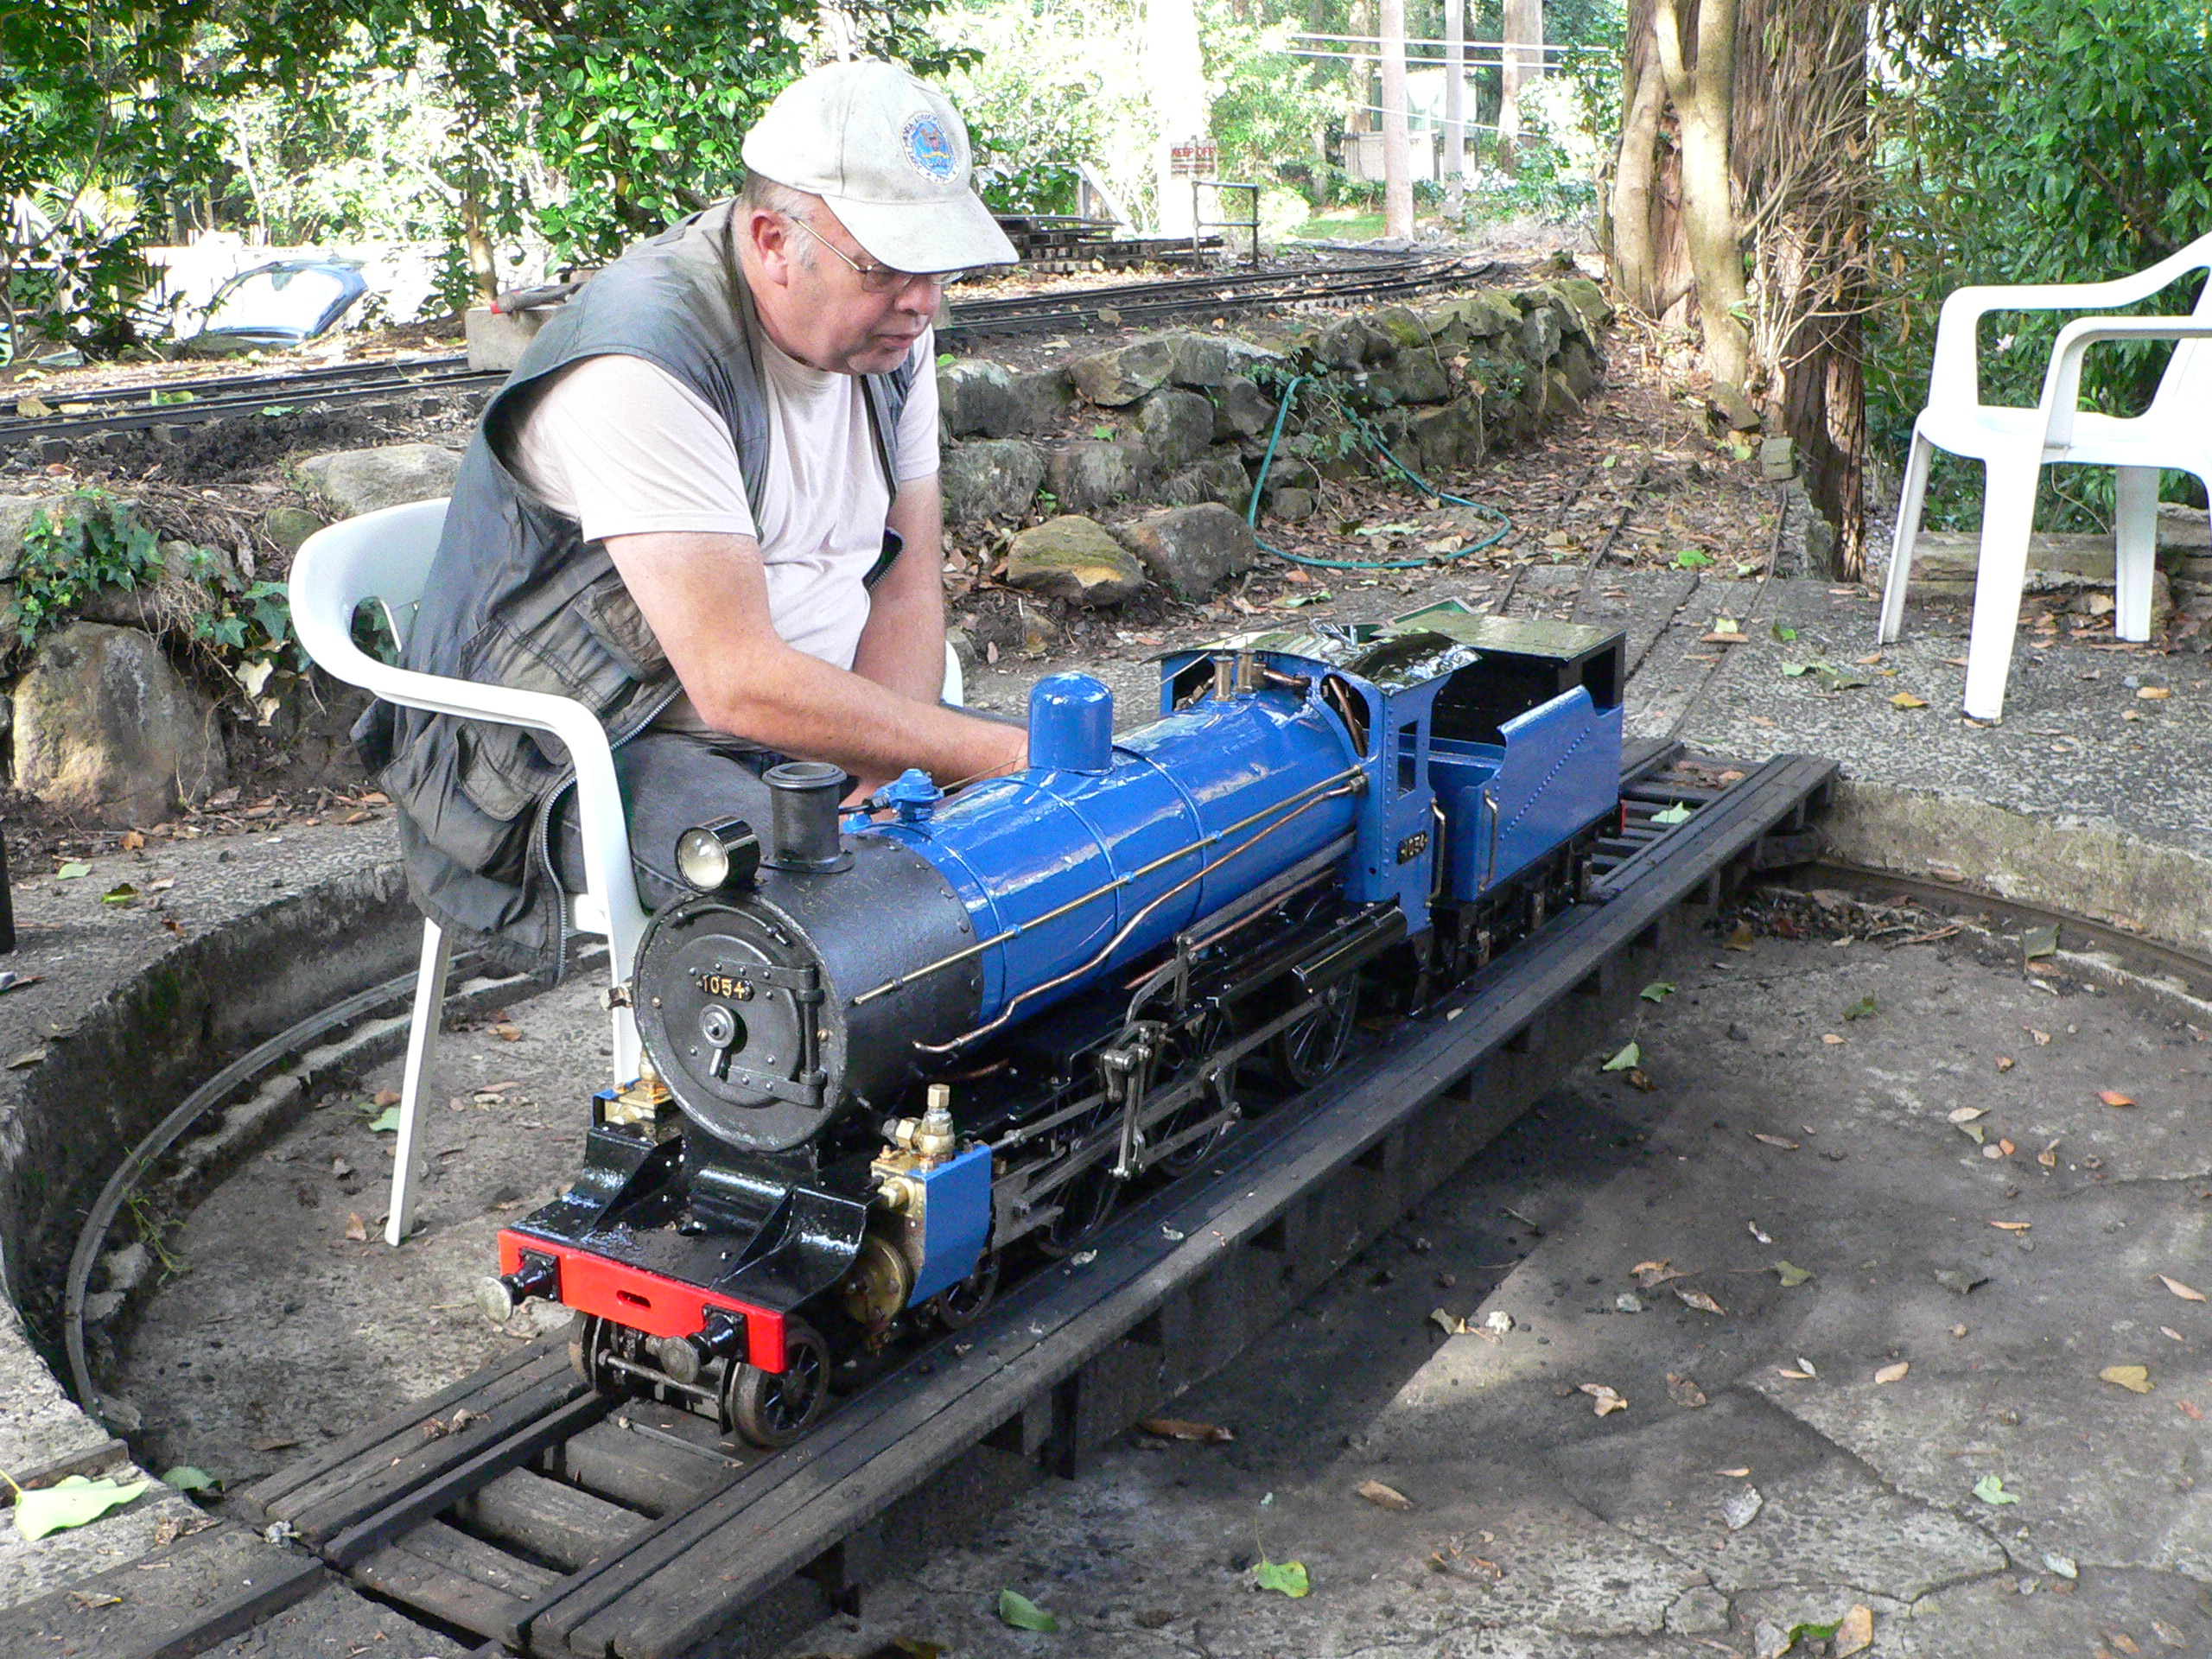
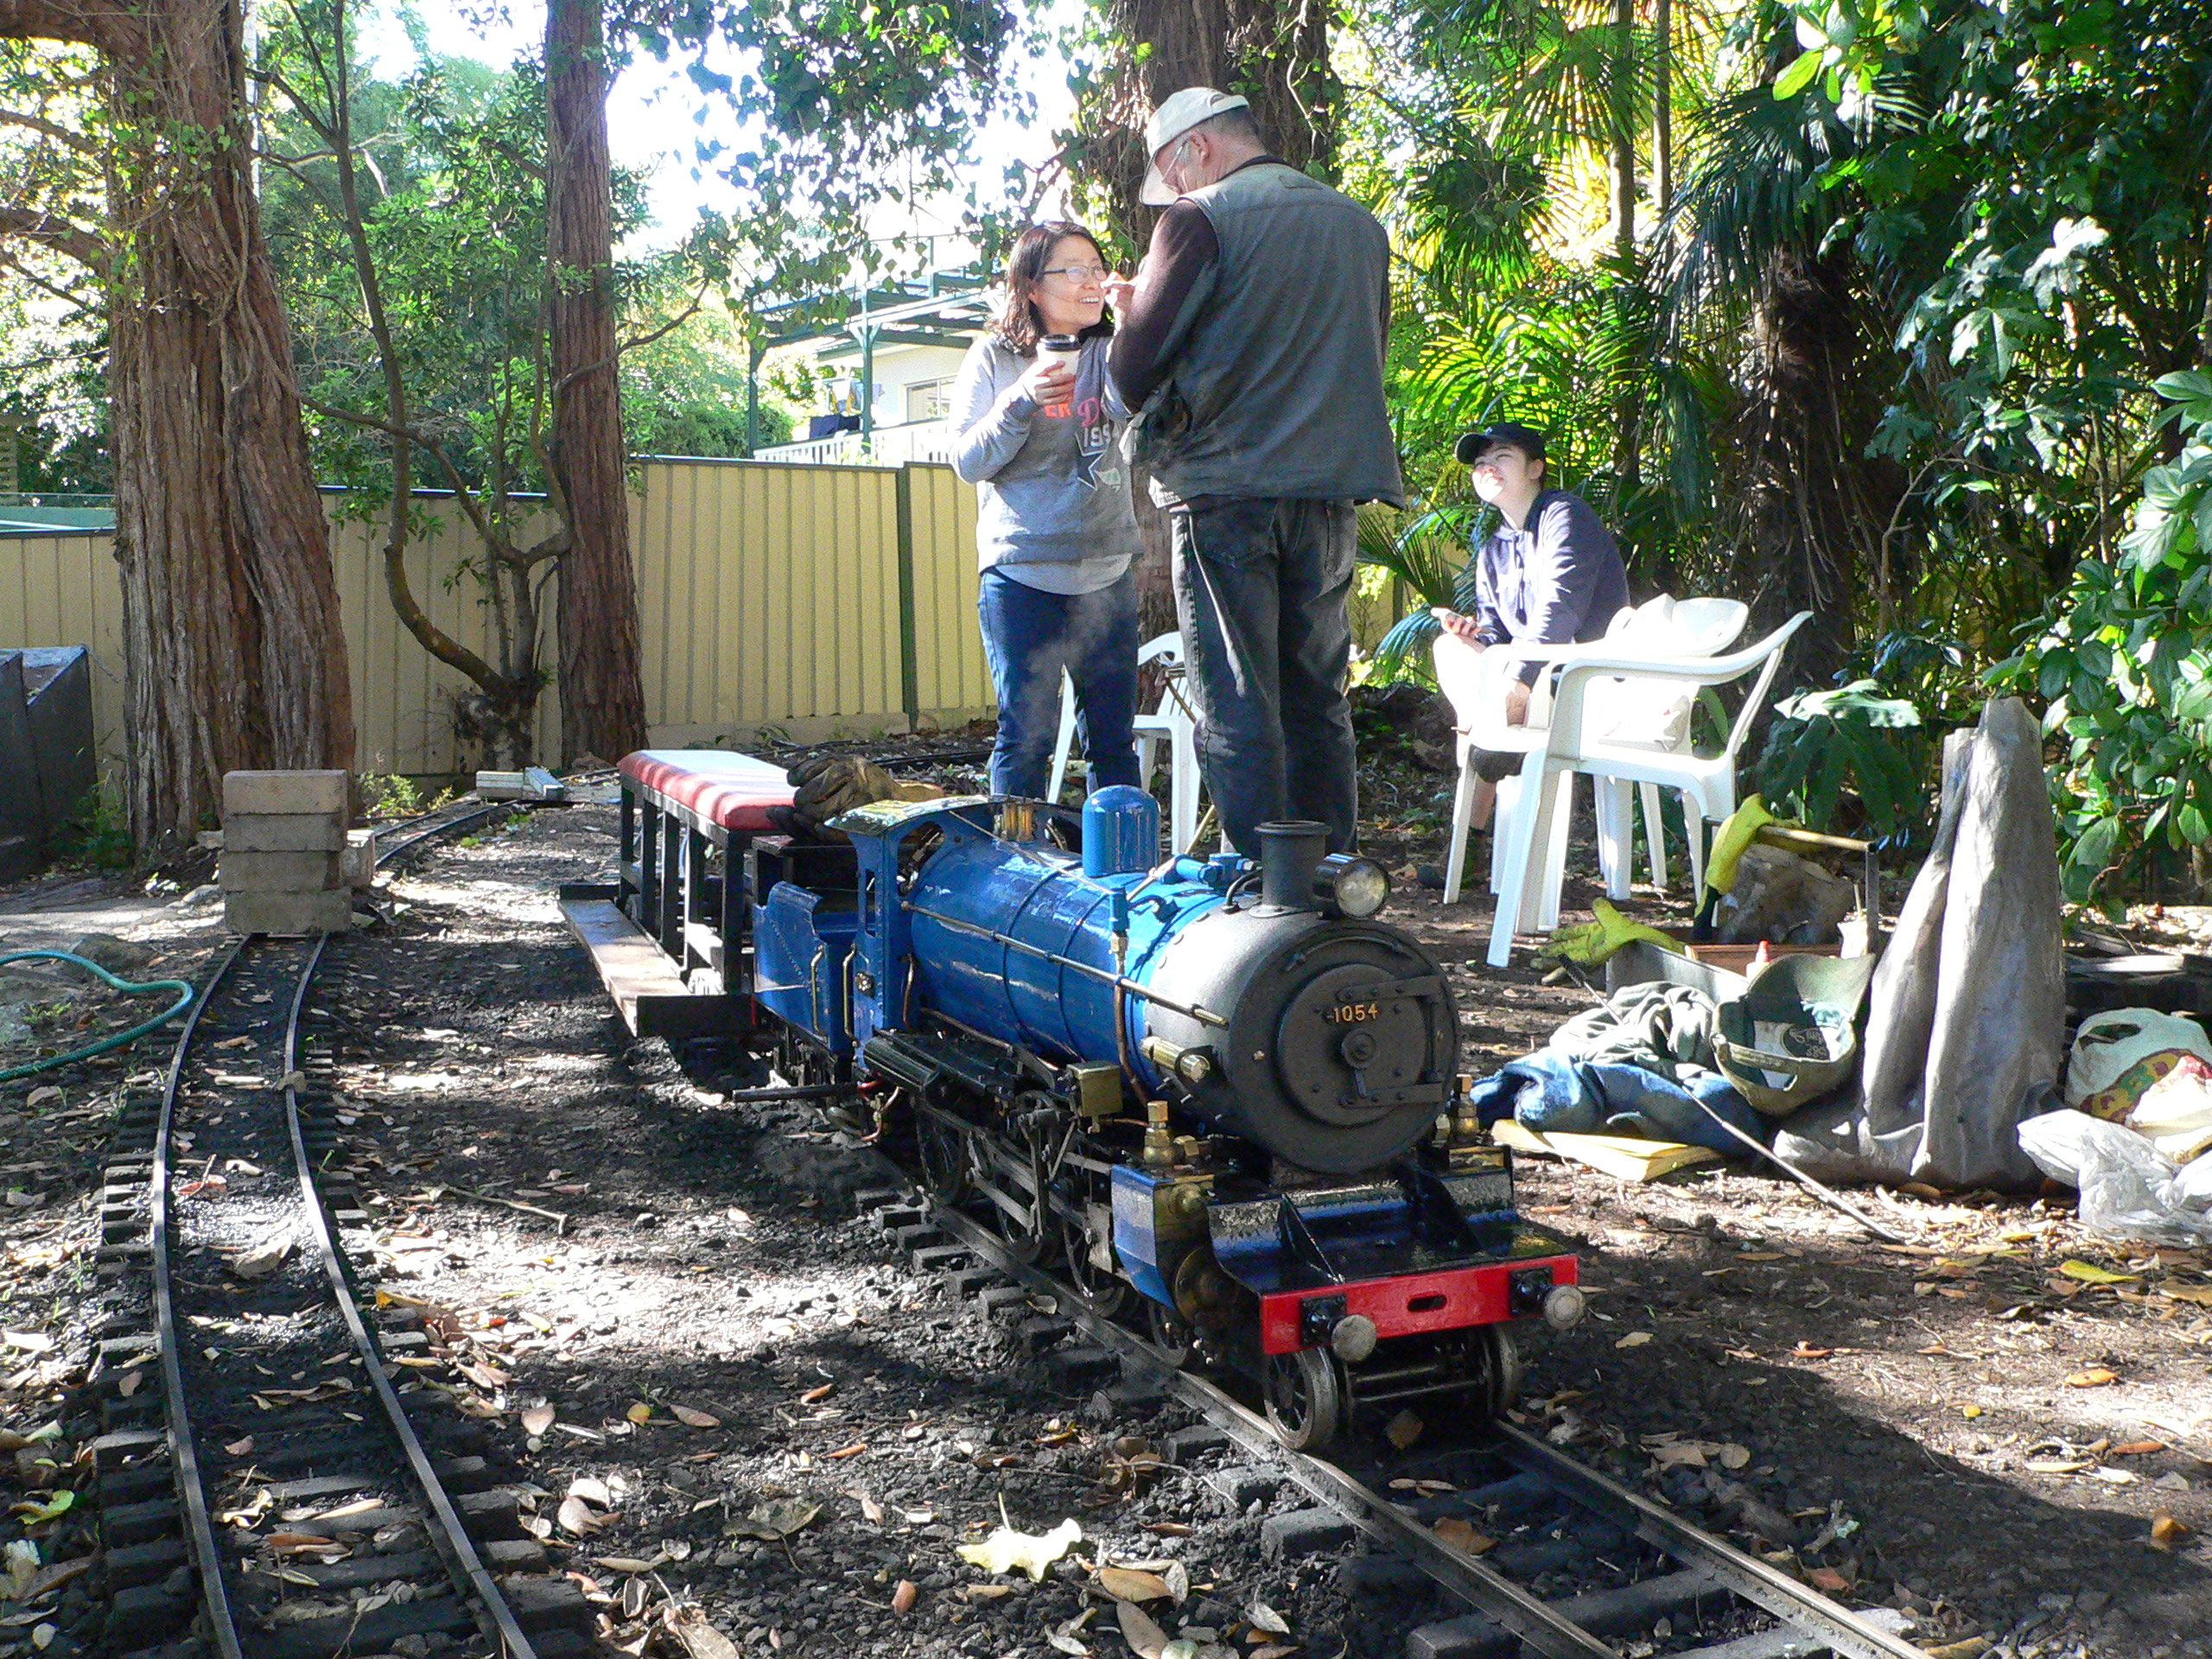
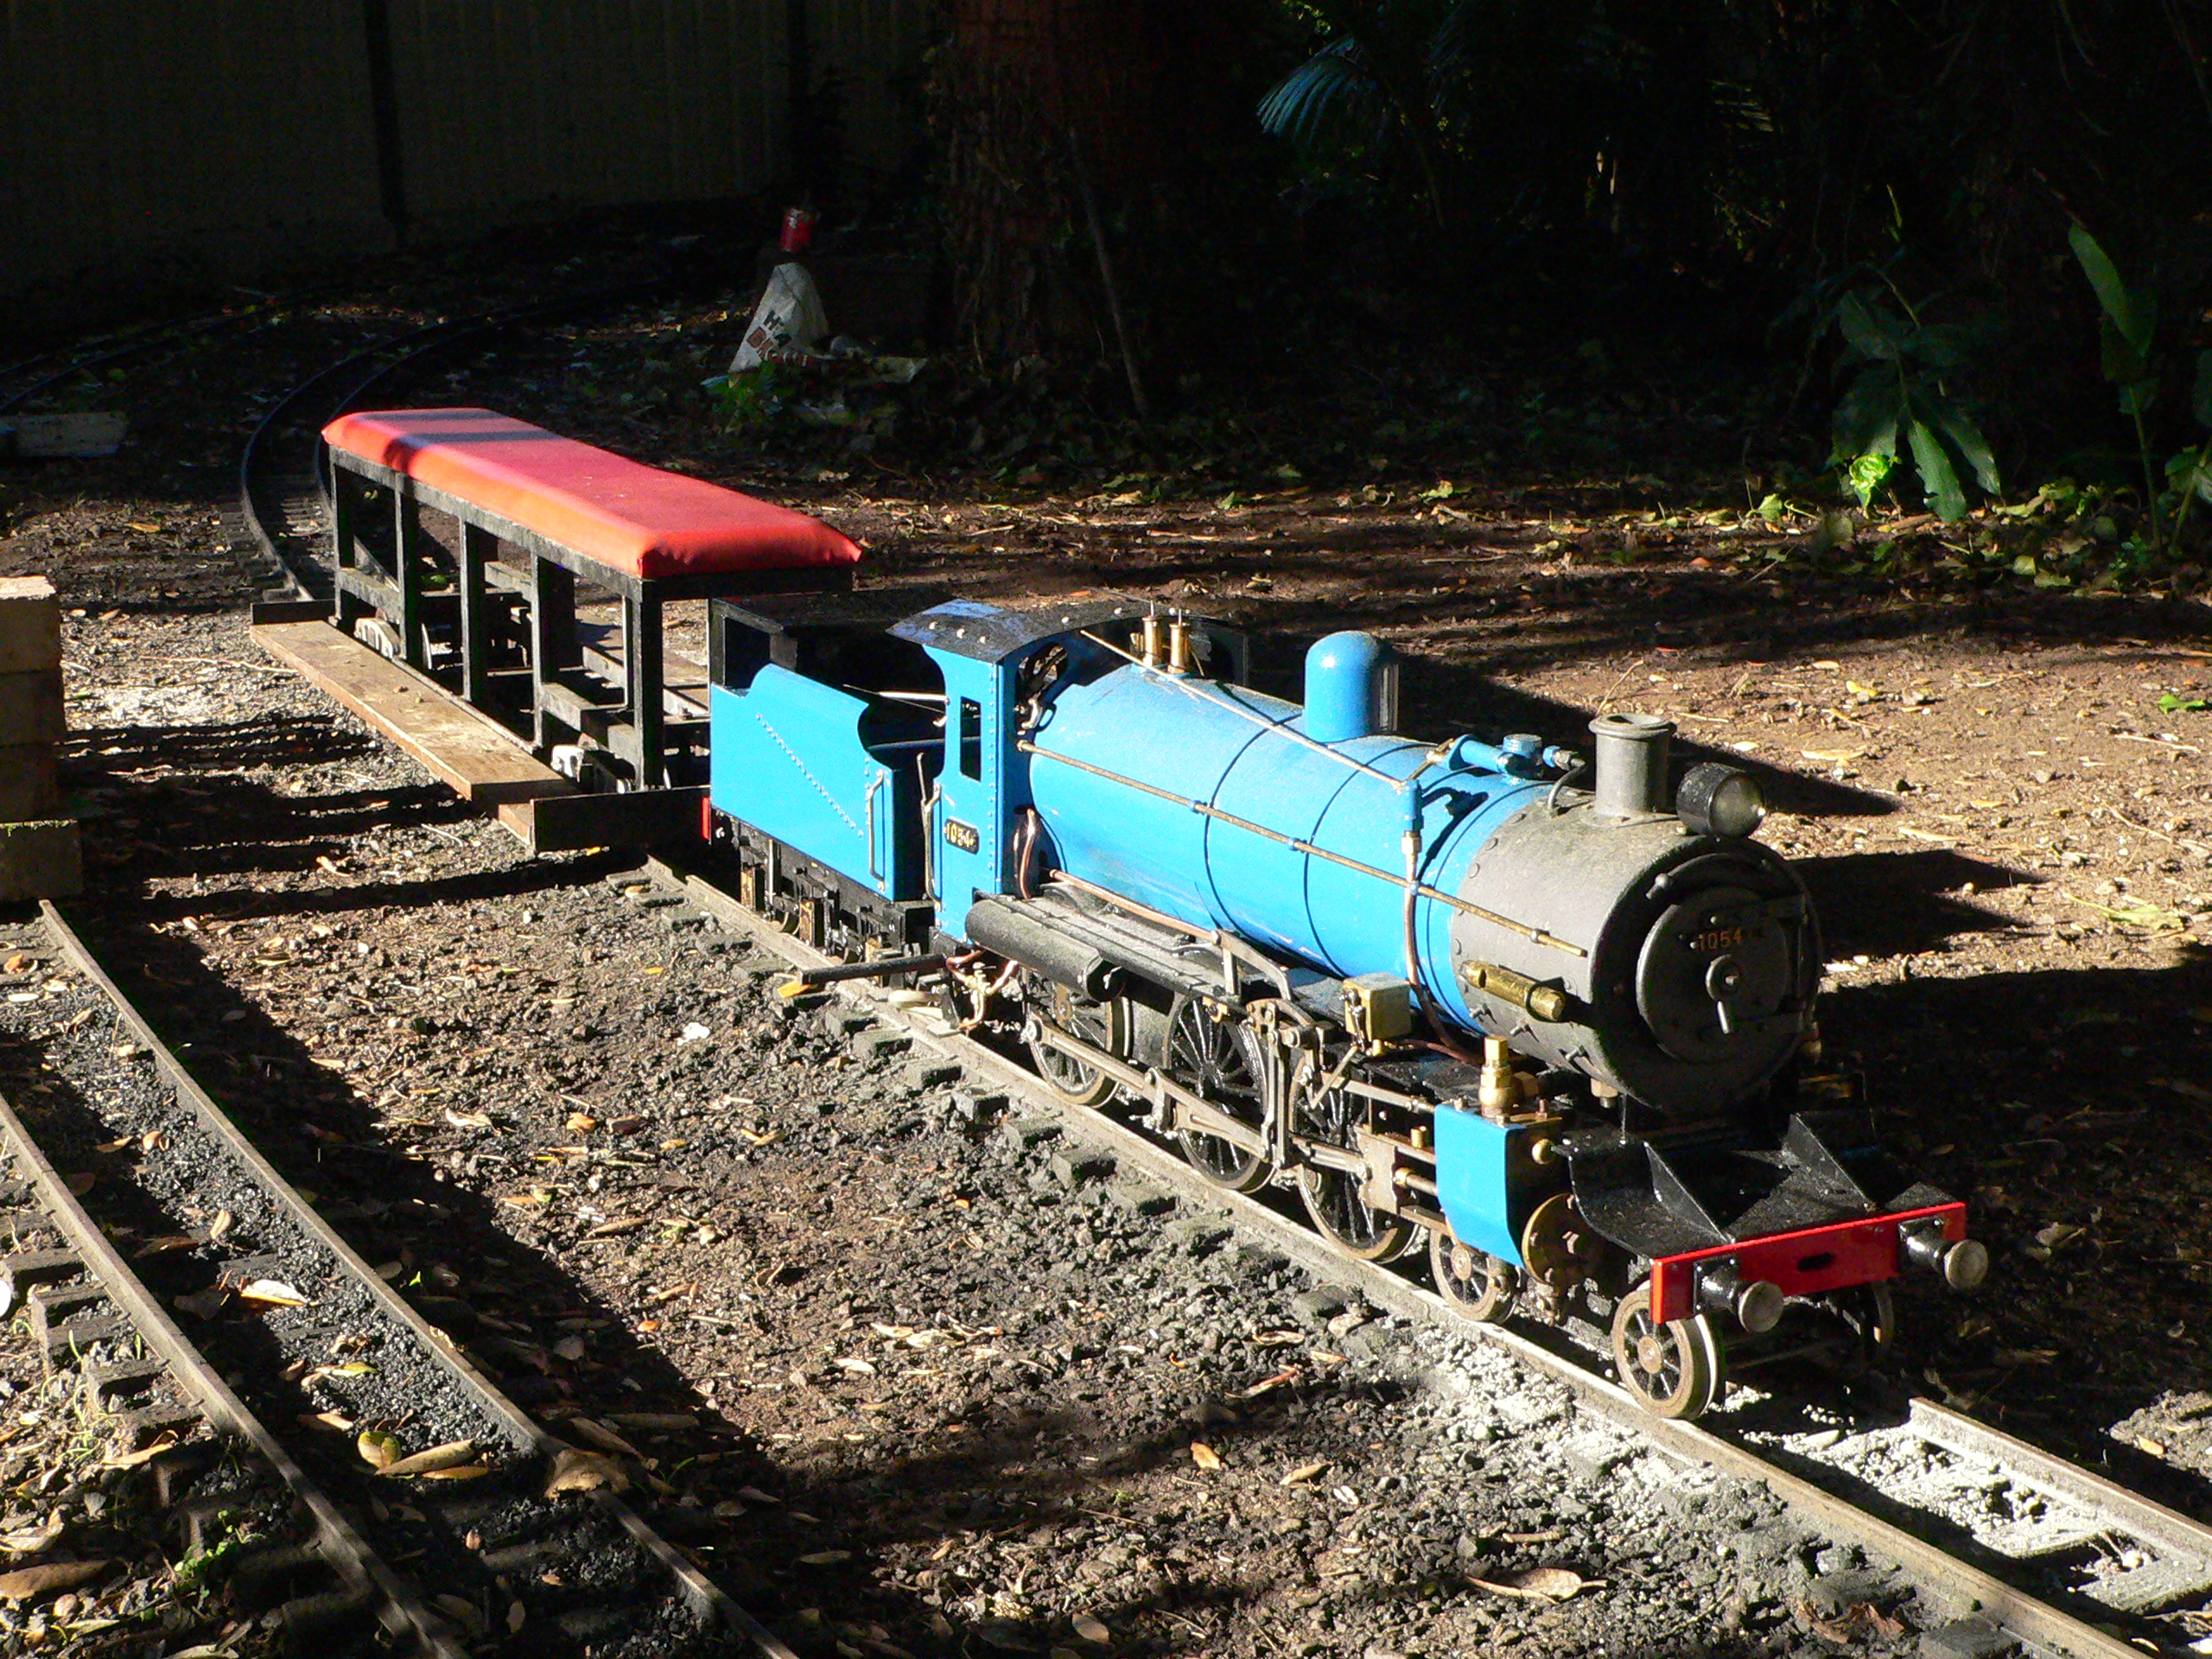
We gave the paint a week to cure because the blue paint is an engine enamel then tightened all the bolts and screws and gave the loco a clean and polish. Then we steamed the loco and had a trial run day. Even though I was careful not to prime or over fire I still managed to coat the loco with grime. So much for its pristine condition. The loco ran well all day and managed to haul a carriage with three people which surprised us all. Below are the before and after shots.

Last modified 2022-10-27
| Contents | Prev Next |